Scrap Mechanic Building a Buggy
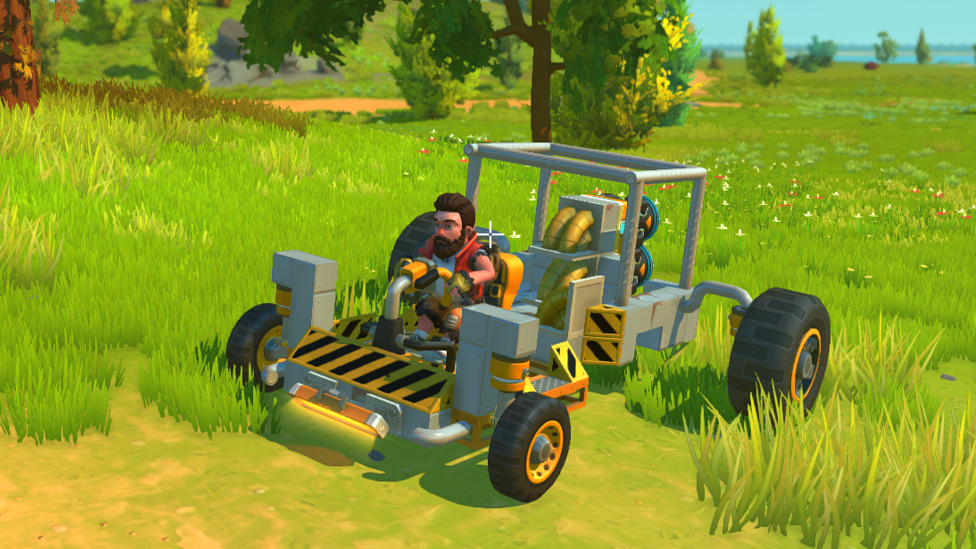
Scrap Mechanic is a game where you can create anything and everything you want. Among the most practical and entertaining things to build is a buggy, a compact and multi-purpose vehicle perfect for exploring the game's varied landscapes. In this guide, you will find a detailed tutorial on building a buggy in Scrap Mechanic so that you'll always have a reliable way of traveling on the Scrap Mechanic map.
The Basics of Building in Scrap Mechanic
Make Your Own Scrap Mechanic Server
Before we start building a buggy, there are some fundamental mechanics of Scrap Mechanics players should know. Players are supplied with a vast library of tools and parts to construct, from basic vehicles to practically anything their mind can conceive. The game features two main modes: Creative Mode and Survival Mode. In Creative mode, you have unlimited resources, and you cannot be restricted from experimenting. On the other hand, Survival Mode adds things like resource gathering, resource management, and health management and makes going from vehicle construction less of a button masher and more towards strategic thinking.
Gathering the Necessary Parts
All the necessary elements should be put together before commencing construction. For this buggy build, you will need: 35 blocks in any mix of wood or metal. 1 driver's seat 2 controllers 1 gas engine 14 bearings 4 small wheels 4 sport suspensions 20 pipe corners
Constructing the Chassis
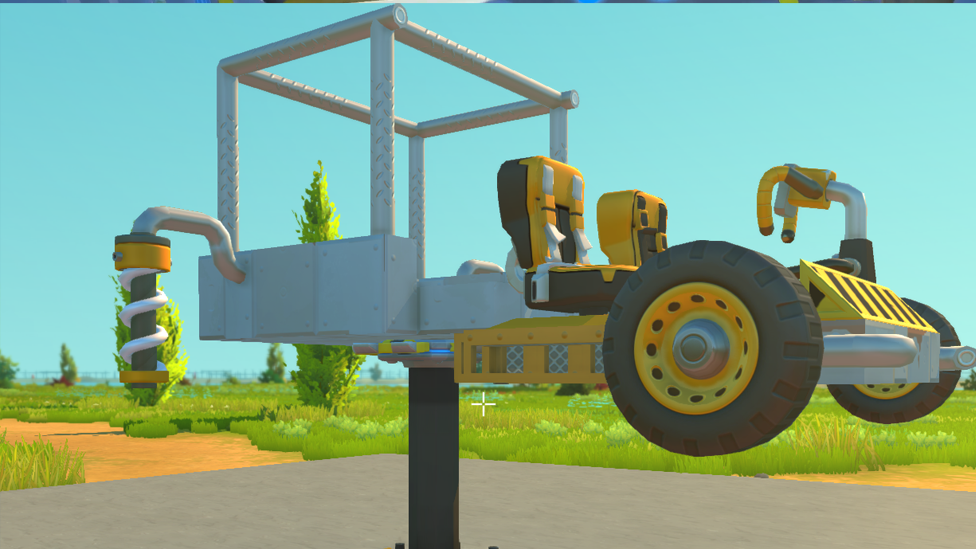
Begin by creating a sturdy foundation for your Scrap Mechanic buggy: Using your chosen blocks, build a 4x9 platform. Place the driver's seat in the front center of the platform. Put the gas engine right back behind the driver's seat. Mount the two controllers on either side of the engine. This sets up the basis of the core framework of your buggy.
Implementing the Suspension and Wheel Mounts
A functional suspension system is crucial for handling rough terrain: To give Support for the suspension, attach pipe corners to the frame. Two bearings are put to the front to enable the steering mechanism. Four pipe corners are connected facing outward from the center of the vehicle. Attach affix bearings to these pipe corners in front and back. Additional pipe corners attach to the bearings and extend outward. Attach the sports suspensions onto those pipes but in the right direction. For the best performance, set the suspension tension to level 6. Next, add bearings and pipe corners to the suspensions. Finally, screw the little wheels onto the bearings. With this configuration the buggy has a balanced suspension system that will make the buggy more stable and comfortable to ride.
Establishing Connections and Controls
Properly linking the components ensures seamless operation: The left controller will control the movement of the front suspension and connect its front vertical bearings. Connect the rear vertical bearings to the right controller in order to control the rear suspension. Set all bearing angles to 45 degrees in each controller to get the desired suspension articulation. Direct your steering bearings to the driver's seat, using the connection tool to allow you to control the direction. The gas engine should connect to the driver's seat in order to regulate acceleration. The engine should be attached to the wheel bearings to propel. Set the engine at power level 4, finding that the speed matches the control. Make sure all connections are in place so you don't incur operational issues.
Testing and Fine-Tuning
After assembly, it's vital to test your buggy in Scrap Mechanic: Take out the buggy from the lift, notice its stance, which, if everything went smooth, it should be standing upright. If at any time the vehicle starts to tilt or behave unexpectedly, use the connection tool to right click rotate the bearing orientations as required. Try a test drive of the buggy to determine how it steers, how suspensions perform and how it handles as a whole. If so, fine tune performance by making adjusts to the suspension tension, engine power and bearing angles as appropriate.
Utilizing the Buggy in Scrap Mechanic
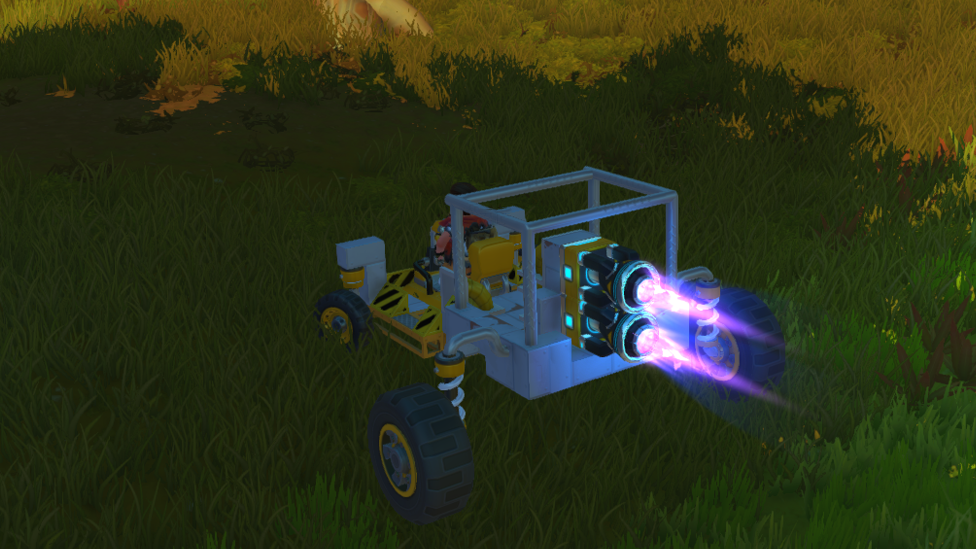
This buggy is suitable for semi-rough terrain with a balance proportion between speed and stability. If desired, you can use an electric engine in place of the gas engine; electric engines have more torque, which is good for towing a trailer or carrying a heavy load. The design of the buggy allows customization like storage or changing in the suspension, depending on the terrain.
FAQs
What is the foolproof way to keep my buggy from easily tipping over?
Design a wide chassis to lower center of gravity and distribute weight evenly to prevent your buggy from tipping over. Add a suspension system which will accommodate shocks and keep the stability during motion.
What's the best engine type for a beginner's buggy?
For starters, gas engine is the preferable because it gives you the choice of power levels, and you will find it easy to observe lesser torque and speed as you learn more of vehicle mechanics.
What is a good way to improve my buggy's performance in climbing steep inclines?
If the hills are a little too steep, consider upgrading to an electric engine, they have more torque and power delivery.
Sometimes, the buggy spins out of control. Why is that?
Excessive engine power and improper wheel alignment can spin out. Lowering the engine power setting gives you more control and makes sure the wheels and bearings are in proper alignment.
Conclusion
Building a buggy in Scrap Mechanic is a fun little project, which ensures that if built right, you will have better mobility in this game. By following this guide, you can build a functional and reliable vehicle to your own needs. If you pay attention to detail during assembly and are willing to fine tune components, then your buggy will serve you well for all different in game challenges. If you are interested in a better Scrap Mechanic mp experience, try using Scalacube for hosting. Scrap Mechanic server hosting at them ensures your servers are reliable and efficient, guaranteeing you to a glitch free time playing with your friends.