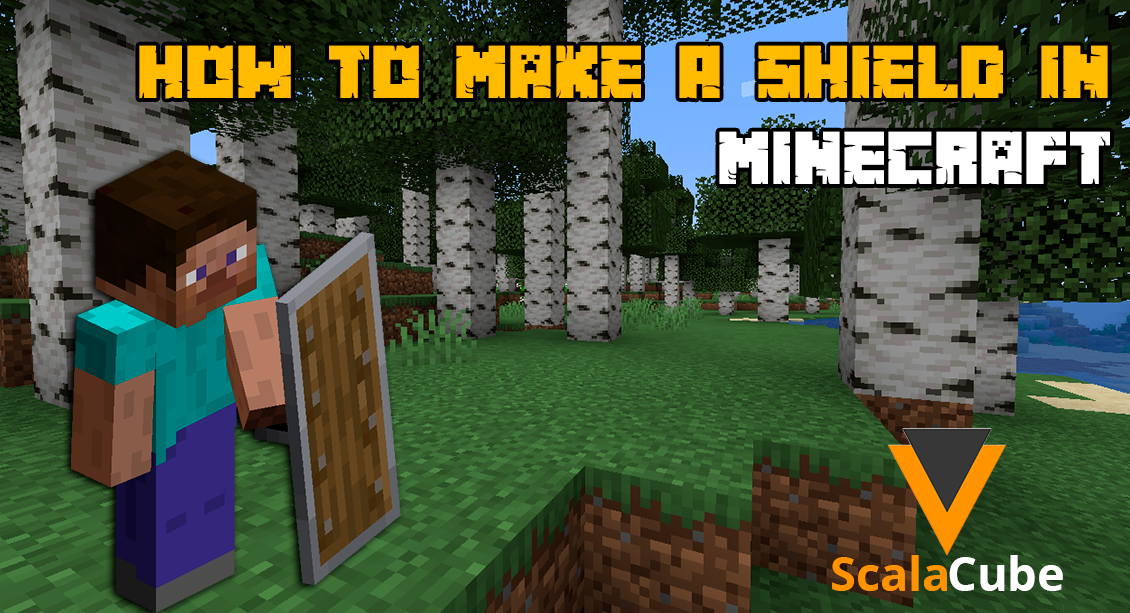
How to Make a Shield in Minecraft
Make Your Own Minecraft Server
Your own Minecraft server is only 5 minutes away! We support simple one click install for over 3298 unique modpacks.
Minecraft Server Hosting
Are you looking for a way to protect yourself while playing Minecraft? Do you need something that will help you stay safe when exploring unfamiliar places or fighting off mobs?
If so, then you should consider making your own shield. With the right materials and some know-how, creating a shield in Minecraft can be an easy task!
Requirements
In case you don’t have a Minecraft Java edition yet, learn how to make a server in Minecraft java. After entering the Minecraft world, you then start with collecting the material first.The basic items needed to craft a shield are: wood planks, an iron ingot, and a few pieces of leather.
Wood planks are easy to come by as they can be obtained by chopping down trees or scavenging them from villages. Iron ingots require more effort because they must be smelted out of ore blocks found deep underground in caves and ravines.
Finally, leather can be acquired by killing animals such as cows or horses and harvesting their hides with shears
Craft Leather
To begin with shield creation in Minecraft, leather crafting is essential. For this process, gather four leather pieces which you can easily find from cows out in the fields. Besides this, a singular wooden plank, obtainable from any tree, is also necessary. And don't forget the crafting table!Lay out 4 leather pieces on the top line. Then, position 1 wooden plank under them in the center square. It should resemble a triangle with small rounds inside. Voila, you've just made a shield!
Craft Iron Ingots
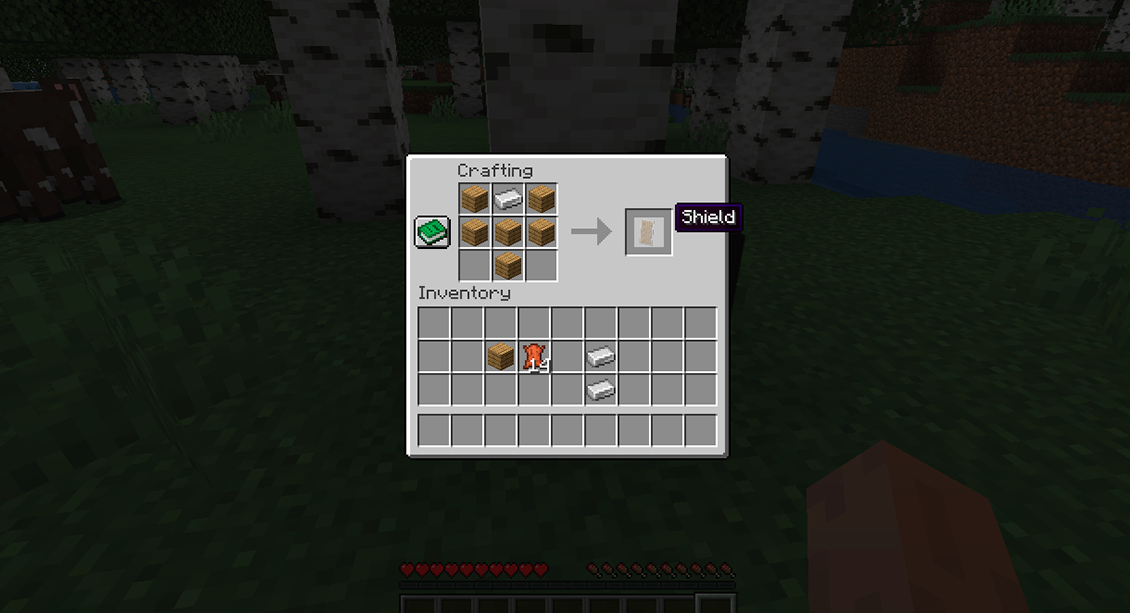
Iron ingots are materials used for crafting. You create these by heating iron ore blocks and fuel in a furnace. This process gives you an iron block. Then, you can craft this block into nine separate iron ingots.Craft the Shield
Here's how you do it. First, you need iron ingots. They come from iron ore. Next, get wood planks. You can get these from chopped trees. Gathered everything? Good. Now, on your crafting table, set things up like this: An iron ingot goes in the middle. Put two wood planks above it and two below it. Voila! Every time you do this recipe, you'll make a shield.When you've made the desired number of shields, put them in your inventory. Shields can give you extra defense from foes. They lessen the harm by half when used to block attacks.
Shields help! They can soak up the push from blasts or similar stuff if you get the timing down. Plus, you can jazz up shields! How? Using a loom block. It lets you put designs or colors on your shield. Makes it really stand out.
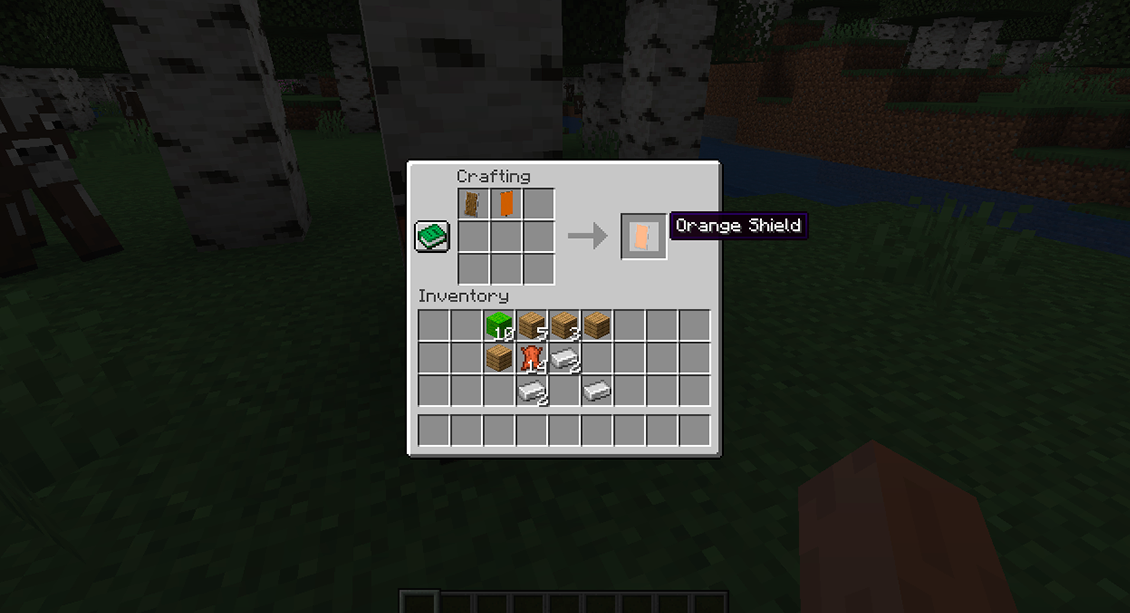
Enhance Shield with Patterns
You've got lots of choices: stripes, polka dots, maybe even artsy patterns. Want symbols or animals on your shield? Go for it! After picking the design, just lay the necessary blocks inside the 2x3 edge of the shield's front side.Making all the blocks fit together, you've ended up with a stunning shield! Display your creation proudly and let it be seen in town! The bold shades and designs on your shield will surely catch people's eyes.
Combining Shields with Other Armor
Once your shield is ready, the next step is mixing it with more armor. Meshing shields with other defense pieces may be a bit tough. There are several points to remember before beginning.Don't forget, adding shields to helmets or chest plates won't offer extra defense. To increase protection, helmets or chest plates are your best bet.
Ensure the armor you pair with your shield holds enough durability for both. If not, they might shatter separately, leaving you exposed!
Frequently Asked Questions
Is It Possible To Dye A Shield In Minecraft?
Yes, it is!
Place the pair together, then simply right-click. The items will unite into a vibrant rendition of your initial shield. Mixing distinct dyes is an option. This helps craft exclusive designs. Your updated shield will definitely grab attention!
What Other Armor Pieces Can I Combine With My Shield?
Think about pairing different helmet or chestplate types. You could, for example, choose a gold helmet and diamond chestplate to go with the shield.
Perhaps you prefer lighter choices, like leather or chainmail. These can give your outfit an interesting touch and increase protection against enemies and crowds.
Add-ons such as capes and elytra wings are available. They freshen up your character's look while allowing you to soar and sprint quickly.
In Minecraft, safety goes beyond shield use. Armor creation is vital too. Craft items like helmets and chestplates. Materials you can use include leather, iron, gold, or diamond.
- When gathering wood, opt for smaller pieces such as sticks or boards instead of larger blocks. These are less space-consuming, letting you navigate your Crafting Table grid with more speed.
How to Put a Banner on a Shield in Minecraft?
Look at this, simply head to your storage list. Locate your best-loved banner. Next, bring it to the shield symbol. Spot this on the screen's bottom right. And there you have it!
Final Thoughts
Minecraft players understand, shields are crucial for protection. Choosing the correct materials and getting the color accurate can shift the outcome. It's your way to defend from aggressive creatures or other players.Pairing your shield with things like helmets and body armor enhances your protection against harm. Want your shield to be quicker? Some useful tricks exist.
Get your online Minecraft server hosting today and start making your own unique shiled in Minecraft!
Make Your Own Minecraft Server
Your own Minecraft server is only 5 minutes away! We support simple one click install for over 3298 unique modpacks.
Start Your Minecraft Server Today!