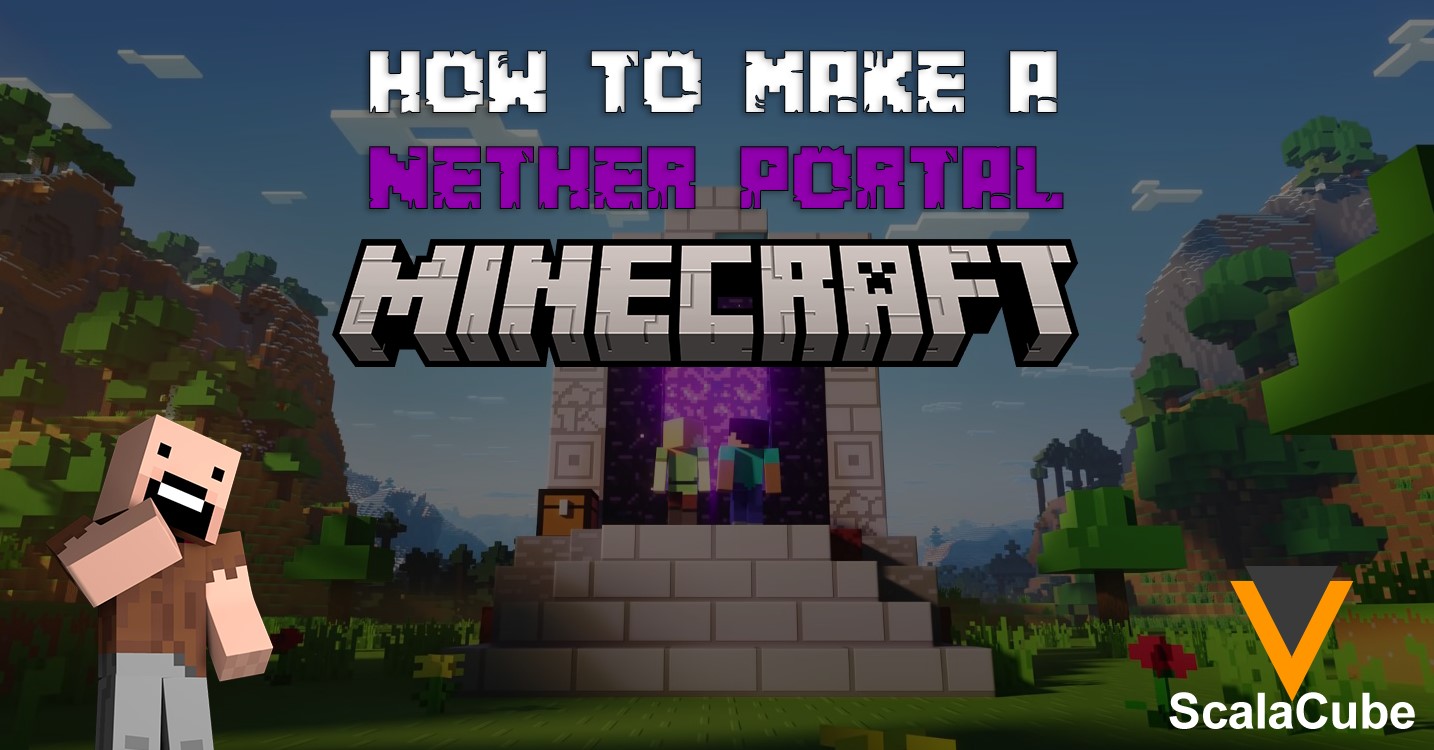
How to Make a Nether Portal in Minecraft
Make Your Own Minecraft Server
Your own Minecraft server is only 5 minutes away! We support simple one click install for over 3298 unique modpacks.
Minecraft Server Hosting
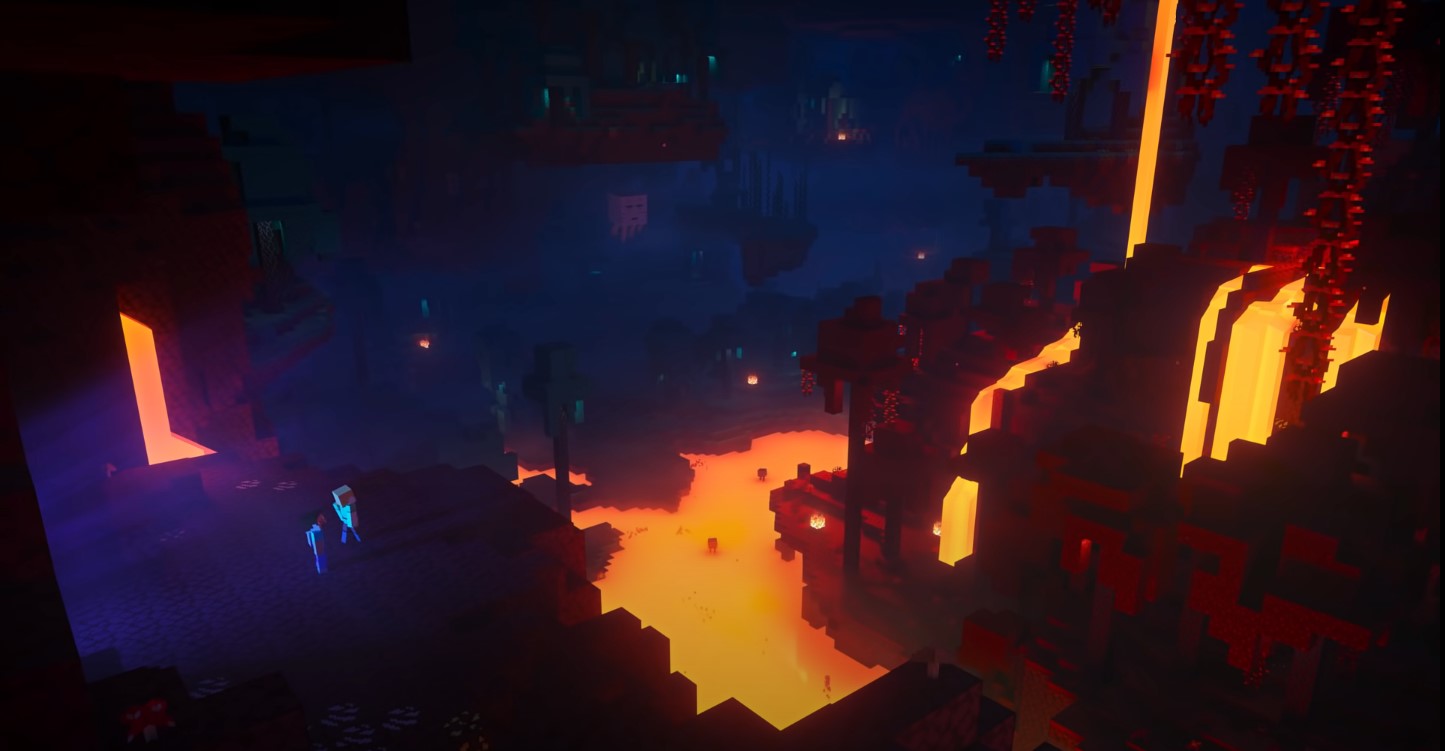
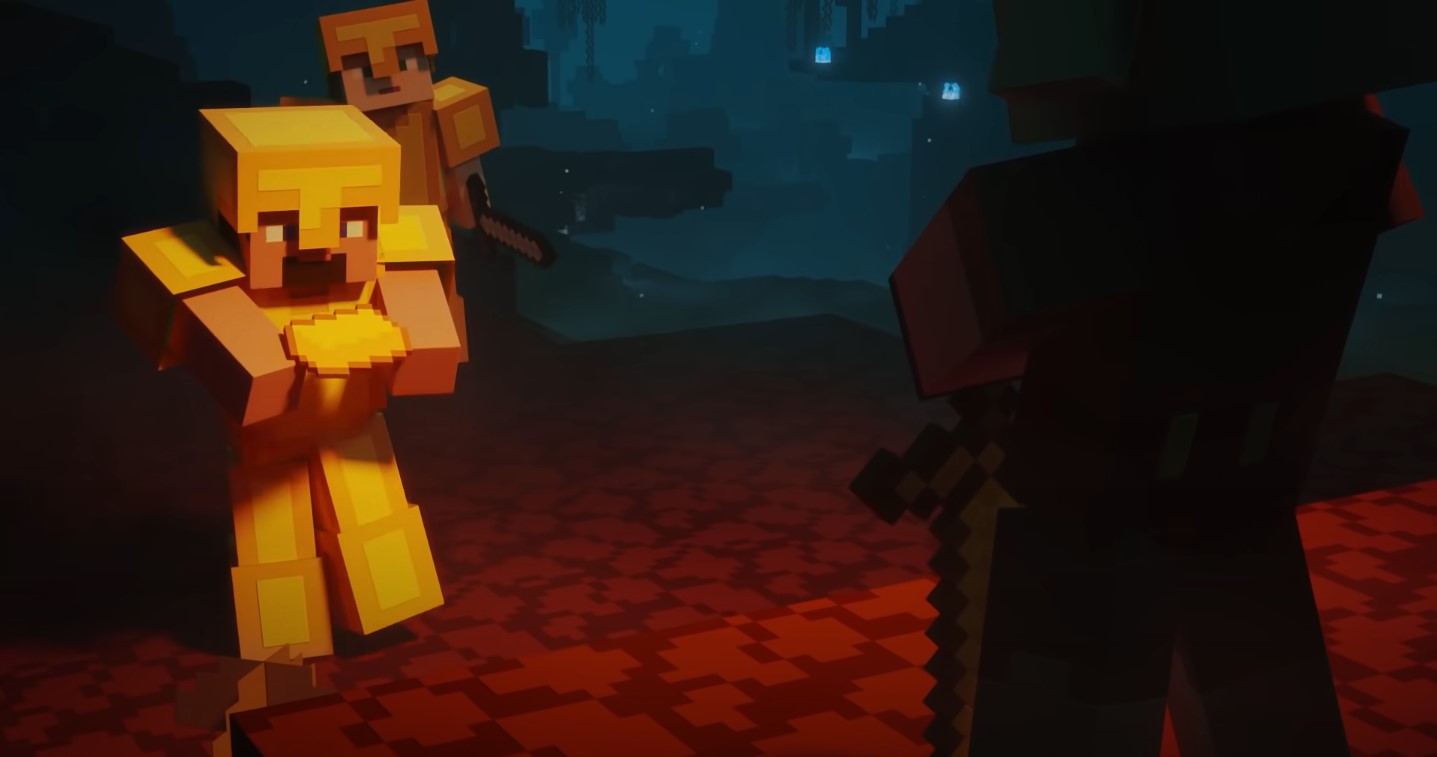
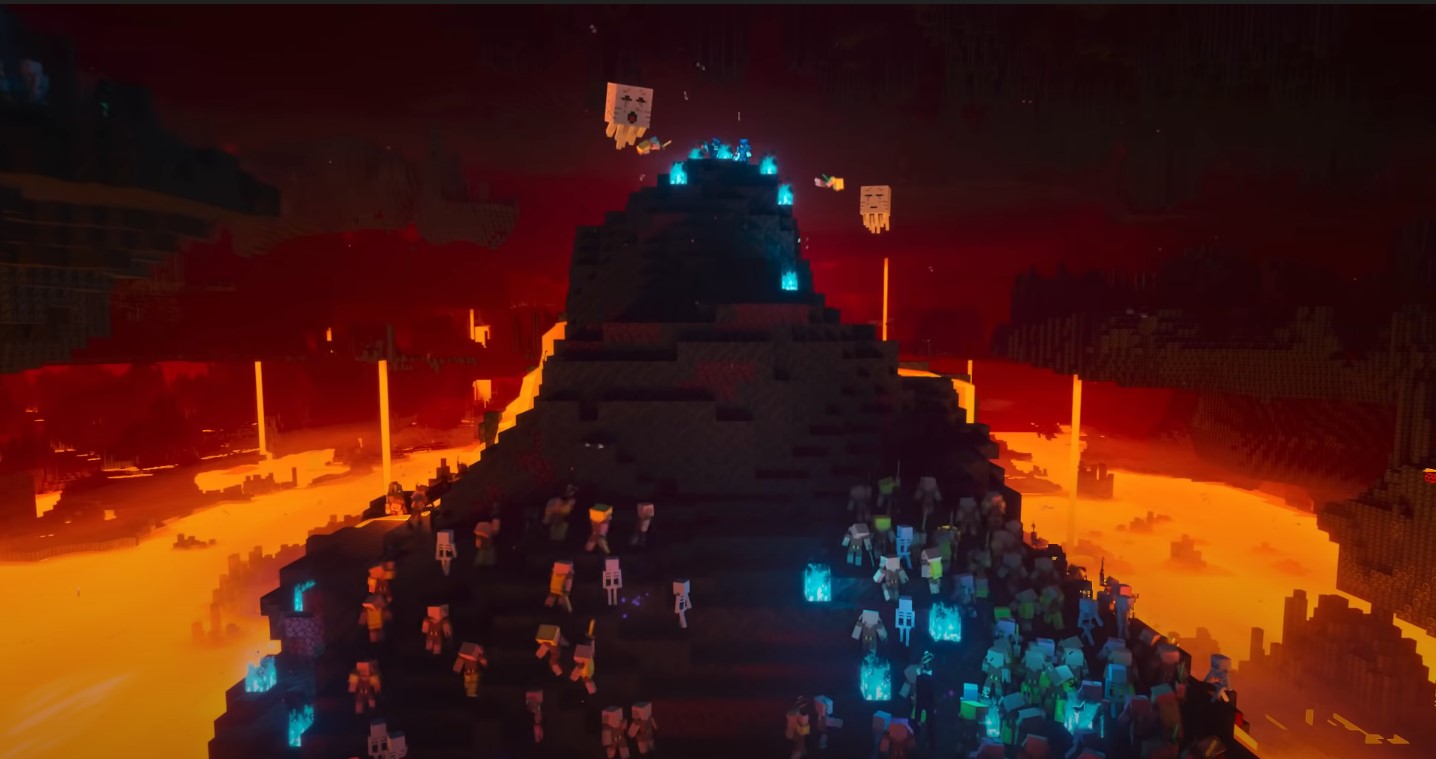
Starting an adventure to the Nether in Minecraft reveals a world looking very much like the game's depiction of a scary underworld. There are lava rivers, bright burning-fires, and mighty zombie warriors everywhere. But, with the insanity comes some essential must-have resources - namely blaze rods and glowstones.
Making a Nether portal isn't a walk in the park, it calls for careful prep. Unlike the plain ease of firing up obsidian blocks in survival game mode, this task consumes heavy prep time. Yet - the payoff mighty - a way to thaiblowing Nether. There, scary creatures, spooky sceneries and huge nether fortresses sit tight.
This site isn't simply for exploring; it's your key to countless special resources and crafting tools needed for your Minecraft journey.
A robust and extremely adjustable Minecraft hosting server allows you to directly add plugins, mods, networks, and other features to the server. All of this is made much easier with ScalaCube Minecraft servers hosting.
ScalaCube servers also include strong configuration options for quickly changing server complexity, allowing you to establish the ideal atmosphere for everyone playing on the server. They can also accommodate a huge number of players at the same time, as long as there is enough RAM and CPU power.
All about Minecraft Nether Portals
A nether gateway is made with at least 10 and a maximum of 14 obsidian blocks. When completed, it should resemble a giant entryway, with a two-block by three-block opening in the middle.
Complete nether portal: A four-sided rectangle with two sides made up of three blocks for the left and right and two sides made up of four blocks for the bottom and top is a nether portal. Think of two pillars supporting a roof that are positioned on a foundation. This calls for the usage of fourteen obsidian blocks.
Partial nether portal: In the end, a nether portal saves you some obsidian because it is still completely functional even without corners. If desired, this can also be used as a method for someone to neaten their nether portal by adding some decorative corners. It is necessary to use ten obsidian blocks for this.
How can you make a nether portal in Minecraft without using diamonds?
It is possible to construct a functional nether portal without collecting the elusive diamonds, despite popular belief. While it's true that the player needs a diamond pickaxe to crack or mine obsidian, which is a necessary resource for creating a nether portal, there are ways to get around this if you want to go quickly. Remember that there are a lot of limitations to this tactic.
To begin, you will require:
- A source of lava: this is a little trickier to locate. Players cannot expect an endless supply of lava; instead, you will need to find a natural reservoir from which to drain. You'll need at least ten buckets of lava, although one iron bucket will carry that lava from far-off places if you have a lot of them. Fortunately, lava can be found in large quantities in Minecraft, both above and below the surface.
- A water source: Water that comes into contact with a lava source block produces obsidian. It suggests that to do this, one requires a natural, sustainable water source. By drilling a hole in the ground that is four by four blocks in size and filling three of the four corners with water, you can create an everlasting well. The final corner will fill up right away. Now that you have a well that is constantly full, you can get water one corner at a time!
- Extra building materials: This may be whatever you want, but go for cobblestone. It is not flammable, is freely available, and is not impacted by gravity like gravel or sand.
- Buckets made of iron: Buckets are useful for carrying liquids from one location to another. In this instance, from where you're receiving the liquid to your nether portal building project. With three iron ingots, you may create iron buckets (smelted from iron ore.)
- Flint and steel: A fire starter is required for illuminating a nether portal after it's made, so keep flint and steel on standby. It is, however, exceedingly simple to make, using just one piece of flint (common in gravel) and one iron ingot.
- A pickaxe: If you picked cobblestone as your material, you'll have to get a pickaxe to mine it after you're finished. It is preferable to use iron or diamond.
Making a nether portal in Minecraft
After you've assembled all of your materials, it's time to get started. First and foremost, confirm that you understand the basic design of a nether gateway. After that's finished, just adhere to the guidelines below to quickly develop a perfect gateway. The secret to making a nether portal without diamonds is easy: water crashing into a lava source block produces obsidian. Make sure the obsidian is shaped precisely the way it needs to be for a nether portal by creating a mold.
To create a nether portal without using diamonds, perform the following steps:
- Locate an appropriate location for your Nether portal. Because Nether monsters can occasionally go via portals. You can either make a closed place for it or keep it apart from anything else.
- Begin by arranging your building bricks in a three-block-by-six-block rectangle on the ground.
- Fill your mold halfway with lava. One should have a single four-block-long line of lava. Each lava block must be full, thus, players need a bucket of lava at each location.
- Go to one end of the mold and fill a bucket with water. This will produce a muck, but you may pick up the water again. Water must stream over the lava bricks, turning them all into obsidian.
- Build a column with a 1-block opening right above the obsidian blocks on each end. This is how we construct the nether portal's sides.
- Steps 3 and 4 should be repeated. Because there is just one technique to manufacture obsidian, you'll be doing a lot of it.
- Steps 5 and 6 should be repeated twice more on both sides. From top to bottom, every side of the nether portal must include five obsidian blocks.
- Now for the conclusion! Construct a little bridge one block below the top of your obsidian columns.
- Provide a bridge railing. The peak of the obsidian columns should be level with the railing. There's no excuse to let lava run wild.
- Steps 3 and 4 should be repeated once more. Once the water has been removed, one should have a fully operational nether portal!
- At least, beneath all of that scaffolding. Remove all of your surplus building material to show your nether portal. Check your dimensions to ensure they are right. If anything isn't correct, try these actions in a new area.
- Finally, use your flint and steel to light one of the nether portal's bottom corners. When everything is in order, the nether gateway will glow an eerie purple. That is your cue to enter.
ScalaCube dedicated server hosting offers low-cost Minecraft server hosting. You may set up an infinite number of gaming servers with an infinite number of slots on a single VPS server using a Control Panel.
It provides VPS servers with limited resources such as RAM, CPU, and disk space. As long as there is adequate RAM and CPU capacity, servers can easily host a huge number of players. Plan descriptions only provide an estimate of how many people the server can support. In actuality, depending on the plugins and modifications loaded on your server, this number might be higher or lower.
FAQ
How many obsidian blocks do I need for a Nether portal?
You'll need a minimum of 10 obsidian blocks to construct a basic Nether portal in Minecraft.
Can I light a Nether portal with anything other than flint and steel?
Flint and steel are the conventional methods, but ghast fireballs or lightning strikes can also ignite portals.
What precautions should I take before entering the Nether?
Equip yourself with sturdy armor, potent weapons, and an ample supply of food to combat the hostile environment and creatures.
Are there specific coordinates for Nether portals in the Overworld?
While there are no fixed coordinates, building your Nether portal near spawn points is advisable for convenience in interdimensional travel.
Make Your Own Minecraft Server
Your own Minecraft server is only 5 minutes away! We support simple one click install for over 3298 unique modpacks.
Start Your Minecraft Server Today!