How To Grow Mushrooms in Minecraft
Make Your Own Minecraft Server For Free
Your own Minecraft server is only 5 minutes away! We support simple one click install for over 1000 unique modpacks.
Free Minecraft Server Hosting

Growing mushrooms in Minecraft isn't as hard as you might think—all you need to do is follow a few basic guidelines.We'll walk you through everything from collecting mushroom spores to finding the perfect environment for your crop and maintaining your growing fungus so that you get the most out of every harvest.
With our tips and tricks, you'll have an abundant supply of delicious mushrooms before long.
Understand the Basics of Mushroom Growth
Claim your discounted cheap Minecraft server hosting first! Then, you need a dark and damp environment with plenty of nutrients and oxygen present. For example, light from torches or other sources should be kept away from the growing area, as this can stunt their growth. Additionally, you'll want to make sure the soil is rich in nutrients for optimal growth.Mycelium blocks offer added dampness, and podzol blocks pack in nutrients not found in plain dirt blocks. If you want faster mushroom growth, try mixing in some bone meal for a bigger crop yield.
You have two options when starting mushrooms - spores or already grown ones. You can plant them in the ground or on things like logs or leaves that compost. Look at them every day, mushrooms grow quick! Picking them often is a good idea.
Suitable Location

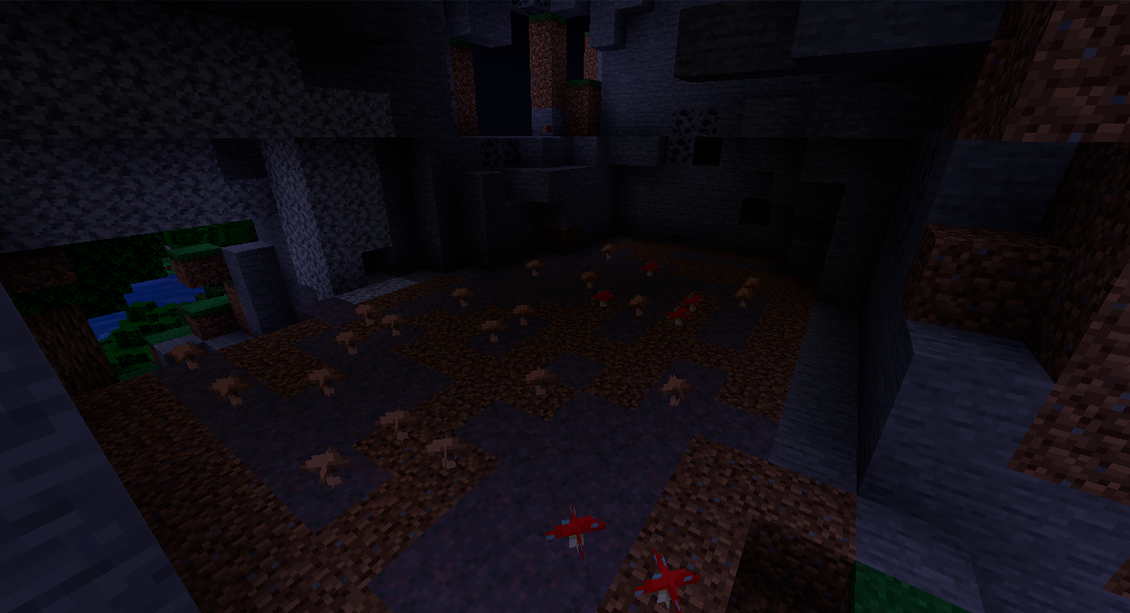
Think about caves or underground places for this task. Mushrooms need light and room to grow, and these spots provide that. Trouble finding the perfect place? Look for mushroom biomes on your map. They're made to help mushrooms flourish.
Identify your mushroom farm site first. Take care to get it ready correctly. Be cautious about water presence; use turtle eggs or sponges to absorb the extra fluid from neighboring water bodies if you can.
Plant The Mushrooms or Grow Brown Mushrooms

Here are five ways to get started:
1. Place each mushroom on its own dirt block
It's simple. Grab each mushroom. Put it on its own block of dirt or grass. Make sure it has lots of light. And then? Watch the mushrooms grow! They'll slowly cover more ground, moving from where you first placed them.2. Plant in patches
Think of this way to craft regular shapes. First, carve out 4x4 squares in the earth. Fill these holes with mycelium. Next, add mushrooms inside. These patches become tiny mushroom islands encircled by mycelium. This gives them a jumpstart as they spread in their fresh surroundings.3. Use bone meal
Not keen on the hard work of making lots of spots for your mushrooms? Here's an option. Simply toss some bone meal about, just anywhere, on the surface. Wait and see the result! Bone meal can boost growth, so feel free to pair it with the methods mentioned before if you wish.4. Upcycle existing farms
Got a mushroom island biome close by? Use it! These biomes are loaded with natural resources. With lots of mycelium and room to grow, adding more spores is easy. Under these perfect conditions, watch them multiply fast!5. Pick up some spawners
Lastly, if the other choices don't fit, consider buying ready-to-use spawners online. They arrive packed with enough spores to start a yield right away, no setup needed. Spawners make mushroom farming easy and quick, no heavy lifting or big bucks required!Monitor the Mushroom Growth
Keep an eye on your space's temperature and moisture. For spores to sprout right, they need heat and damp air. So, helping them grow means keeping these in check.Checking crops often is key. Look out for things like bugs or sickness. Critters like snails, flies, or slugs can be harmful. If they get to the mushrooms, they can cause a lot of harm and lower yields a lot.
Harvest the mushrooms

For mushroom growth, should a player select compost blocks, the only action required is mining the block housing the mushroom stem. This action will release both the stem and head in unison.
On the flip side, using bonemeal means each mushroom needs individual picking. This goes for any extra "mushroom caps" in reddish-brown that might grow, along with the initial one.
Gathering these fungi grants players numerous benefits, either in making stew for a meal or creating decor items like lamps and banners. Players that master the art of mushroom cultivation in Minecraft can reap extra resources from their world!
Frequently Asked Questions
What Type Of Environment Is Best For Mushroom Growth?
Both kinds require dampness and some shade away from sunlight. You can make this happen by making a cover over the spot where they grow.
How Long Does It Take for Mushrooms to Fully Grow?
Usually, tinier types of fungus grow faster than bigger ones. Yet, gamers may observe their crops ripen in a time span from two minutes to about four hours.
Plus, you've got to watch any alterations to the environment after planting. These could mess with the growth speed of your crops. Stay on top of their progress all the way through.
Is It Possible To Grow Mushrooms In A Survival World?
For Minecraft enthusiasts, cultivating mushrooms in a survival setting sounds thrilling. However, it's not always a simple task.
Luckily, we still have methods to boost success rates in growing mushrooms in these scenarios. One trick is applying bone meal on mycelium blocks, offering extra nutrients and supporting growth.
Moreover, using unique blocks such as End Stone can be beneficial. They offer extra safety from unfriendly creatures and assist in keeping the surroundings warm and damp. These are ideal conditions for mushroom farming to flourish!
Do I Have to Use Bonemeal to Grow Mushrooms?
If you want mushrooms to grow faster, use bonemeal. It can help by making more spores pop up around the mushroom blocks. This is useful if the mushrooms don't have enough room or food where they first started growing.Still, excessive bone meal use may lead to quick overgrowth. This can trouble the nearby landscape, a situation players should steer clear of!
Final Thoughts
Mushrooms are a great addition to any Minecraft world. Not only can they be used as decoration, but they can also help you survive longer by providing food and even healing properties.Growing mushrooms in your game is easy once you know the basics of what environment works. You don't need bonemeal for mushroom growth either. If you have enough patience, it's possible to grow mushrooms without using any special items or tools.
Get modded Minecraft server host today and start growing your mushrooms!
Make Your Own Minecraft Server For Free
Your own Minecraft server is only 5 minutes away! We support simple one click install for over 1000 unique modpacks.
Start Your Server For Free!
Copyright 2019-2026 © ScalaCube - All Rights Reserved.