How to Make Potions in Minecraft
Make Your Own Minecraft Server For Free
Your own Minecraft server is only 5 minutes away! We support simple one click install for over 1000 unique modpacks.
Free Minecraft Server Hosting

How to Make Potions in Minecraft
Ever imagined crafting potions in Minecraft? They're quite handy, providing healing or boosting your abilities. Some folks find potion-creation complex, but it's not! This guide will simplify the whole process for you. Get your server hosting Minecraft today and alleviate your gaming experience.Collect the Basics for Brewing
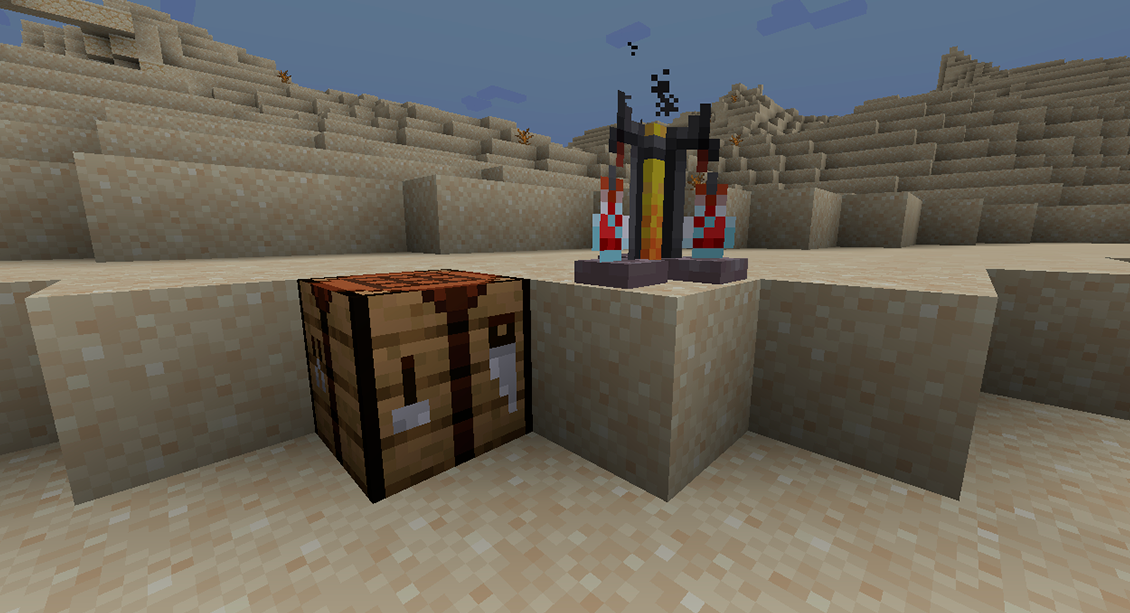
Start by locating a Brewing Stand. Place it on your crafting table. It's your potion-making base.You'll also require Blaze Powder, dropped by Blazes mobs in Nether Fortresses, water bottles, and other components based on your potion choice.
The Art of Brewing Potions in Minecraft
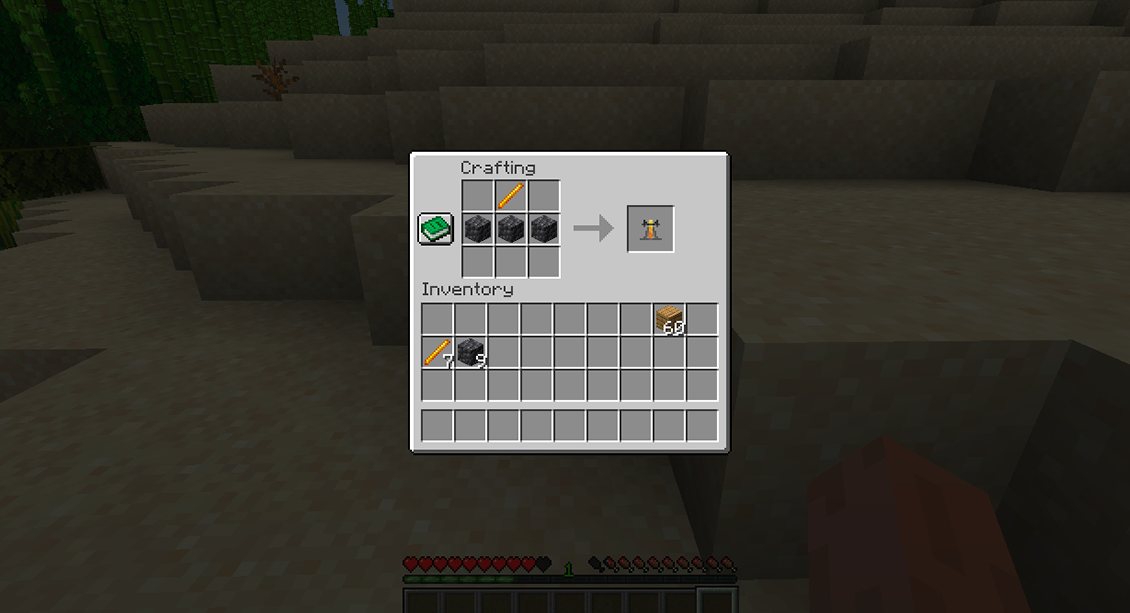
Your resources are ready. Let's see how it all comes together.First, craft a Brewing Stand using blaze rods and cobblestone blocks. Set it up and get some glass bottles ready for your potion.
All set? Let's begin brewing!
Blaze Powder acts as fuel for the Brewing Stand, so slot some in first. Then, add empty bottles and ingredients like Nether Wart and Gunpowder, depending on your potion choice.
Different ingredient combos yield different potions. There are over 25 unique potions you can create! Fill all slots with ingredients, then spark it to life using flint and steel or a fire charge.
Keep in mind, not all combinations yield positive results. At times, they can either fail entirely or produce less potent effects based on the synergy of their mix.

Grasping Potions and Their Impacts
Primarily, there are three main categories of potion: regular, splash, and lingering. Regular potions are for drinking, splash potions necessitate throwing, and lingerings must be placed on a surface.Each kind of potion exhibits different outcomes, influenced by the materials used during brewing.
A regeneration potion, for instance, restores health gradually when consumed.
To brew this, you'll need ingredients like nether wart and possibly redstone or glowstone dust for added potency. Or perhaps you wish to concoct a fire resistance potion? This shields you from flames when near fire or traversing lava. For this result, you'd add magma cream to your brew.
Remember, not all ingredients meld well. It's crucial to test until you discover the most effective blend. Understanding the dynamic between components and practicing their amalgamation will make the process of crafting potent potions easier and enjoyable!
Stacking and Duration of Potion Effects
Considering the stacking of potion effects and their duration is vital during brewing in Minecraft.Potion Stacking
Drinking various potions at once is called stacking. The length of these effects? That's called duration. Let's dive deeper into this game feature.Stacking is simple to grasp: you can drink different potions to have multiple effects active.
You want immunity to fire and more power? Mix Fire Resistance and Strength Potions! You get two effects at once!
However, some potions can cancel each other out or have strange results. So, always do your homework, ask seasoned players before you start mixing.
Potion Duration
Duration answers the question of how long potion effects stick around after you drink them.The time varies by potion type and level. High-level potions usually last longer than low-level ones.Knowing how long your potion combo will last is key so they don't fade too quickly in tough spots.Ever heard about Redstone Dust and Glowstone Dust? Add them to extend duration without boosting the potion’s strength (and its cost)

FAQ
What Types Of Potions Can I Make?
You have the option to make Healing and Night Vision Potions. These will boost your health or improve your nighttime vision, in that order.
Moreover, the 'Splash' variations of these potions can be tossed at foes or allies to share their benefits - handy during team play!
At last, you'll need things like Glowstone Dust and Redstone dust for advanced potion recipes. They make strong concoctions like Regeneration and Fire Resistance.
Is There A Way To Make Potions More Quickly?
Indeed! Players can use a variety of strategies to make potions more quickly than usual. A top technique? Using an automatic potion brewer.
This gadget lets folks make many kinds of potions easily. It does a lot of the hard work that comes with creating them by hand.
Moreover, a bunch of modpacks are equipped with ready-made machines. This makes establishing one even simpler. You have the option to lease a Minecraft server with
Want to make potions quicker? Try Blaze Powder instead of Nether Wart. Blaze Powder yields two doses per potion, as opposed to Wart's single dose. This speeds up the potion-making process by a noticeable amount. Plus, blazes drop powder often, so finding it isn't a big deal.
Are There Any Shortcuts To Making Potions?
Making a potion? Try using stuff like nether wart or glowstone dust. They can replace the separate items needed for each step. This can make things much faster.
You can brew more than one potion at once. Place two cauldrons side by side. You can whip up three potions at the same time. This method is quicker. You don't have to wait for one to complete before starting another. All your potions will be ready together!
Can I Store My Potions For Later Use?
Definitely, storing potions in Minecraft for future need is absolutely possible. It's an excellent strategy to consistently have the correct potion prepared at your fingertips. The only requirement is to create a Brewing Stand and some Glass Bottles using the materials gathered within the game environment.
Final Thoughts
Crafting serums in Minecraft can boost your avatar and simplify jobs. With appropriate materials, you can make potent serums like power-drink or health-drink. This gives you the upper hand against foes.Shortcuts like cauldrons can be used to quickly whip up intricate and strong potions. Once made, you can stash these potions for later, allowing you to reach them anytime required.Get your server hosting Minecraft today and alleviate your gaming experience.

Make Your Own Minecraft Server For Free
Your own Minecraft server is only 5 minutes away! We support simple one click install for over 1000 unique modpacks.
Start Your Server For Free!
Copyright 2019-2026 © ScalaCube - All Rights Reserved.