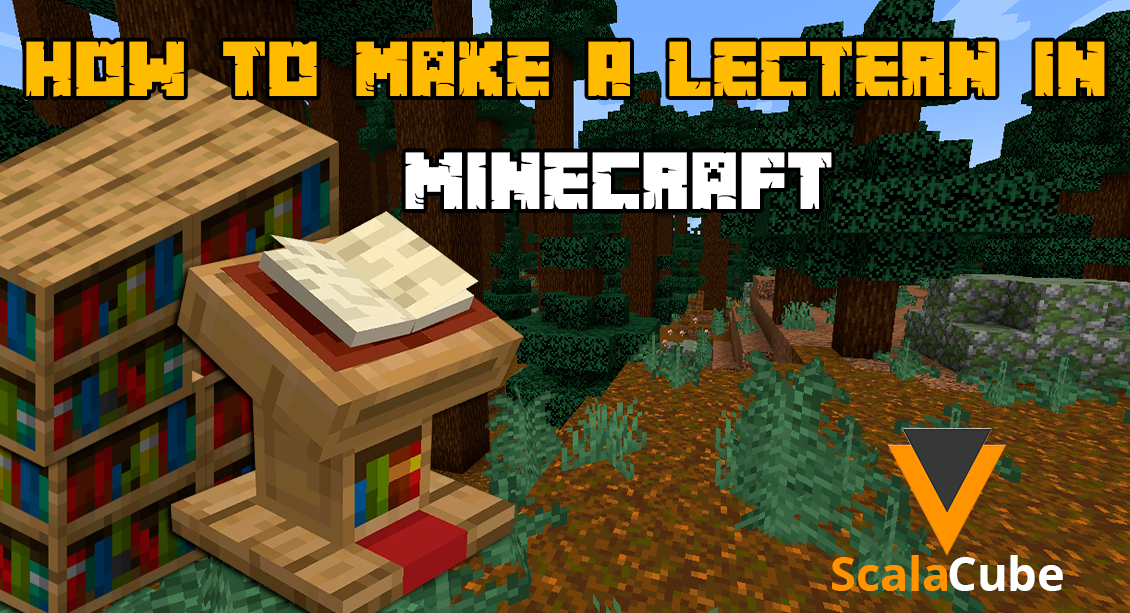
How To Make a Lectern in Minecraft
Make Your Own Minecraft Server
Your own Minecraft server is only 5 minutes away! We support simple one click install for over 3298 unique modpacks.
Minecraft Server Hosting
One of the most impressive things players can build in Minecraft is something many people don't think about are lecterns. With its unique design and ability to display written material, this item provides a compelling centerpiece for any room or structure you create.
In this article, we'll explain how you can make your own custom lectern in Minecraft!
Gather Required Materials
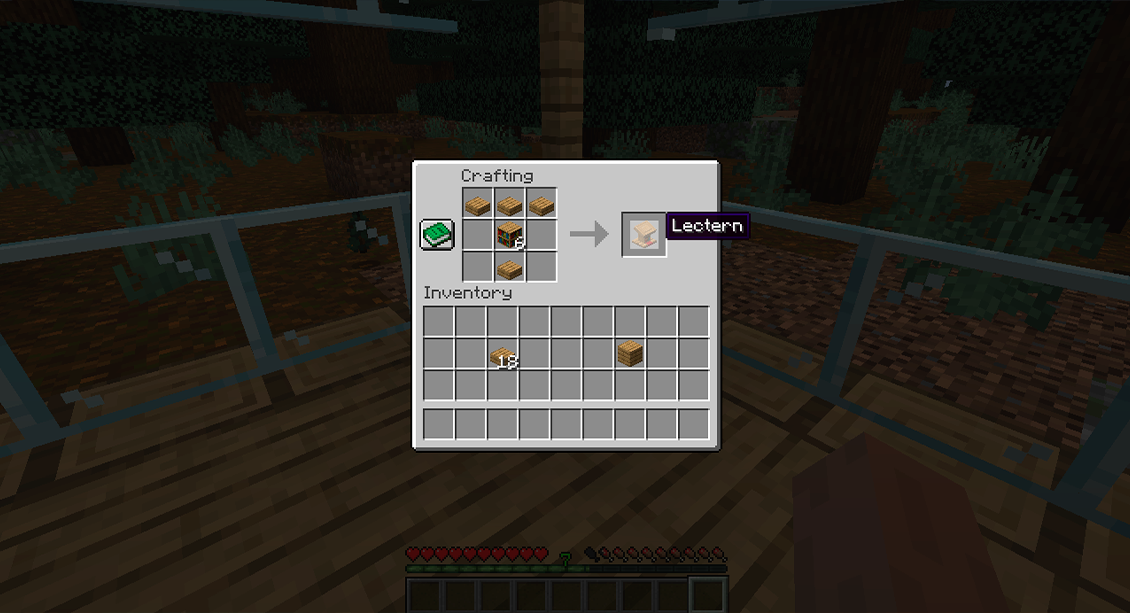
After getting your Minecraft server, the first step to building a lectern in Minecraft is gathering the necessary materials.The items needed for this project are eight planks of any type, four sticks, a book and quill, and one block of your choice, such as stone or quartz. Once you have all these components ready, it's time to begin crafting!
Decide On a Design
Creating a podium in Minecraft needs some thought. The size and form of it impact how smoothly you can make it. Before you start, consider what design would fulfill your needs best.
Pick out the materials and colors for your lectern. Maybe you like wood planks, stone blocks, or colored wool. It's your choice!
Once you've chosen your lectern's style, ready your plans. Sketch it out. You'll see the precise sizes needed for every piece.
Build The Base
After settling on a lectern design, it's building time. The base is a critical part. Why? That's what the whole lectern will lean on. The base's size and look have to match what was picked earlier.Constructing it could involve planks or stone blocks. Let's say, you need four square pillars of the same size for support. You might use two sets of three planks. Then, stack these on top of each other. Finally, connect each tier with corner slabs.
Think of using either plank blocks or stone blocks to make individual forms. You can place these side by side to create a harder design that matches your pre-planned ideas. For extra toughness and strength to your structure, include lines between these distinct parts.
Construct the Legs
Building the legs is step four in creating a lectern. It ensures a sturdy and raised stand for anything you want to put on it.
Start by collecting four wooden steps or similar shaped blocks. At every corner of your base, put one block. Make sure all four touch the base's bottom layer, creating a square shape around it.
Plug the spaces between stair blocks. Use solid pieces like cobblestone or thinner ones like stone bricks. This will build a sturdy base for the other leg parts
- 4 Stair Blocks
- 2 Slab Blocks
- 6 solid blocks
- 1 fence block (optional)
Start by placing the items right. Then, use more wood pieces. Build from each corner. Keep going until you get the height you want.
If extra support is necessary, put up barriers on each side. Use two posts on either side and tie them using a thread or another substance.
Build the Shelf
A shelf offers additional support for any item you put on it, adding style too. To make one, all you need are two wood blocks, a craft table, and several sticks.Start by making four planks out of your wood block using the crafting table. Next, transform these planks into stairs. Do this by arranging them to look like stairs on the crafting table.
Next, transform one log into three slabs. Use the method you did earlier. At last, combine all pieces. Do this by positioning six sticks on each side, like this:
- Stairs should be facing inwards towards each other
- Place one pair directly above one another.
- Place second pair below first pair but slightly offset
- Slabs should be placed between pairs of stairs
- Put two slabs at bottom and one slab at top
Create The Front Face
Lastly, to build a Minecraft lectern, make the front side. Do this by placing a wood block - maybe oak or spruce planks - on top of your structure.Whether you're making a basic or detailed lectern, it's crucial. It could have fancy carvings or just be a plain structure. Regardless, ensure it has ample space. You need room for books, scrolls, or other stuff you plan to put on the lectern later.
Place A Book On The Lectern
Start by picking out an appropriate book you already have or making one with paper and leather. Position this book in the middle of the lectern. Use blocks if necessary to help make sure it lines up just right with the entire structure.Make sure you're happy with the spot, then right-click to secure it. You did it right if you see particles shooting out. That means the book is set!
ADVICE: To make it look more real, put several books on your stand. They don't need to match; use different hues and materials to distinguish each book!
Final Thoughts
To wrap it up, Minecraft lectern construction is quite doable and enjoyable. The wood type you settle on will be based on your desired aesthetics and the room you've got to work with.You can also set up modded Minecraft server to decorate your lectern with paint or dyes to give it extra flair. Additionally, make sure that the book placed on top is not too large so as not to overpower the design.
Lastly, if desired, there is always a way to adjust the height of your lectern without compromising its stability. By following these simple steps, anyone can create their own custom lectern in no time at all!
← How To Breed Frogs In Minecraft
How To Make TNT In Minecraft →
Make Your Own Minecraft Server
Your own Minecraft server is only 5 minutes away! We support simple one click install for over 3298 unique modpacks.
Start Your Minecraft Server Today!