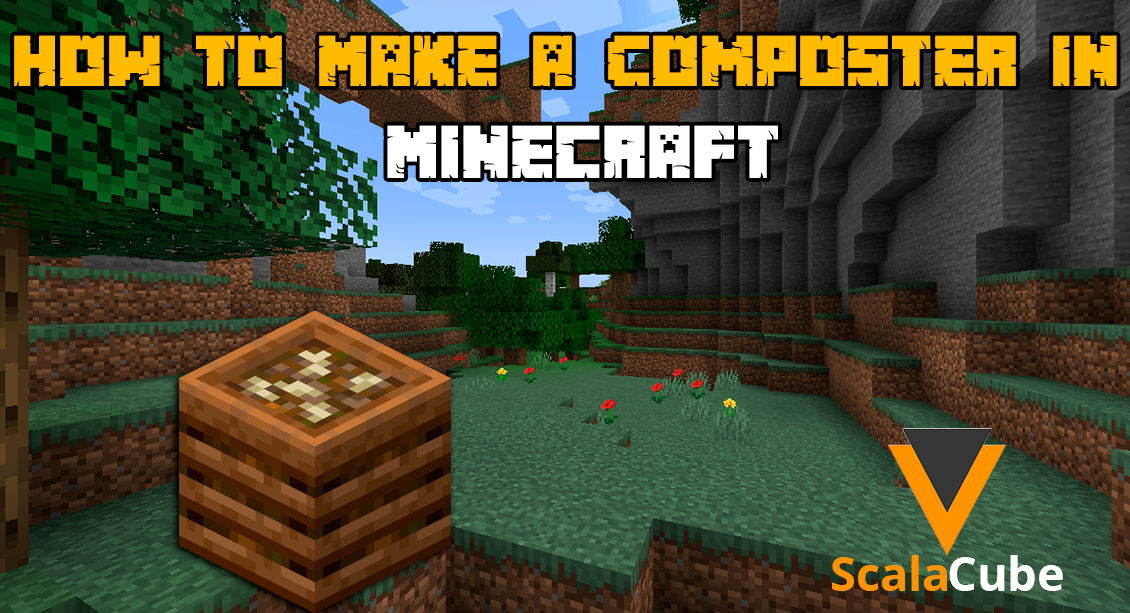
How to Make a Composter in Minecraft
Make Your Own Minecraft Server
Your own Minecraft server is only 5 minutes away! We support simple one click install for over 3298 unique modpacks.
Minecraft Server Hosting
Creating a composter is not only fun, but also useful if you're trying to grow your crops quicker. In addition, when composters are used with farmland, they can give your plants more nutrition and increase their growth rate.
With just some basic tools and materials, you can turn any ordinary dirt block into fertile soil that's perfect for planting anything from trees to flowers.
After setting up a Minecraft server, read this guide to make a composter!
What Does A Composter Do In Minecraft?
Composters are blocks that convert different materials into bonemeal in Minecraft. This acts as a crop fertilizer. They're a handy accessory for players wishing to boost their farming output, considering natural bonemeal is challenging to find in the game.Using a composter is easy. Just put it on your land. Fill it with different green stuff. You can use tree sprouts or bush leaves.
It could take 5 to 15 minutes to finish the process, based on how loaded the composter is. When completed, you get fresh fertilizer all set for use!
Gather Necessary Items
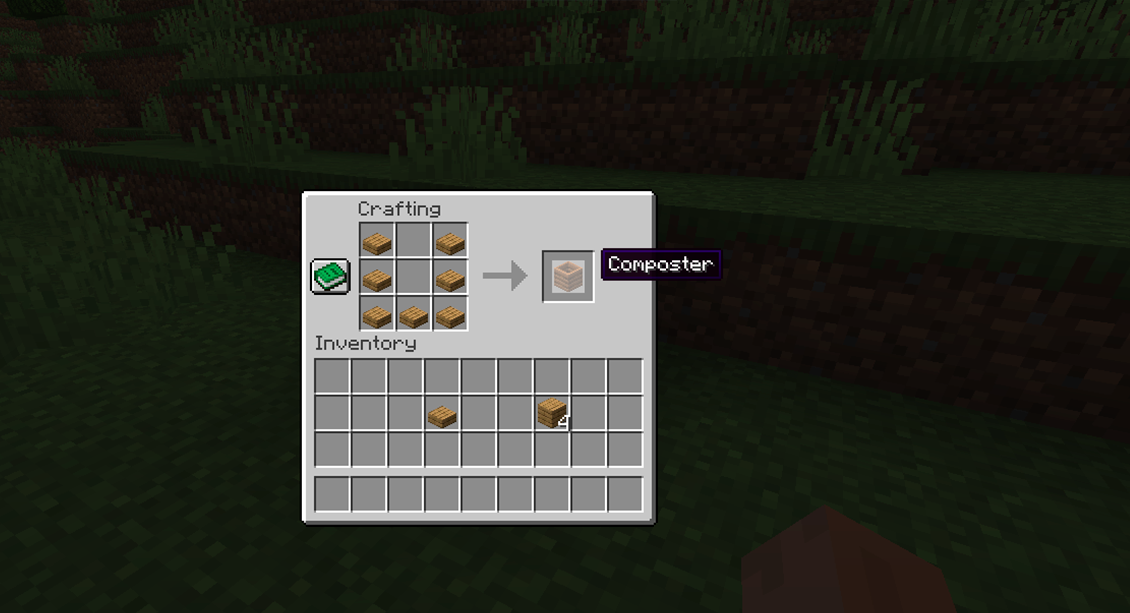
The first step is gathering supplies.Assemble the Composter
Start by stacking four wood blocks atop each other. Do this in the very center box of the 3x3 crafting grid. This gives shape to the composter's sides.Now, put a block in each side square for extra support. Next, fill the last three grids with dirt. After arranging all items right, a complete composter picture pops up in the side box. You can now move it to your inventory below.
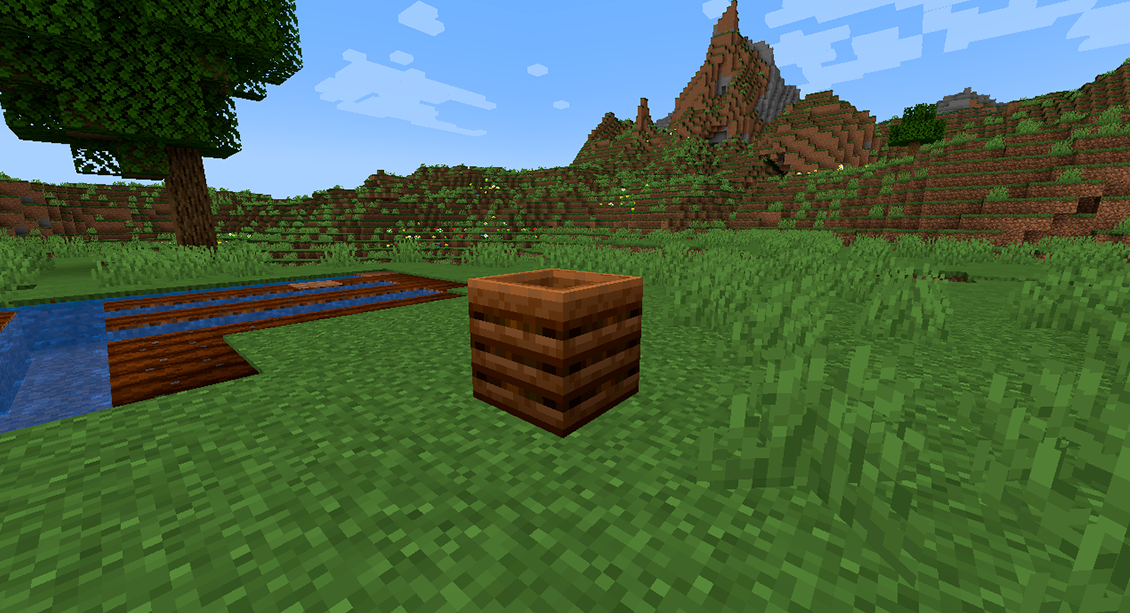
You need to pick a right spot for setting up your composter. Choose an outdoor space that's not close to busy places or buildings. Composters can create odors when used often and call in animals like pigs and chickens. These creatures might stroll onto your land in search of food.
Set up the composter where there's plenty of room. Easy access needs to be a priority - no climbing or reaching into small spaces. Also, ward off water pooling in nearby areas during rain. Too much moisture will create mold inside.
Begin by loading your composter with things like grass cuttings, wilted leaves, scrap vegetables. Remember to chop everything small. It makes break down speedier and more balanced.
When you're putting things in, mix them with dirt or sand from time to time. It lets air in and promotes microbes that help break down garbage faster.
Fill it up until it's about two-thirds full, then close the lid. Check regularly - when it's just right, bacteria start changing solids into good, rich fertilizer!
Place the Composter
Here are 4 steps to successfully placing your new Minecraft compost bin:- Start by picking the location for your composter. Consider the space needed for additional items or mobs near your composter, and how close it is to farms. If you can, place it close so villagers can reach it without trouble.
- Next, position yourself right above the selected spot, facing where you want the compost bin's entrance to be. While you are holding nothing and pressing shift key, right click. Suddenly, a dirt block appears below you - quickly step away from this place!
- Next, apply bonemeal to the freshly positioned dirt block and just like magic - a complete composter materializes! If you want, you can also make a hopper and hook it to your composter's entryway. Don't forget though, hoppers can only accommodate one type of item at once.
- At last, ensure it all appears good - make certain nothing obstructs paths in or out of your build. Once it's all in order, give yourself a high-five - well done! Your unique Minecraft Compost Bin is set for action!
Fill the Composter
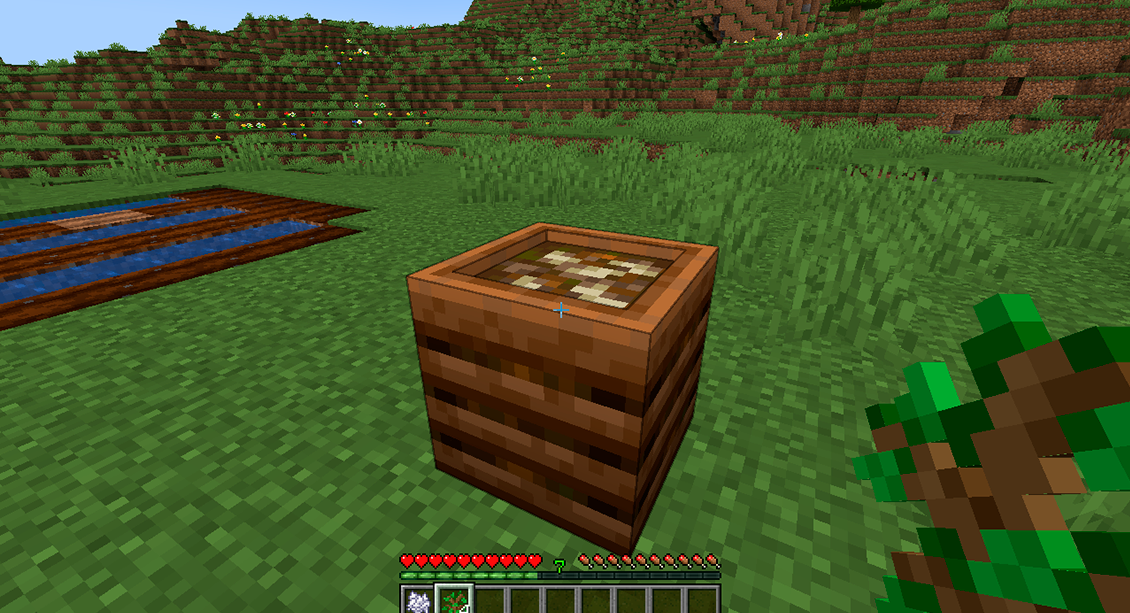
Once you've positioned the composter, you can begin to load it with items to compost. Composters can process many items like plant debris and leftover food.Any parts of a plant, like tree leaves, bush leaves, or grass cuttings, can become compost. This also includes cacti and tiny wood bits. They can all be used to enrich soils in gardens or farms.
Remember, your composter can also hold food waste. Leftovers from meals such as veggie peels, the center and skin of fruits, egg shells, stale bread, and much more are perfect candidates.
These materials offer essential nutrients for the soil and aid in quickening the breakdown of the composter's other organic stuff, making it usable quicker.
Frequently Asked Questions
What Other Items Can Be Composted Besides Food Scraps?
Composting, right? You got to have leaves in there. Full of good stuff - potassium, phosphorus, nitrogen, carbon. Great for plants!
Leaves aren't just for looks - they balance moisture levels in the compost pile. This prevents it from becoming too wet or too dry. There's a bonus, too! adding leaves pulls in helpful bugs such as butterflies and bees. They help by pollinating your crops.
Many folks spot grass cuttings in compost heaps. While folks reckon keeping them scattered over their lawn is healthier for the grass, adding them to a compost bin is advantageous. It speeds up the decay and infuses extra useful nutrients in the final compost mixture.
How Often Should I Rotate The Composter?
- If you’re just composting kitchen scraps, like vegetable peels or fruit cores, once every few days should be enough;
- If you add things like paper products or leaves into the mix, then rotating every day is recommended;
- And if you have added manure or other animal waste, turn it at least twice a week.
Final Thoughts
Turning waste into compost in Minecraft is smart. It puts food scraps to good use. Compost bins are simple to handle. They need little care.So, it’s an ideal choice for players who want to reduce their environmental footprint without having to invest too much time or resources into the process. Get the best Minecraft hosting and start making composter!
← How To Make A Campfire In Minecraft
How To Make A Boat In Minecraft →
Make Your Own Minecraft Server
Your own Minecraft server is only 5 minutes away! We support simple one click install for over 3298 unique modpacks.
Start Your Minecraft Server Today!