How to Beat Hollow Knight Silksong Moorwing Guide
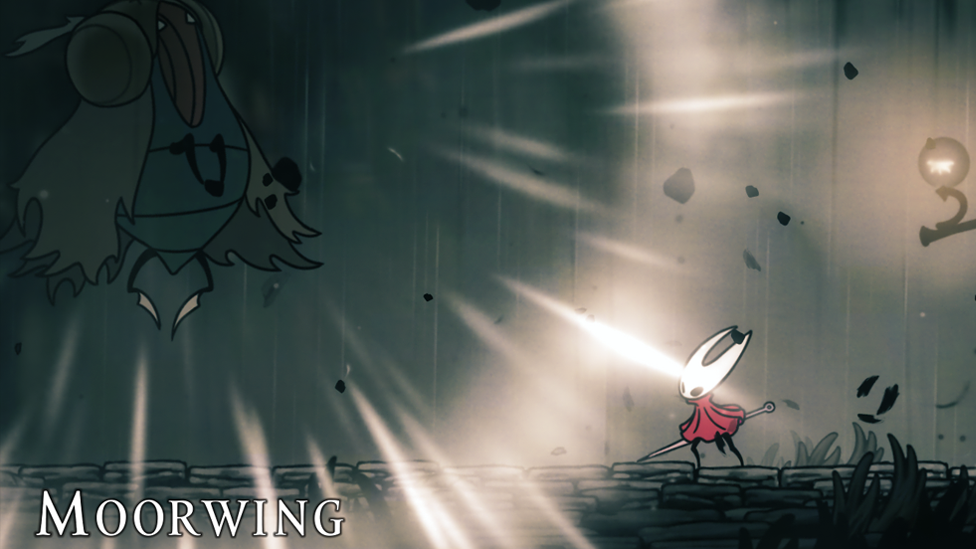
Once they've acquired the Drifter's Cloak in Far Fields, players have a choice: head towards Hunter's March to find the Beast Crest or ascend to Greymoor, which is a dark area where they'll find dangerous enemies. The Greymoor enemies, flitting scissors-wielding and trident-carrying ground ones, are still dangerous, but there isn't anything so dangerous as Moorwing, a formidable mite-type boss. This is a journey that will test your mobility, timing, and resource usage, particularly if you want to proceed to Bellhart, a key area for the main quest, The Threadspun Town.
Moorwing is not a fight to be rushed through. It's a battle that requires careful preparation, knowledge of the battlefield, and control of Hornet's mechanics, namely her dash, pogo, and glide. In this guide, we're going to take you from where to get the boss to how to survive her deadly attacks, culminating in some recommendations for a smooth win.
Where to Find Moorwing Silksong & How to Prepare
Make Your Own game Server
Moorwing is found in Greymoor, or at least in the bottom-left corner of the map. She is inaccessible due to the aggressive flying foes and blockages in the level. The majority of foes in the level cut downwards with scissors or traverse across platforms, and thus one needs to be cautious while navigating through the level. One sure way of accessing the boss is by first continuing to the right after climbing up from Far Fields to Craw Lake, where you encounter Sharma. Then proceed slowly through Greymoor's enemies to arrive at Moorwing's arena. Before fights, it is far better to acquire the Reaper Crest at the Chapel of the Reaper than Moorwing's lands. The Crest is a vital item as it enables you to harvest silk when attacking skills hit enemies. This facilitates healing well in the middle of the fight, which is quite essential because Moorwing's attack methods do not slow down.
To acquire the best loadout, go back to a Halfway Home Bench located in Greymoor's town after purchasing the Reaper Crest. With equipment such as the Straight Pin or Warding Bell, much can be done efficiently. Additionally, having some Memory Lockets plugged into slots can also boost your efficiency with your Crest. Wasting time training here will be uneventful, but it makes it much easier to fight Moorwing and gets you ready for upcoming battles.
How to Beat Moorwing
The battle against Moorwing is divided into two broad stages, both of which are more difficult and require greater effort. The room is relatively spacious, avoiding claustrophobia but allowing Moorwing to use her mobility to the fullest. Position, patience, and timing are extremely crucial for survival.
Phase One
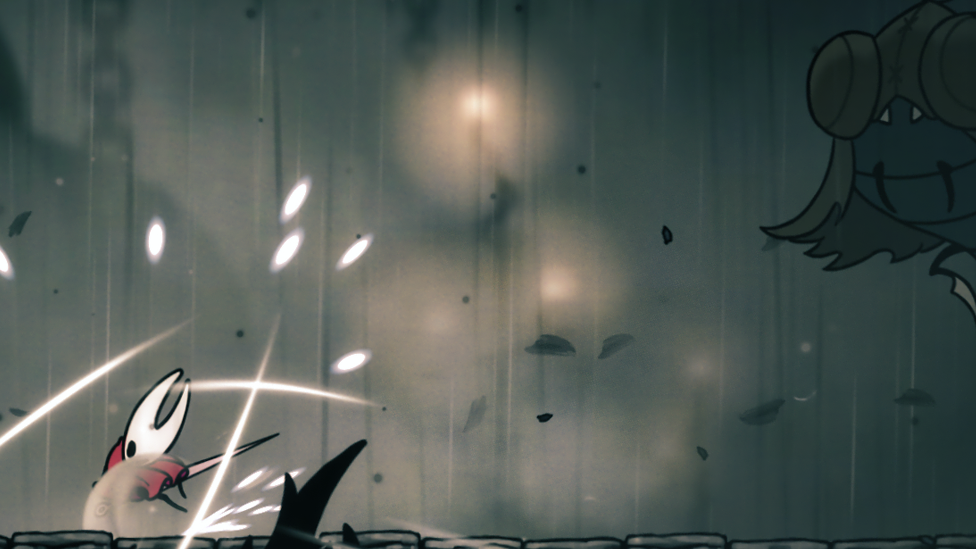
Moorwing's initial attacks are fairly easy to anticipate, but they're still deadly if executed at the wrong time. She will most commonly begin with area-of-effect sweeping attacks, zipping around the arena at high speed. Take advantage of these moments to pogo over her and execute a diagonal pogo attack or nail strike. Her quick-piercing forward attack is particularly deadly; it unleashes a shower of stinger strikes for two masks of damage. The best way of dealing with this is to retreat and observe the timing of the attack first before counterattacking.
Moorwing will also toss bladed projectiles around the ground, precursors to which are indicated with a brief charging animation. Although these can be dodged with vigilance, they will cause tremendous damage if you've miscalculated your jumps. Spacing and patience are key here; don't bunch up the boss or try to keep attacking futilely, for this can very quickly turn into a fatal mistake.
At this point, focus on reducing Moorwing's health without being within range of her. Use your mobility to stay out of her way and swoop attacks, and don't hesitate to retreat for a second to reposition when the arena fills up.
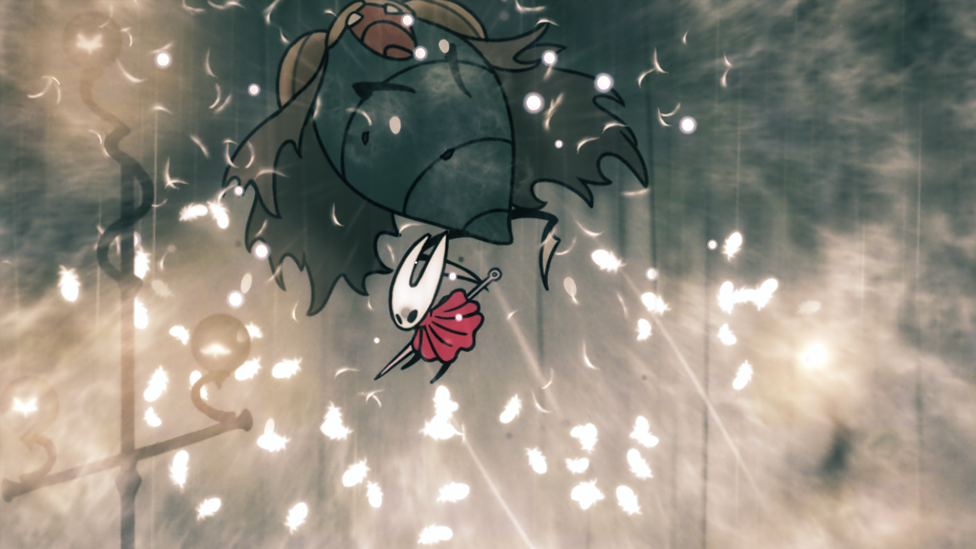
Phase Two
The second phase begins the moment Moorwing releases a squeaky, high-pitched sound, which is the indication of escalation in her attack pattern. She will continue using her swoops and stab attacks, but the arena is riskier now. There is higher projectile density, and she incorporates double ball attacks where there are two bladed projectiles sweeping in, cutting underneath her. The best way to avoid them is either jumping over both simultaneously or getting out of their way. Additionally, her boss will execute occasional single or double projectile attacks that can curve or return unpredictably. Timed carefully and with respect for her telegraphs, repeated damage may be avoided. Skilled use of the Reaper Crest lifesaver at this point is possible. Binding area silk under aggression allows for instant emergency heals and the establishment of a safety net, which can be used to maintain pressure without overextending. Both sideshowing around your attacks and the silk economy are crucial here. Try to attack when Moorwing is about to cancel or immediately after her sweep attack. Patience is a virtue: don't greedily attack but wait for openings to attack safely. Move directly, and use glides and pogos so you can have vertical and horizontal mobility. You can drain Moorwing's health by repeatedly using this technique, thereby making the second stage easier.
General Combat Advice
Look out for positioning: Moorwing's attack is telegraphed but covers a great distance. It's nice to be behind it so you can feel out its path of attack. Utilize vertical positioning: Pogo and gliding with Hornet are a godsend. Pogging and gliding enable you to avoid swoops and lead into counterattacks nicely. Silk management: Reaper Crest is essential. Attempt silk production while attacking, and have healing chances come under your control at the appropriate times. Control pacing: Shun zealot attacks. Conduct calculated assaults, retreat to secure terrain, and remain calm while projectiles flood the arena. Bench strategically: Use benches near Halfway Home or other areas within Greymoor to access top tools, replenish resources, and psyche yourself up for combat.
Rewards for Defeating Moorwing
No equipment upgrades or immediate item rewards are awarded for beating Moorwing, in line with the majority of Silksong bosses. Defeating Moorwing, however, opens up Bellhart, a significant zone that connects to the main questline, The Threadspun Town. Opening up Bellhart develops the story and opens up new areas filled with tough enemies, environmental obstacles, and useful items. Successfully beating Moorwing also boosts your aerial combat, diagonal pogos, and silk handling skills, all of which are necessary to tackle future bosses as well as exploration-related issues.
Moorwing is an important stepping stone within Hollow Knight Silksong. She tests mobility, timing, and resource management in ways even fewer bosses in the original game do. With the Reaper Crest, careful preparation, and fortitude against her attack patterns, she becomes a battle that is a fair, even gratifying, one to have after. Beating this battle sets you up not only to face Bellhart but to deal with later aerial bosses and finicky platforming sections with confidence.