Hollow Knight Silksong How to Beat Lost Lace
By the end of making it to Hollow Knight: Silksong's final act, you'll think you've seen it all: cutthroat arenas, merciless bosses, and a platform gauntlet or three more than you can shake a stick at. But the true test of skill, focus, and determination comes in the fight against Lost Lace. This endgame encounter is not some run-of-the-mill boss fight; it's the culmination of Hornet's tale and arguably the most punishing challenge Team Cherry has ever devised. If you want a Lost Lace guide, this guide will detail her phases, preparing your build, and the tactics you'll use to survive. If you want good Lost Lace tips in Silksong or just want to know you can take her down without getting overpowered, then you only need to read this guide on how to beat Lost Lace.
Entering the Abyss
Make Your Own game Server
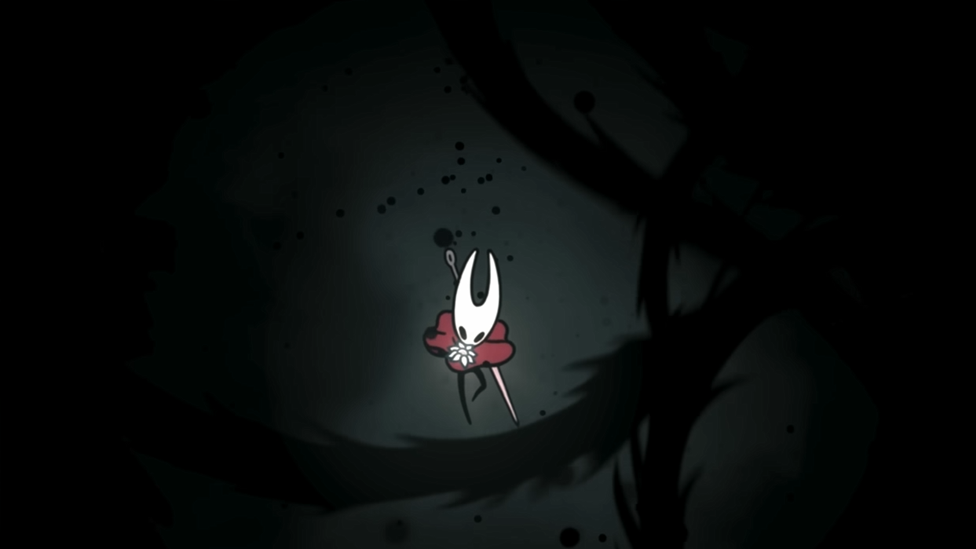
The last battle begins after Hornet falls into the void, plummeting deeper than ever into Pharloom's void-tainted levels. It's not just another arena; it's a choking battlefield with churning void particles, a graphical reminder that Lace has been overwhelmed by the same darkness that you once overwhelmed her godlike mother. The duel is not only imagined as such but also as a rescue operation: Hornet shall save Lac e from herself and the degenerating influence of nothing. Unlike any other boss fight, this one holds almost ritualistic meaning. Hornet is not simply killing an adversary; she is dueling a friend turned enemy, one bound by forces beyond either of their control. This extra bit of narrative elevates the duel to something greater than mechanics; it's brutal, merciless, and irrevocably unforgettable.
Preparing for the Fight
By this point in Silksong, you should have all of the major upgrades at your disposal: all of the mask shards, needle upgrades, and all of the tools and crests. Lost Lace has no patience for anything less. This is conveniently one of the three most challenging fights in the game, and poor preparation will almost certainly lead to failure.
For gear, there is room for variance, but some pieces are exceptions. The Magnetite Dice are irreplaceable. On occasion, they neutralize damage, and in a fight where one slip sends avalanches of hits cascading, this little buffer is worth its weight in gold. Add this to the Cling Grip, which lets you cling to walls and pass up the monster void waves that clutter up the later levels. Together, they provide defensive solidity in an otherwise discombobulating combat. Crests and equipment like the Multibinder and Injector Band aid healing, and the Warding Bell provides you with space to catch your breath. Offensively, Cogfly remains the most desirable, as it continues to chip away at Lace while you focus on staying out of the way of her furious flails. If you'd rather push damage more aggressively, Claw Mirrors can be swapped for defensive gear, but survival is more important than aggression in this marathon fight.
Though optional, I strongly advise upgrading the needle and maxed masks before fighting this boss. The distinction between coming up short with seven masks and living to tell the tale with nine or ten can't be overemphasized.
Phase One: Familiar Yet Fierce
At first glance, the Lost Lace Silksong early stage feels like an overdriven version of her earlier fights. The core concept of her moveset is still present: rapid lunges, aerial dives, slash strings, and parries. But imbued with void energy, every attack now has a sharper edge, a larger hitbox, or an incorporated danger appended on its surface. Her dash attack is the best example. Lace lunges across the arena twice, trailing void tendrils in her wake. On the third move, her choice depends on your positioning: if you’re far away, expect another lunge; if you’re above her, she’ll leap into the air with a dive attack aimed straight at you. Learning this pattern is essential because the third dash is always your punish window. Space yourself carefully, let her complete the sequence, and step in for safe damage. Another key attack is her void tendrils strike. Lace teleports, raises her arm, and slams the ground with dark energy. This move is deceptively easy to punish: simply dash behind her and unload two or three strikes while she recovers. Be mindful, though, she can chain this into a follow-up if you’re not quick.
Her parry remains deadly. The moment you hear the telltale metallic ring, break. Trying to brute it out almost will have you biting into a storm of counters that remove two masks in a flash. Overall, Phase One is a waiting game. Don't overplay, don't be greedy, and keep in mind that Lace is tempting you to make mistakes. Remain calm, punish only when she's low, and conserve your health for the increasing craziness of subsequent phases.
Phase Two: Void Unleashed
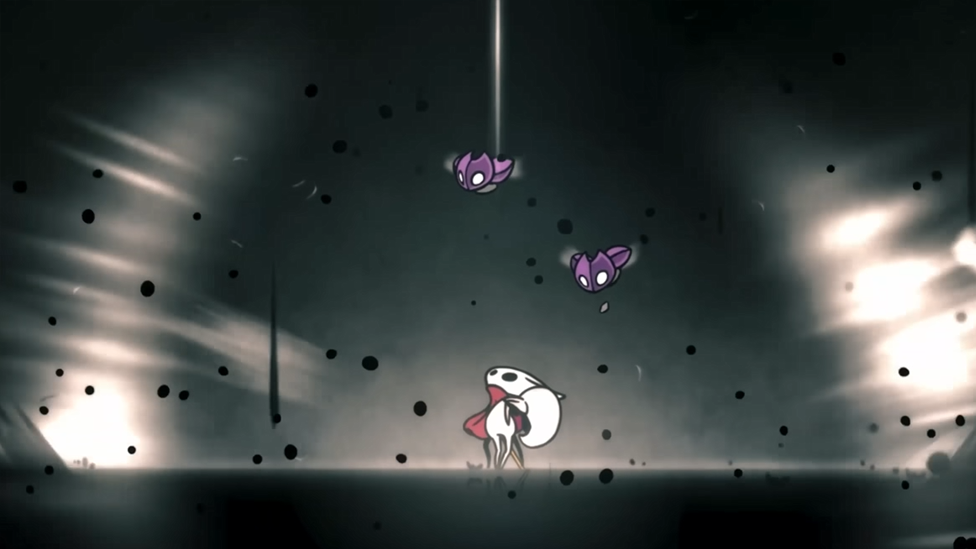
As Lace screams and the void engulfs her further, the second stage begins. It is here that the fight begins to lose its dueling aspect and instead becomes more of a struggle against the environment itself. Her initial attacks are still there, but now they are combined with void hazards that can cover half of the arena. One of the riskier additions is her void tendril burst. Lace flings up her arms, and nothingness clusters burst on the ground in conjunction with the fight. These are noticeable but fleeting; all about positioning and timing. Stay fluid, press through cracks, and don't get into an attack animation until the tendrils recede. A second attack sees Lace shoot void energy into an orb burst, much like the Hollow Knight's attacks in the original game. She jumps up a bit, her chest heals, and orbs propagate outwards. This is actually one of the safer opportunities to punish, as avoiding the projectiles on the ground is pretty simple. Once you have dodged through the orbs perfected, you can take damage before she stands up.
In Phase Two, the floor itself is hostile. Nearly all of her combos are layered with eruptions or void bursts, so you can't get into the same spacing habits from Phase One anymore. The fight becomes more reactive, so you have to read not only Lace but the floor itself.
The Intermission: A Breather Before the Storm
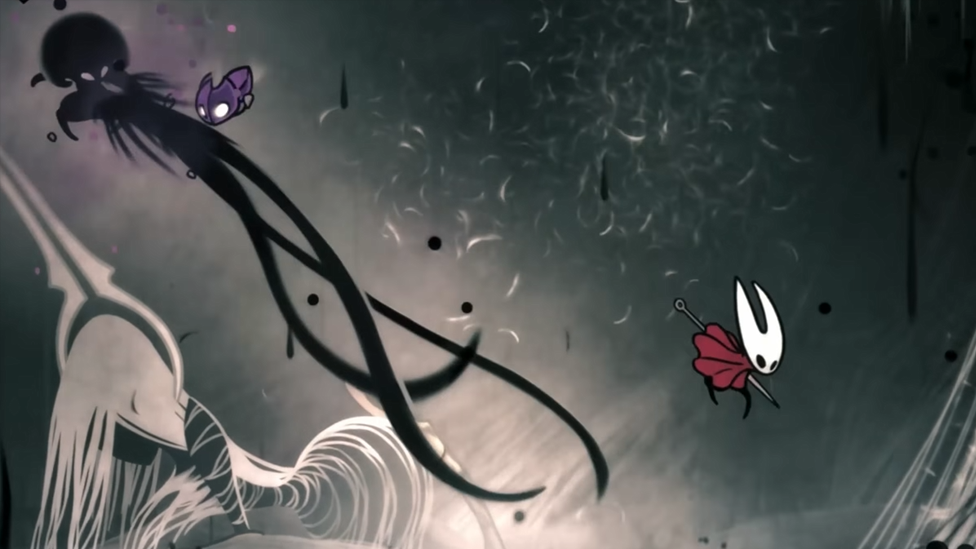
Between Phase Two and Phase Three, a cutscene-like intermission occurs. Grandmother Silk breaks free of her bindings, and waves of void come crashing in from either side of the arena. While you’re not actively dueling Lace during this sequence, survival is still critical. There are a few methods to deal with the void waves. The preferred method is to utilize your Faydown Cloak, grappling, or dashing to glide just above their surface. The waves look intimidating, but they have nicer hitboxes than you might expect, so you can carefully slip through. Alternatively, if you're not as certain of your timing, wall-hanging with the Cling Grip or stalling with jumps and grapples is a safer, though less classy, option. Whatever solution you employ for it, this interlude also serves as a rehearsal for the final trial, where the waves return in deadly guise.
Phase Three: The Final Trial
The last battle of Lost Lace is complete chaos. Lace here out of the blue as blood-soaked as ever, stringing attacks together with minimal downtime. Every hit is faster, every hazard more intricate, and room for error is reduced to a bare minimum. Your biggest strengths here are your Cogflies. Send them out early, and let them pummel Lace while you focus most of your attention on dodging. You can still punish her herself, but glances are infrequent, and pushing too hard will almost always leave you wanting. She introduces some new mechanics in this stage, most notably the black-and-white rings that spawn projectiles with unnerving accuracy. The most secure tactic is simply to remain stationary, out of harm's way, and wait for projectiles to fade. The same goes for her glowing white aura circles; getting caught in one results in three masks of harm, so positioning is essential. The circles are also punishment windows, as Lace always retreats into the arena after casting them.
Visually, this is all overwhelming. Particles, flashes, and screen shake get all mixed up in sensory overload. If you find that you're struggling to keep everything sorted out, turn off screen shake from options. Alternatively, you can use short aerial stalls to regain your view and hear the audio cue announcing her next move. Patience is important. Do one or two pounces per window. Let your Cogflies keep up with steady DPS. Play to keep alive, not play aggressively. The fight takes a while, but remaining calm is what separates winning from losing.
Victory and Resolution
When you finally drain Lace's health, the battle doesn't end in a final blow. Instead, Hornet catches her falling form, contorting her, liberating her from the void's clutches. Grandmother Silk gifts her power, and they both emerge from the pit, leading Lace to safety. Technically, it's a scripted sequence you can't possibly fail, but thematically, it's a moment of freedom after one of the hardest battles in the game. Beating Lost Lace is not about receiving a sparkle of a new charm or a new skill. The reward is closure, the resolution of Hornet's arc, the redemption of her archenemy, and the ultimate climb out of the darkness.
Final Thoughts
Acquiring the skills to beat Lost Lace in Silksong is a test of stamina, pattern recognition, and preparation. Phase One is waiting and distancing, Phase Two is adjusting to the accumulation of peril, and Phase Three is plain survival with intense pressure. With the proper gear, smarter play, and resolve, the battle is possible, if still trying. This fight is designed to test everything you've learned. It demands discipline, punishes indulgence, and causes you to have to trust your instincts. And it is one of the most significant rewards in the whole Hollow Knight franchise. And when you finally crawl out of the depths, having given birth to Lace from nothingness, the struggle will have been so much worth it.