Hollow Knight Silksong The Underworks Full Guide
The most atmospheric and challenging area in Hollow Knight Silksong is The Underworks. Following the defeat of the toughest boss at the beginning of the game, The Last Judge, the players find themselves facing this underground labyrinth for the first time. On first impression, it seems that triumph must open the Citadel itself. Instead, the game pulls the old trick on you: a shaft from an elevator under the Grand Gate collapses, and Hornet falls into a twisted wreckage of steel, spires, and choking darkness.
That's preceded by a long, multi-visit trip through corridors in which every foe packs a bigger punch than anticipated, where equipment creaks and almost crushes you, and where secrets lurk behind nearly every door. Unlike much of the game, however, the Underworks can't be "completed" in one run-through; you'll make your way through it a handful of times, uncovering new paths as you gain traversal equipment like the Clawline. If you're wondering about the Underworks map, Silksong, benches, or even how to leave the Underworks Silksong, this guide takes apart everything step by step.
The Fall and First Bench

Make Your Own game Server
After the elevator collapses, Hornet lands in a dimly lit chamber with a bench available for 15 Rosaries. It’s tempting to rest here, but it's not essential; your respawn point is already nearby. If you’re low on funds, save your currency. Now, from here, don't charge immediately. Jump down instead. Stealth, charging will aggro multiple Underpoke enemies simultaneously, and their lunging strike will kill you immediately. Proceed cautiously to the right, along a corridor of spikes. It appears to be a dead-end, but it contains your first great reward: the Delver's Drill, a tool useful for clearing clutter as well as upgrading your combat abilities.
Climbing To the Map
With the Drill, climb the shaft in the center. Underpokes await here, bait their approach and strike back with quick Needle slashes. Keep climbing until you see a lever. Pulling it drops a suspended platform, which allows access to an unused room. Within, search carefully: Bone Scroll: behind a destructible wall. Silksong the Underworks map: purchased from the area’s map-maker. This is essential. The Underworks is a maze, and you’ll regret leaving without a map. This marks the real beginning of your exploration.
Mechanical Hazards and Hidden NPCs
Eastward, the Underworks changes tone. Natural caves are long behind you; now there are machines and traps. Spikled-topped giant blocks travel along the floor and ceiling, and you'll be timing dashes around save spots. Walls are your friends now, and don't hesitate to use enemies as platforms when platforms collapse out from under your feet. At a significant crossroads: Left Path: Leads to a duel with an Undercrank. Harsh and ruthless, this one guards a secret room behind a Shard Bundle. They can be slain as an optional fight if you want additional supplies. Right Path: Penetrates deeper into the Underworks, through more spike-block obstacles. Going up, you'll find Loam, an odd NPC who seems to energize the Underworks' equipment. He won't have quests or tools here, but his enigmatic monologues add depth to Pharloom's history.
Benches, Secrets, and Confession
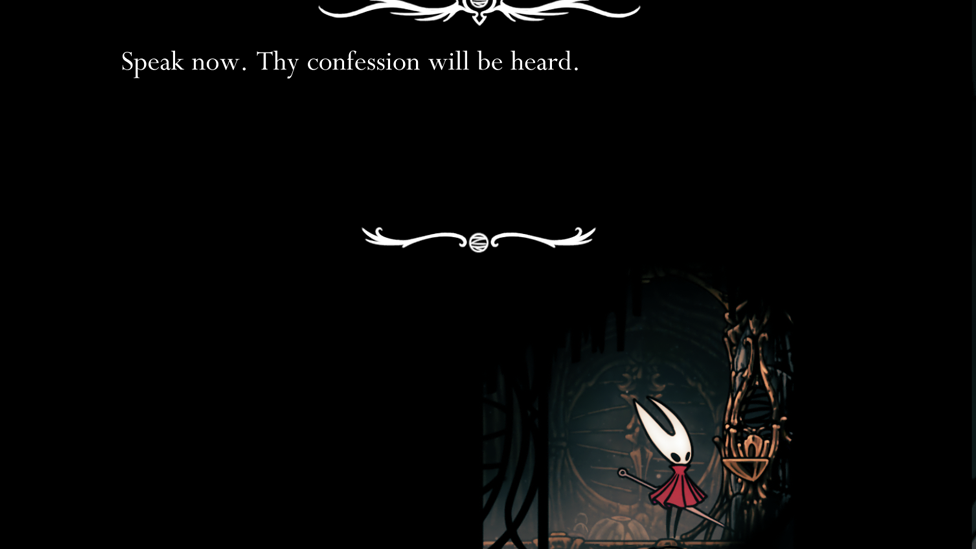
A bit further along, there is a sign directing you to the left to a second bench. This costs 25 Rosaries, so prepare yourself. It's worth the wait since the rest of it is much tougher. Take a sec to scan the left wall before you take a seat for a secret entry that takes you to a Memory Locket. These pieces of information aren't plentiful, so don't skip them. In the corner is a small room where "Confession" is available for an additional 25 Rosaries. All fiction, Hornet gets down on their knees, and foreboding whispers contribute to the Pharloom enigma. No game value, but worth it for lore fans.
Enemy Gauntlet
And then there's the gross wave-level challenge. You'll get a few rounds of Underpokes, Undercranks, and flyers, each wave having more complexity. The game plan is to take out the flyers first before attacking the high-damage threats. Defeating this gauntlet opens up the route and at last allows you to loop back down to the starting zone with a new shortcut. Finally, you will find yourself in the bridge section near where you began, so it's a great loop, so you won't be as much of a punishment to die there. From there, the route leads directly into twisty tunnels lined with Drapeflies and Drapemites. Head through the gauntlet of tight spots until you reach the switch that blasts open a hatch to the Choral Chambers, which finishes your first playthrough of the Underworks.
Second Visit – The Cauldron and Clawline
After progressing through the Choral Chambers and passing the Whiteward, Hornet re-enters the Underworks from the opposite side. This time, you’re heading toward the heart of the Cauldron, a fiery, mechanical sub-zone. Lava, Exploding Enemies, and Lost Fleas Begin by going to the west bench first. Then, bring it down gradually. Gale and pogoing on your enemies is the ideal response; headlong charges into combat will have you scrambling in no time. At ground level, go left to face waves of explode-on-contact beetle creatures. Stand your ground against these, and you'll receive one of the few Lost Fleas that are part of an early side quest.
Arena Challenge
Before heading right into the lava corridors, climb upward and left into an arena chamber. Here, you’ll face a lengthy sequence: Round 1: Underworker + Underloft Round 2: Underworker, Underloft, Undersweep Round 3: Underloft + Undercrank Round 4: Undercrank (smashes through the floor on defeat) Final Round: Underloft + Underpoke With limited safe space and stacked-up enemies, this is one of the toughest fights in the Underworks. Kill them all to be rewarded with a Spool Fragment and a nice cut short.
Lava Falls and Clawline Power
Right leads you through one of the Underworks' most challenging sections, hazardous platforms crumble away, lava flows from the ceiling, and enemies blast on impact. The key is to travel over them using burning coals as stepping stones, never staying still long enough for a blaze to engulf you. Make it through this gauntlet, and you'll arrive at the Clawline, a grappling power that drastically alters the way you move.
Having acquired it, the chamber itself rectifies as a rock climbing obstacle, forcing you to master the Clawline sooner or later simply to exit. Scaling to the summit ejects you near your former bench. Well done, you now have the device that allows you to access the remainder of Silksong, the Underworks. Before departing, don't forget to head upstairs to greet the Twelfth Architect, a trader who sells the Architect's Key and unique equipment. To his left is a hidden location with the other Spool Fragment.
Third Visit – Trobbio's Stage and Beyond
Your initial foray into the Underworks likely occurs following the conquest of Trobbio, the flashy entertainer. Stage left, leaving his arena leaves you in the Whispering Vaults, which lead back into the Underworks. Through the Clawline, the entire area is accessible. It is where you will ultimately choose how to leave the Underworks Silksong and connect it to the rest of the world of Pharloom. With the Clawline, explore vertical shafts you could previously not access. This connects the Underworks directly into the Grand Bellway, giving you yet another Memory Locket. While it might seem like this creates a route into the Exhaust Organ, sadly, that path only works one way; you can’t use it to exit. Still, by this point, you’ll have fully charted the Underworks, uncovered its shortcuts, defeated its unique enemies, and gathered the key collectibles.
Conclusion
The Underworks is a harsh but unfading zone in Hollow Knight Silksong. From fatal spike machines to maze corridors, penal enemy gauntlets, and the Clawsaving Clawline upgrade that will guarantee survival, it's one of Pharloom's most difficult tests. And yet it's filled to the brim with secrets, Bone Scrolls, Lost Fleas, Memory Lockets, and encounters full of lore. If you do get stuck, be sure to pick up the Silksong the Underworks map beforehand, work its dangers up to, and pick up as many shortcuts as you can. Once you have the zone under your belt and learned how to exit the Underworks Silksong, you'll not only be more powerful but far better equipped for the perils that lie deeper within Pharloom.