Hollow Knight Silksong Greymoor Full Guide
When reminiscing on the first game, you may feel like Greymoor feels close to the situations and looks of the first game. You will reach this area once you gain the Drifter’s Cloak in Far Fields. The area of Greymoor is spooky and extremely dense with enemies. You need to not only adventure through these lands, but also defeat the area with Hornet’s weapon and abilities picked up throughout the playthrough. The first thing you will notice is the level of difficulty and damage the enemies can bring. In this Hollow Knight Silksong Greymoor walkthrough, you will learn the best way to go about defeating this area and how to progress through.
The Descent Into Greymoor
Make Your Own game Server
As soon as you enter the Hollow Knight Silksong Greymoor map, the atmosphere is completely transformed. The whisper of Far Fields is replaced with stifling silence, punctuated by distant drops of water echoing through the large cavern. Before you is a massive vertical shaft, lined with shattered stone platforms that crumble beneath Hornet's weight. The only way to go is down, and the game doesn't wait long to remind you that this new level is a lot more hostile than the last. Tiny airborne creatures cling to the walls, swooping out in wild curves as you drop. Their speed can be intimidating for new players, so the best strategy is to get them to attack, dodge with the Drifter's Cloak, and retaliate at once. Below the shaft is a bench within a secluded alcove. Rest here, because what follows is a gauntlet of more difficult creatures and aggressive platforming. A closed-off gate closes off the lower passageway, and the switch to open it is concealed within a thin wall to the right. Blow away the thin rock, go into the thin cave, and flip the lever. The gate creaks open, giving entrance to Greymoor's inner depths.
The Forgotten Foundry
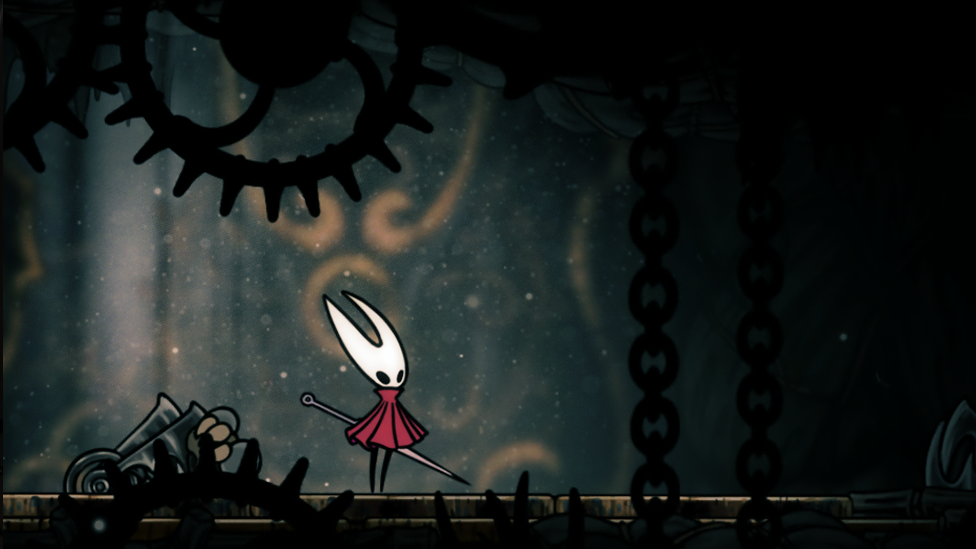
Going deeper still, the cavern opens up into an enormous chamber filled with broken machinery. The area, the Forgotten Foundry, is a sweeping testimony to one civilization that once thrived here. Sparks flash from shattered pipes, illuminating the silhouettes of bent laborers who now guard ruins. They are slow but enormously powerful-hitting, hauling monstrous tools with wide arcs. All attacks are brutal, so timing and patience become the rule. Baiting them into overreaching and dashing through their sweeps, you can punish from behind without inflicting undue damage. The foundry presents its first real puzzle: a locked door with three burning sockets. To open it, you must investigate three side tunnels exiting the room. Each is an ordeal by fire and endurance. The passage at the top is a maze of narrow catwalks in which enemies pound against the walls, shattering the ceiling. Travel with care and employ your cloak to dash beneath falling rocks. The left passage drops you into an arena filled with armor crawlers scuttling about, brushing off feeble attacks until their shells break. It is a long battle that needs you to balance ferocity with discretion. The right passage drops you into a dimly lit chamber where hovering sentinels fire spitting bits of burning metal. They pound you relentlessly, with you needing to dodge projectiles before striking at the best time.
As you claim the keys from each of these tests and find your way back to the main chamber, the massive foundry gate groans open. Beyond it is a stairway leading downwards, which is lit by smoldering fissures in the earth. The lower you go, the more strongly the heat seems to beat against the walls, until the path explodes out into a cathedral-sized hall of twisted metal.
Threads of the Past
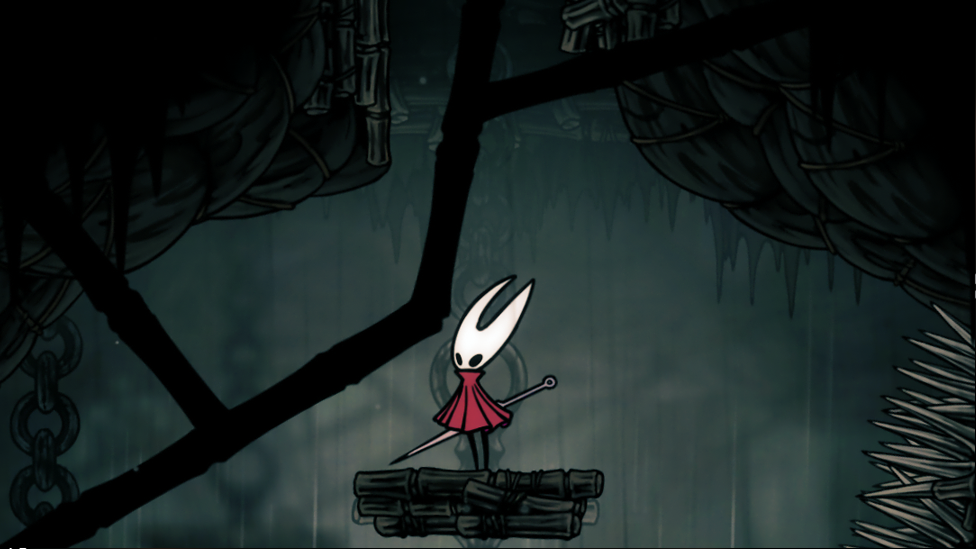
The hallway soon narrows into a vertical shaft contained in brittle ledges. Every step you take here is risky. Some of the platforms collapse the moment you try to step on them, and others vanish after one or two seconds. Timing is everything. Hornet's Drifter's Cloak proves useful in this part of the game, enabling you to dash from falling rocks with just the right amount of time to cover to the next platform. At the bottom of this shaft lies a shrine clothed in tattered silken banners. This is Thread Shrine number one, a place of remembrance and resilience. Kneeling here, Hornet acquires the Needle Recall technique, a fighting technique that allows her to automatically withdraw her weapon if lost by an opponent.
The shrine not only provides you with an ability, but it also alters the landscape. Spores begin to flower on the walls, and they form bouncy growths that act as springboards. With this new method of movement, you can bounce back up the shaft and into a previously inaccessible corridor higher above. This mechanic becomes the center of Greymoor's puzzles later on, where you learn to string dashes, recalls, and springboard jumps together into seamless sequences of motion.
A Hidden Ally
The next room is a complete contrast to the mechanical violence that has come before in the Hollow Knight Silksong Greymoor map. There, the walls are lined with soot, and candles are the only light left scattered around in the darkness. The enemies are more insidious, as well, figures that jump out at you on the edges of sight, waiting for a chance to strike. When you clear them out, a hooded traveler named Kael emerges from the shadows. He speaks little of his past but offers up his power in the upcoming battles. Accepting his aid allows you to call upon him in the region's boss battle, which is already a challenging fight to start with. Even though they can continue without him, the choice is in part a testament to one of the motifs of Silksong: the value of friends in a perilous universe.
The Hollow Warden
At the terminus of Greymoor stands a colossal gate with chains that clank ominously as one approaches. Going through brings you into the Warden's Keep, an abandoned hall with shattered statues of guards. The Hollow Warden, the Hollow Knight Silksong Greymoor boss, awaits at the far end of this corridor. He is a towering figure surrounded in broken shackles, wielding an enormous greatsword worn from being serviced for centuries. He attacks savagely but with restraint. He slams the sword into the ground to create shockwaves that propagate across the arena, swings his chains at you to try and suck you in towards him, and bellows out a roar that fills the room with sound damage. The Needle Recall ability is useful here, as otherwise the chain attack will drain you of your needles.
The fight is long and laborious, but with Kael assisting you, the pressure is somewhat relieved. He lures the Warden into the right moments, giving you a window to attack while safe. The actual challenge is keeping control of positioning, staying pressuring without allowing him to get into the flow of his savage swings. After a long battle, the Hollow Warden ultimately dies, his chains snapping off as the arena itself begins to crumble. In his place, you are granted the Echo Chain, a travel tool allowing Hornet to grapple through wide spaces.
Leaving Greymoor
After defeating Warden, the chains sealing off the far pass fall, and an exposed, narrow staircase leading upward are made accessible. At the top is a peaceful exit, and you leave Greymoor's oppressive halls behind to enter the Ashen Hollows beyond. There is a resting place to wait here, gasping before what lies next. Greymoor has tested your reflexes, your patience, and your skill with Hornet's weapons. Greymoor is not just another area; it's a statement of how Silksong disrupts expectations, with each step forward needing competence and resolve.