Hollow Knight Silksong Choral Chambers Full Guide
If you’ve just survived the grueling fight against the Last Judge and crawled your way out of the twisting corridors of the Underworks, the gilded halls of the Choral Chambers await you. This area marks your first major step into the heart of the Citadel, and it wastes no time in showing its scale. Gleaming architecture hides hidden dangers, puzzles, and fast-travel opportunities. Some call it the "Forgotten Crossroads of the Citadel," as it is a massive crossroads to a number of different routes, cutscenes, and one of the game's best boss battles.
This walkthrough will serve as your complete Silksong Choral Chambers guide. It covers how to navigate the lower halls, where to unlock fast travel, secrets you’ll want to find along the way, and how to reach the boss battle that defines this section of the Citadel. Alongside exploration tips, we’ll highlight the importance of unlocking benches and Bellways, and how to make the most of the Hollow Knight Silksong Choral Chambers map for smoother exploration.
First Steps in the Choral Chambers
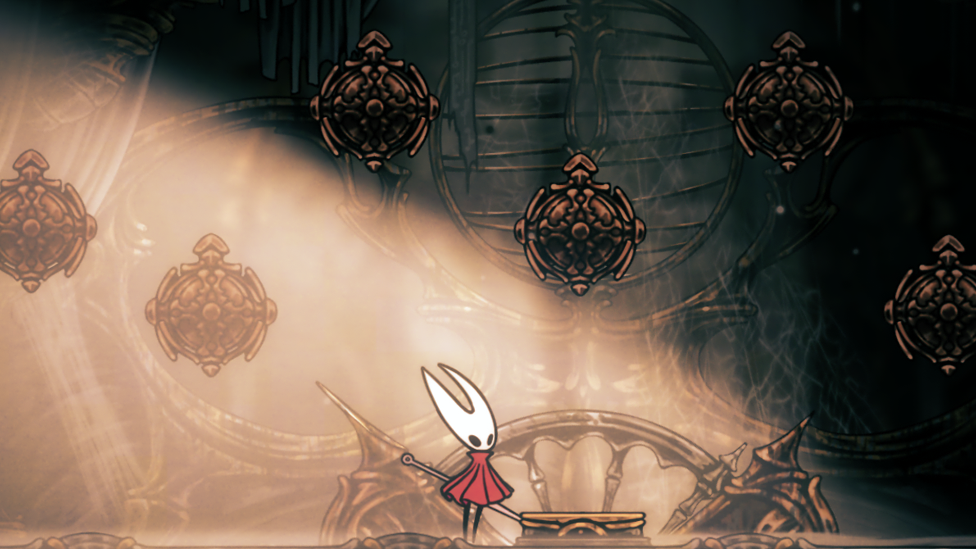
You'll first come out of the Underworks into a huge chamber with a few doors. Go left immediately to treat yourself to something you've been craving: a free bench to sit. Sit here because you'll likely be coming back to this checkpoint quite often as you explore. Beyond this bench is a circular room with a cut back to the Grand Gate, but your best bet is to ascend and enter the golden labyrinth proper. Flicking switches along the way will gradually unlock hatches and secret passages, presenting an early taste of just how integrated this area will be.
Before you go too far, locate the map salesman here; the Hollow Knight Silksong Choral Chambers map has to be bought. It is one of the largest, most disorienting parts of the game, and without a map, you'll be lost on main paths and side paths.
Lower Halls and Early Challenges
Make Your Own game Server
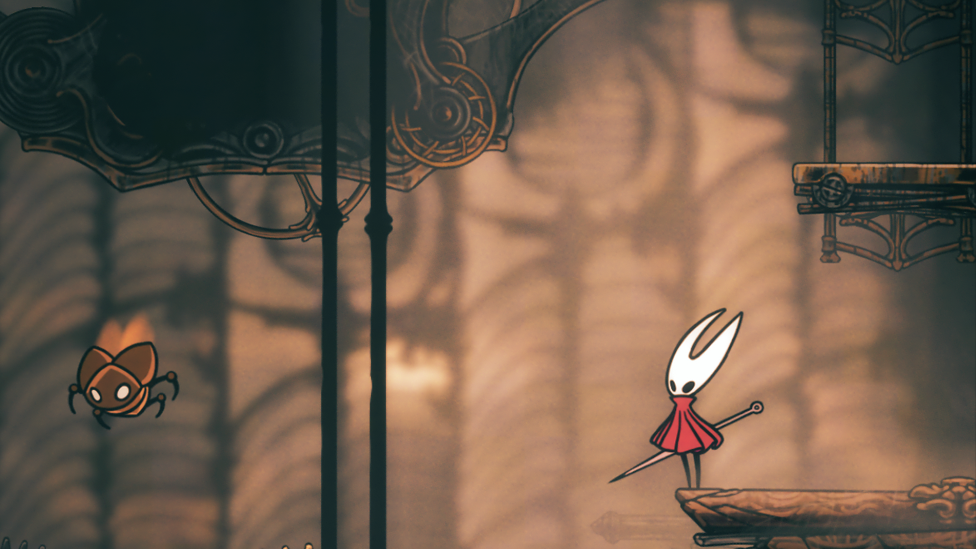
The first half of exploration introduces you to enemies donning sophisticated finery, often red-tipped to mark their more damaging attacks. They come backed by wide, heavy clubs, others by projectiles off in the distance. You will certainly be able to vanquish them, but the first goal is to survive and explore. A few side rooms splinter off, some being closed off by locked elevators or plugged walls. One of the elevators only operates by way of a special key you won't possess until much, much later, so make sure to mark where it is so that you can go back to it. Some of the other corridors have secret Rosaries, or piles of bodies that will awaken at Lace's behest. This dance-based combat reminds you that she is always lurking, taunting your determination. Exploring downwards from these initial halls uncovers groups of spider enemies in hatch-like rooms. They are not strong but can form clumps rapidly. Eliminating them has the benefit of keeping your rear routes clear.
Finding Ventrica Stations
As with other areas of Pharloom, Bellways and Ventrica Stations are the lifeblood of travel. In the leftmost sections of the Choral Chambers, you’ll eventually unlock your first Ventrica Station. This one is particularly vital, as it becomes the hub connecting the Citadel’s massive infrastructure. To gain access to it, you'll have to navigate through silk-threaded hallways, levers that reveal new pathways, and some rooms filled with optional waves of baddies. Activating this station redesigns the entire area, allowing skipping over wide sections and direct access to treasure hunting or boss preparation. After this, be careful of levers behind broken walls or beneath platforms. These open doors that ring around to your platform or bench cut death by a whole lot.
Puzzle Rooms and Rewards
Choral Chambers is not entirely combat. There are specific chambers that give you timing puzzles, pressure plates, and bell sequences. One chamber asks you to mirror a pattern of rings for a set of bells. Completing the three sequences that progress up to you gives you a Cogheart Piece, one of the upgrade-specific Citadel lore and specialty collectibles. Other platforming-based challenges are also present. Look for timed platforms that break beneath you, spinning saw blades that slice through golden hallways, and narrow ledges where dash accuracy matters. Some of them conceal stacks of Rosaries, collectibles, or mission items, so it's well worth returning later with fresh movement skills.
Mid-Game Encounters
As you climb through the central halls, you'll find that some of the corridors go into long dining halls, spas, or ritual chapels. All of these are stuffed to the rafters with atmosphere and danger. A case in point is the Citadel Spa. It looks harmless at first glance, but breaking through the floor reveals an underfloor piping network and an access tunnel leading into a future quest chain. The other routes test your stamina with battles. Big areas give you hordes of silk-wrapped baddies, flying insects, and big melee monsters. You can just rush through them, but defeating them typically rewards you with Rosaries or opens up progress levers. One of the more useful mid-game items, a Silkeater, can be found in the bottom-right corners. Another hidden secret is a Memory Locket, hidden behind falling walls and spiked traps. These world-building items add depth to Pharloom's history and to your collection.
Preparing for the Boss
All routes through the Choral Chambers culminate in one inevitable battle: the Silksong Choral Chambers boss. Ensure that you've rested at a few benches and resupplied your silk before engaging them. By this time, you will have opened two Bellways and a Ventrica Station, or two, which will cut down the runback considerably if you get killed fighting. You will also have earned some handy tools, e.g., the Far Fields' Warding Bell or additional Mask Shards, which will turn the situation in your favor.
The Boss of the Choral Chambers
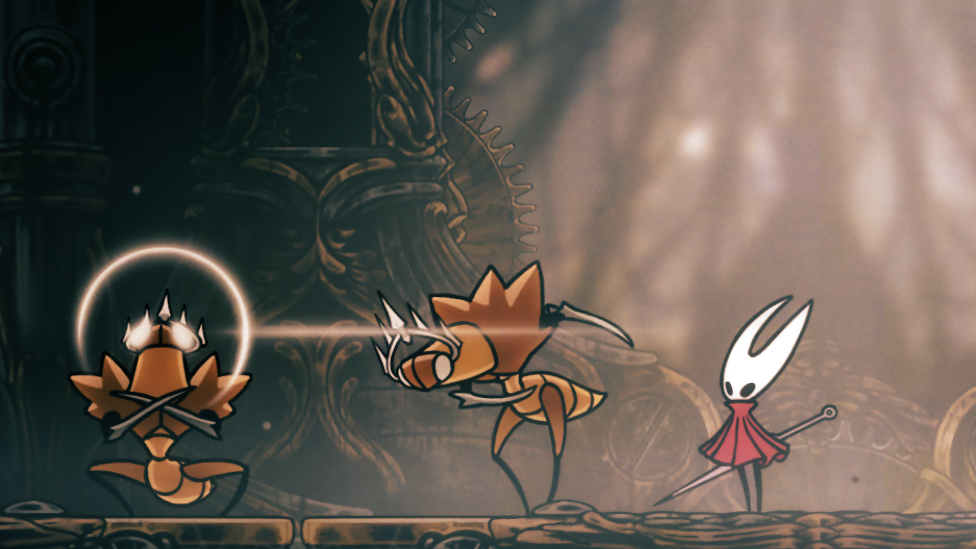
Farthest from the top-left corridors is the Cogwork Dancers' platform, the main Silksong Choral Chambers boss. This duo (or trio, depending on how the fight spirals out of control) is a vortex of gearwork fluidity. They attack together, spinning and leaping about the chamber in a rhythmic-like synchrony. The fight is more about rhythm and endurance rather than brute force. Paying attention to their habits, parrying together, and back-flanking into crowded areas are the means to survival. The fight is tough, but it's worth it. Not only do you unlock the Cogwork Core externally, but you also find new paths that make the Citadel much easier to navigate.
After the Boss – What's Next
Beating the Cogwork Dancers just means the Choral Chambers are not yet done. It instead opens up more of the Citadel, and High Halls gates, more shortcuts, and side quests with NPCs like the Royal Mergwin. It's where the town of Songclave also begins to populate, with NPCs gradually filling up the area as you go along. At this point, the Hollow Knight Silksong Choral Chambers map is worth gold. Use it to discover unexplored areas, locate secret Rosary stashes, and locate side quest NPCs. Because of its scope and densely populated architecture, one run of the Chambers will not provide all of its secrets.
Conclusion
The Choral Chambers is among Hollow Knight Silksong's most expansive sections, combining puzzle chambers with maze-like exploration and one of the series' best boss battles. It's half hub, half gauntlet, half treasure horde. This Silksong Choral Chambers guide should be capable of cutting through the uncertainty and focusing on key goals: unlock the map, destroy benches and Ventrica Stations, utilize secret shortcuts, and prepare for the Cogwork Dancers. After you beat them, the Citadel really begins to open up, and Pharloom feels more vibrant and expansive than ever.