Dawntreader Quest Guide in Avowed
Avowed is packed full of many different quests, each with its own charm. Just one such example of this is the Dawntreader quest, which is one of many side quests in the game. But what is the Dawntreader quest, where can you take it, and how do you complete the Dawntreader quest? Well, these are all questions we’ll be answering in today’s guide to help you understand how to tackle this side quest in your playthrough.
Starting the Dawntreader Quest in Avowed
First of all, it’s important for us to start by considering where you can take the Dawntreader Quest and how to start it. The first step to take the Dawntreader quest is to head to the southwest of Paradis, which is the main starting area in the game. This will allow you to find a man named Ofryc, who is injured.
Ofryc explains that he, his captain, and his brother were previously exploring a temple in search of a godlike named Oracle near the city. However, when it began to collapse, he was sent for help while the others stayed behind. After engaging in conversation with Ofryc further, you’ll learn the entrance to the old temple is found off Pilgrim’s Path.
Dawntreader Quest Walkthrough in Avowed
Now that you’ve taken the Dawntreader quest, it’s time to begin your exploration of the area. Keep in mind that there are several parts to Dawntreader, so it’s undoubtedly not a two-minute quest. Luckily, one thing that is incredibly quick and easy to do is setting up a private game with Avowed hosting, which can help ensure your game is stable with 24/7 uptime for the long game ahead.
Heading to the Temple
Make Your Own game Server
First things first, you’ll need to find Pilgrim’s Path (which you can find by heading north out of Paradis and between several giant rocks) as Ofryc mentioned. If you have already visited the Northern Farms region, this should be easy as the Northern Farms Beacon is found right by the path.
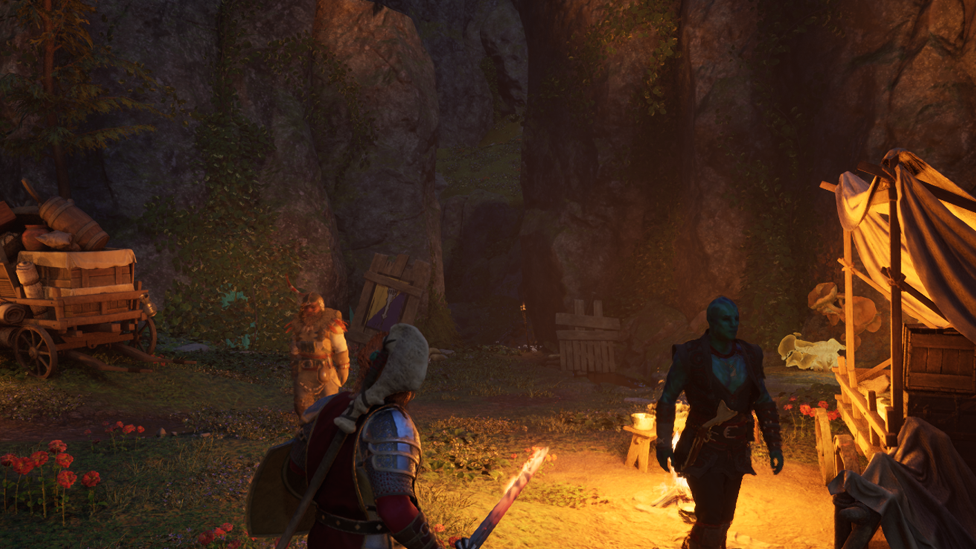
Once you’ve found Pilgrim’s Path, look for the route off of it that leads to the Temple. You’ll know you’ve gone the right way once you find a small camp and a guard named Secgwin. As you walk in, you’ll actually stumble across her and another new character, Kauia, arguing between themselves.
Interrupt Secgwin and Kauia’s argument, to which Secgwin will express relief that Ofryc made it to safety. However, she won’t be eager to let you pass; for this, you’ll need to use the third speech option (“Don’t make me bring this back to Ambassador Hylgard”) which will make her relent and back down.
Entering the Temple
Passing Secgwin, you should see a cave behind her which leads up to the Eothasian Temple that you’re looking for. There are two options you can take at this point; taking the gate allows you to potentially get some more resources if you have either an Electric Lily Seed or an Electric Spell, which you can use against the receiver. If you unlock the room, you’ll be able to loot a primal flame, two iron chunks, eight silver fennings, and the Book of Verses. However, if you’d rather, you can just head up the stairs rather than unlocking the side room to progress into the temple.
Speaking to Caedmon and Sargamis
As you explore the entrance of the temple, you’ll eventually come across Caedmon. He’ll give you more information about the Temple and its history and - if you so wish - will also ask you to complete an optional objective. Since this is completely optional, if you don’t complete it, that’s fine.
Speaking with Sargamis
After continuing through the Temple, you’ll eventually a spacious room, where Sargamis the Oracle will be waiting for you. He will teach you about the Splinter of Eothas, which is a relic found within the Temple. You can then head through the door behind him, which leads you into a flooded room that you’ll need to swim through.
Exploring the Hidden Rooms
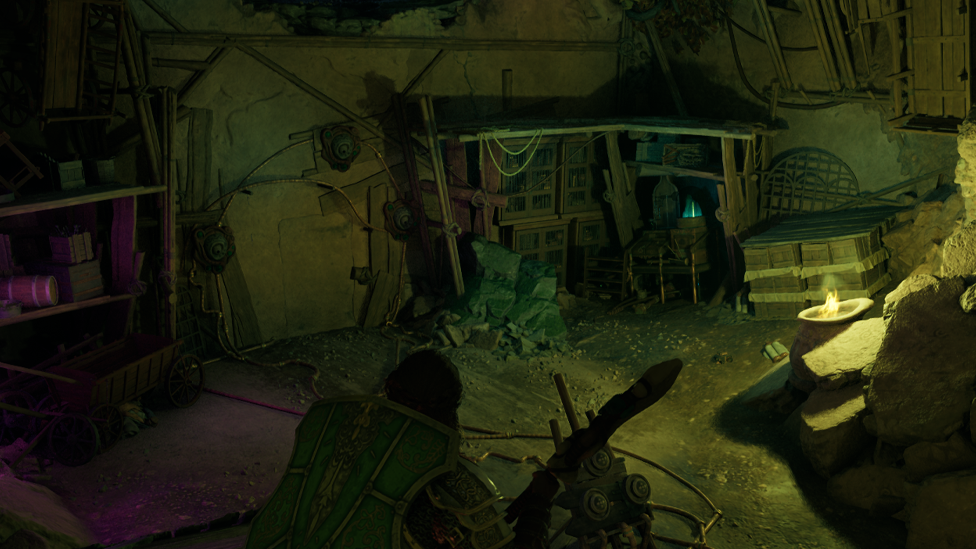
Then, follow the ramp in the next dry room. This will lead you directly to a crack in the wall. This crack is powered by an essence generator. Throwing an electric lily seed or using electric magic will allow the door below you to open, allowing access to the next room. There’s plenty of loot under the water here, so don’t overlook this space!
While swimming around the submerged room, watch out for a destructable wall. Then, in the next room, be sure to check all of the books before checking the Statue Schematic. Immediately to the right of this Schematic lie some cobwebs that can be burned away to reveal a new passage.
Next, use the ruined staircase in the village room to climb up to the next hallway. You should notice the Consecration Prayer as you head by this, and finally, you’ll head through a main set of doors to see the Splinter of Eothas in front of you. However, despite the temptation, it’s recommended to leave this for now as there’s a lot you’ll want to look at first.
Notably, start up the essence generator, then break the vases to the side of the altar to open a new room. These rooms can potentially yield loot and, critically, also provide the History of the Living Lands IV: [Redacted] copy. By continuing your adventures through these caves, you’ll eventually come across another main door that allows access back to the hall.
Completing the Main Side Mission
After all that exploring, it’s now time to complete the main section of the side mission! Looking to the left of the main entrance, underneath a platform, you should be able to find a crack in the wall. By shooting the essence generator on the far of the room at this point, a door should open up above you. This will allow you to head out, but make sure you’ve looted everything first! Be prepared that, once you leave the temple, you’ll be met with a boss (the Godless Executioner) and his skeleton cronies in the main courtyard.
Completing the Optional Ending
At this point, the main side quest will be complete, but there is a further optional opportunity: to find the Aedyran Expedition. To do this, as you leave the temple, you should notice ledges on the right of your player. Climbing these, squeeze through a low tunnel until you find the hole in the floor, which will drop you in a large room. Then, head around the curtain, where you’ll find the missing expedition’s bodies.
Kai will comment on this, saying, “The oracle couldn’t have put the expedition’s souls in the Statue of Eothas… right?” While this isn’t entirely clear, you can read the book, On the Binding of Souls, that’s also in the room to give a pretty clear indication of what happened.
The switch on the wall of the room will open the door, and this will take you back to the Oracle’s Courtyard. Sargamis will still be waiting here. This presents three different options: to help or Attack Sargamis or to lie and tell him you don’t have the relic. Each option has a slightly different outcome:
- Lie: If you lie, you’ll simply be kicked out of the conversation. You can leave at this point or head back to try again.
- Attack: Attacking the Oracle is another option that you can get if you mention that you found the Aedyran Expedition’s bodies. Surprisingly, he’s not that strong. Once you defeat him, you’ll be able to loot the Last Light of Day +2 sword from his body.
- Help: It’s perhaps a little harder to unlock this option as you’ll need to talk with the Oracle for a little longer without angering him. Still, if you help the Oracle, you can put the relic in the statue. However, when pulling the lever doesn’t work, the Oracle will add his soul to the statue. Once the Oracle has died, return to the workstation and pull the lever again. Alas, this will still fail, but this allows you to loot the Last Light of Day +2 sword from his corpse.
With Sagarmis now dead, or if you’ve ignored him, the Voice will ask you for the statue. This opens one of two choices: hand the statue over (and purge the enemies within it) or destroy the statue by breaking the three essence generators. Neither option provides an immediate reward.
Finishing Dawntreader
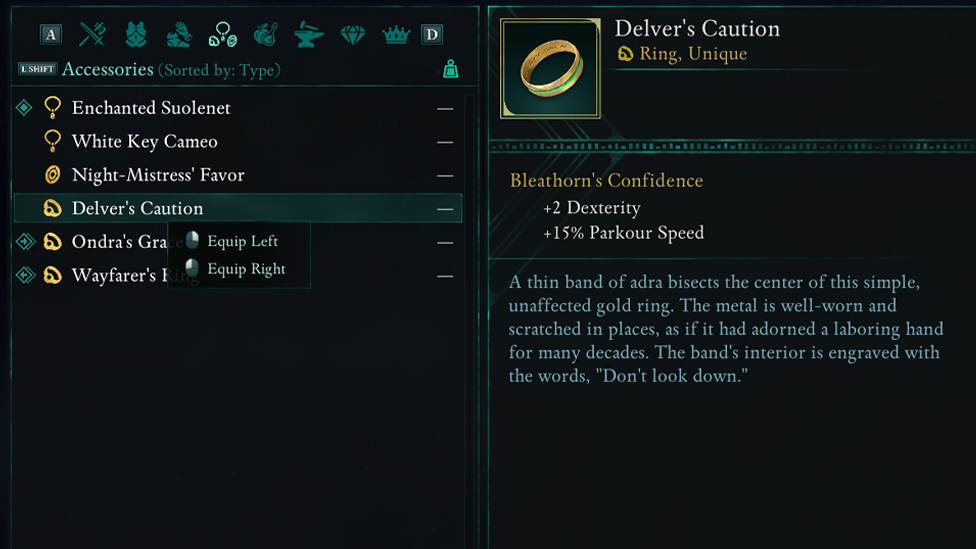
Regardless of whether you complete the optional part of the quest, you’ll still need to return to Ofryc back in Paradis. They will give you the Delver’s Caution ring as a reward for your help, along with 443 exp.
FAQs
How much exp do I get for completing Dawntreader?
The Dawntreader quest gives a base exp of 443. However, there are also many enemies during the quest, so you’ll likely gain a lot more exp than this in total.
Final Thoughts
If you’ve been looking to start a new game of Dawntreader, it’s incredibly important to understand the different aspects of the quest. Hopefully, today’s guide will have helped you plan the quest a little more effectively. But remember: the Dawntreader quest is a somewhat more involved quest than some other side quests in Avowed, so this is well worth keeping in mind as this quest could take a little longer to complete than others you’re used to.