How to Make a Base in Unturned

Make Your Own Unturned Server
In Unturned, setting up a base is essential for ensuring your survival and creating a fortress to defend oneself from enemy players and zombies. To build a reliable and useful base in the game, please adhere to the guidelines in this extensive guide.
But first, you must learn how to create Unturned server to run the game. Continue reading if you’ve already done so!
Step 1: Collect Resources
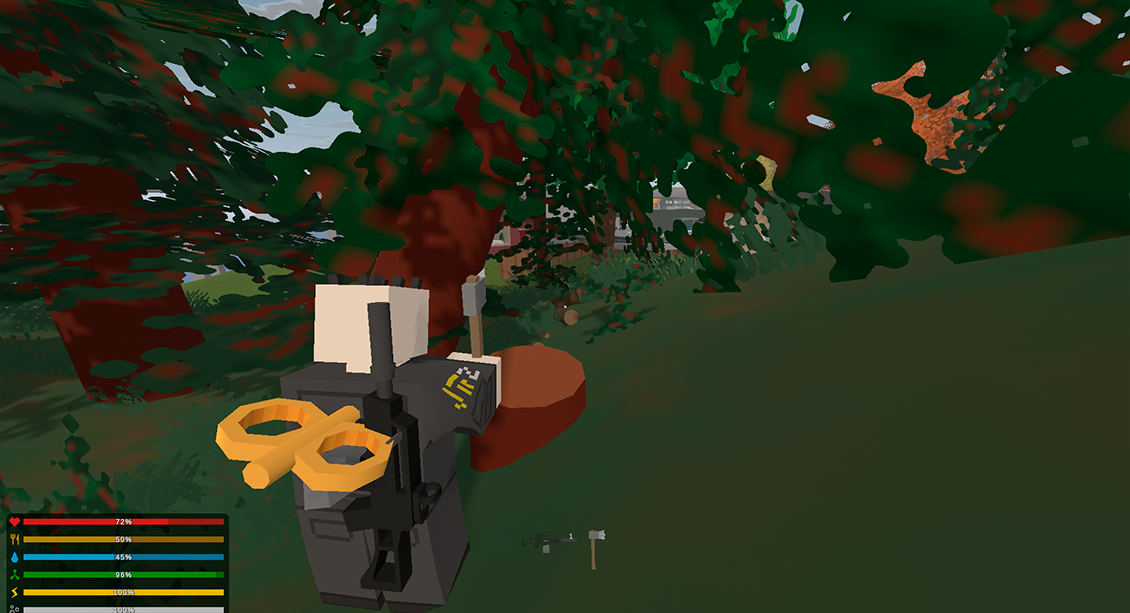
Collect all those requisites required to make a base. Equip some melee weapon, something like an axe, and smash trees with it so that they yield you wood and logs. Wander around the in-game world to collect pebbles, metal scraps, and textiles. Collecting all those resources will grant you a number of various building materials.
Step 2: Crafting
Now open your inventory and below, choose "Crafting." Allocate your items, like making boards and wooden plates, which will be used for preparing all other things related to construction. Find out new crafting recipes and keep adding to your range of things to craft by testing different combinations.
Step 3: Choosing a Location
That is why a perfect site is to be selected for your headquarters. Some of the factors to be remembered will include:- Accessibility of resources: A place will be easily accessible with a few resources such as trees, rocks, or even water bodies. It will, no doubt, save time and hassle of collecting them.
- Availability of water: Final settlements in places near a well or river will ensure an adequate supply of water.
- Food sources: Choose the motivating regional with plenty of creatures or in a place where there is farming activities close by, so that there can be maintenance of a steady supply of food. Choose the soil from which the foods you were eating were farmed or maybe an area of animals kept spawning.
- Avoid crowded places: Buildings located close to crowded areas, that is, zombie spawn points for other Stakers and Survivors, increase attack risks and the probability that your fortress will be found and attacked by other players.

Step 4: Building Process
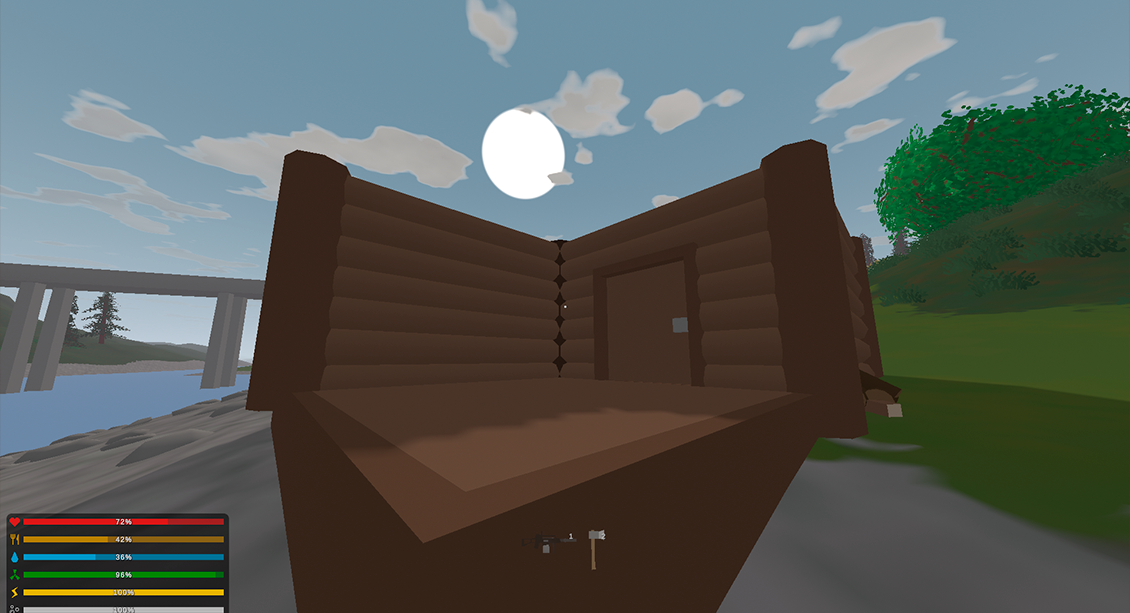
The moment has come to begin building your base once you have found a good place. Take these actions:- The base should then be laid with wooden plates or any other material as may be appropriate. This will give some framework in which the remaining part of your base can be built.
- Walls: Build walls to completely encase your base. Attach planks or alternate materials to build strong barriers. Vary wall heights, window positions, and door placements to your defensive tastes.
- "Floors and Roofs": By adding floors to the foundation, it can be made possible to make it multistory. You may onboard those added floors store rooms, working space, or housing units. On the shelter, add roofing that may not thirst for weather.
Step 5: Base Security
Add defense strategies to your base to increase security. Think about the following choices:- Doors and Locks: To limit access and stop unauthorized entry, install doors and secure them with locks. Metal or vault doors will save money only if a high priority can be given in spending on metallic or vault doors for better durability and resistance.
- Windows: Barricades should be furnished with windows for details and for the escape of its occupants in case of fire. Reinforce them with metal bars or barricades against the possibility of an intruder getting access to them.
- Fortification: They are linked to the addition that makes fortifications to the base. They are a tough material giving less room of getting hit by January wind. With high defenses, the walls, floors, and roofs have further fortifications used on them either metals or stone.
Step 6: Storage and Functionality
Think about the following factors to create a structured and effective base:- Besides, storage containers, for example, chests, lockers, and crates, provide a manner of putting elements together in one place. In school, however, one ought to combine them in groups that bear a relationship with the content stored.
- Crafting Stations: Set, like, the crafting stations, stuff, and all that: workbench, forge, cookin' stove set up for doing all your material breakdowns, item crafting, and possibly cookin' in one spot. It certainly does save time in moving from point to point in order to conduct work or other businesses.
- Respawn Point: Place a bed or even have a sleeping bag in an accessible location within the safety of your fortress' walls. That way, you will stand a chance of losing very few things, not getting too disadvantaged, and at least you will respawn at your comfort zone when you die.
- Defensive Structures :Think of some kind of defensive structures, say to the likes of watchtowers, barricades, or traps that would shoo away any invaders; or better still, just alert you if they came near.
Step 7: Base Expansion
As the game goes on, so does the base, and by the time the organizer gets there, he or she will have had a lot of resources built up in a way that responds to the various needs of expansion that are taking place. Other tips on base enlargement include:- Additional Rooms : Adds extra rooms that provide more space for quartermaster use, such as dwellers' quarters, storage, and crafting. Boxes in your base by allowing you to designate areas for various activities.
- Build Up: Builds a multi-story building by piling additional floors on top of your base. The floor can provide functions such as storage, sleeping, or defense.
Specialization bases, such as skybases or undersea bases. These Specialty Bases have an extra burden as well as benefit, like enhanced security and a hideout.
Can I dismantle or relocate my base once it is constructed?
Which means most of the mods in almost all the Unturned games, right here, you don't even have a simple ability to destroy or move a base after building it taking the fact that there are bugs in nearly all the mods. There are, however, exceptions. You will eventually make the use of a demolition hammer. Just acquire the hammer from your inventory and interact with whatever you would want to do away with.
And then again, this was such a time and resource-consuming exercise, considering the fact that in the process of recycling, you managed to save just bits of the resources that would have gone into the creation of the component. The best way should have been to move your base with the dismantling part by part and thus hauling it to the new location.
[schemaHowto=Can I customize the appearance of my base in Unturned?]
Heck, you can even create an absolutely new appearance for the whole base to add some personal style or just gild the lily. It is worth thinking about further possibilities of customization:
- Painting: This is the easy way to paint these chosen, capable, basic components in any color desired. You can avail oneself of the paint or dye supplies available for making a unique color or camouflage schemes on walls, floors, and other surfaces.
- Decoration: That can be done using a potted plant, a rug, a painting—pretty much anything in the furniture category. All were purchaseable with in-game credit if needed.
- Structural Fabric Modifications: Experiment and play with concepts, like integrating many architectural elements with a nice blend of various building consitituencies. Creates new examples for such a base with the application of different combinations of wall, floor, and roof forms, along with different textures and combinations.
Conclusion
Be expected to bear in mind that no base is bound to be impenetrable. Even the sturdiest of constructs are bound to come undone if enough explosives, guns, or tools can be brought to bear on them by a determined individual. Mixing up the strategy and avoiding putting all of your eggs in one basket when it comes to your base will further lower your exposure. Both of these add some survival strategies like stealth, exploration, and the good old regular team gameplay.This lets you build a actually solid, sound fortress in Unturned by following these exact provisos and give room against the trials that come with the game world.
Make Your Own Unturned Server
Copyright 2019-2026 © ScalaCube - All Rights Reserved.