How To Use A Handler In Schedule 1
In Schedule 1, scaling your drug empire is about more than just planting seeds and cooking product—eventually, you’ll hit that beautiful moment where you need a full-on workforce to keep things running smoothly. And that’s where the Schedule 1 Handler comes in. These workers are like the logistics gods of Hyland City—they’ll move your product, manage your packaging stations, and basically keep the gears turning while you sit back and count your stacks. Sounds awesome, right? It is. But using a Handler Schedule 1 isn’t just a fire-and-forget situation. If you don’t set them up properly, you’ll end up with a very expensive couch potato taking up space and snacking on your profits. So here’s your Schedule 1 Handler guide, which will show you how to use Handler Schedule 1 like a true boss.
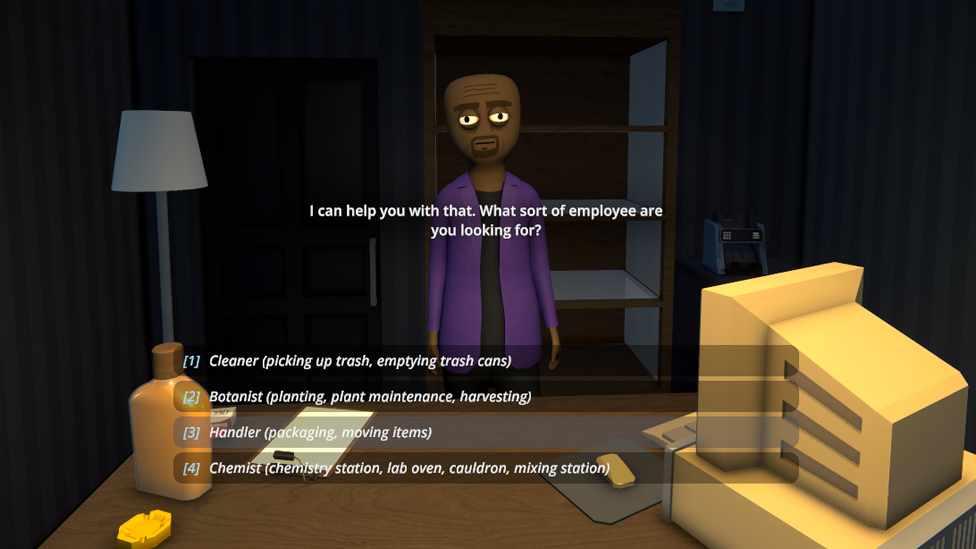
How To Hire A Schedule 1 Handler
Make Your Own game Server
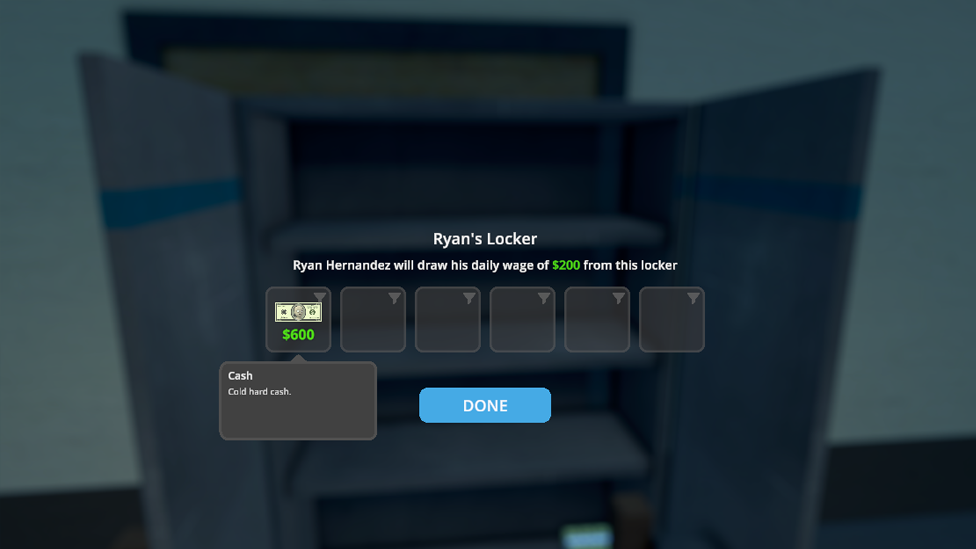
Wondering how to assign handler Schedule 1? So first things first—head to the Warehouse near the Pawn Shop and talk to Manny on the first floor. This dude is your go-to for hiring workers. He’ll ask you for a $1,000 signing fee, and your Schedule 1 Handler will demand $200 per day as their daily wage. Fair price for someone who’s going to hustle your goods around all day. If this is your first time hiring any worker, Manny will also give you a journal—think of it like your remote control for workers. From here, you can command Handlers and assign them tasks. And don’t forget: every worker needs a bed. If your property doesn’t show up while you’re trying to assign the Schedule 1 handler, it means there’s no bed for them. Toss one down and you’re good to go.
How To Use A Handler
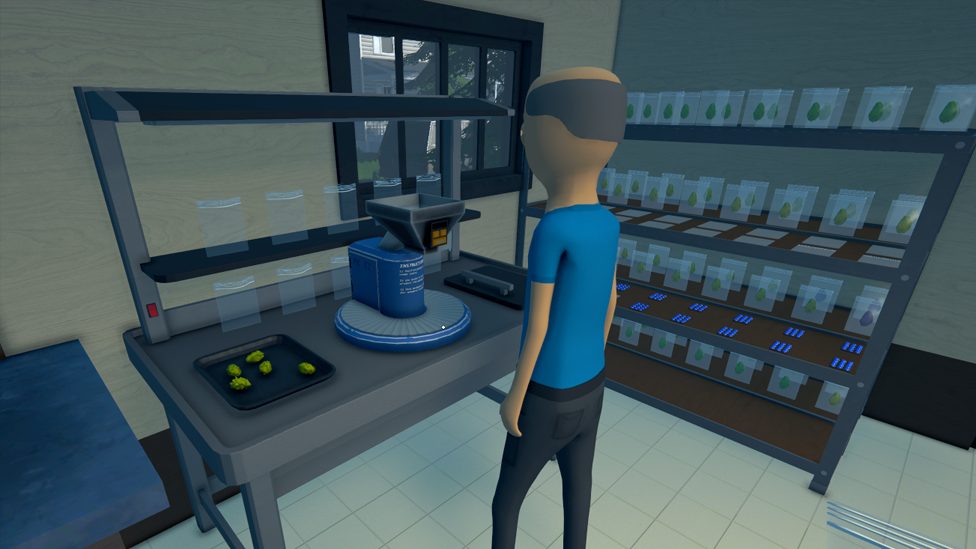
Now that your Schedule 1 Handler has moved in, it’s time to put them to work. Equip your journal from your inventory and walk up to your Handler to enter their management menu. In this menu, you can assign them to up to three packaging stations. These are where your product turns into money—so getting the Schedule 1 handler to manage these efficiently is the dream. Just make sure there’s product and packaging already at the stations. No materials = no work. But wait—there’s more. You can tell your Schedule 1 Handler to pick up products from one place and deliver them to another. You can have them:
- Take jars or baggies from a shelf and deliver them to a packaging station
- Grab raw product from a shelf and move it to the packaging station
- Move the final packaged product to a storage shelf Handlers are like puzzle pieces—you just need to put them in the right place with the right orders.
Setting Up Routes
This is where the real brainpower kicks in. Routes are commands you assign to your Handler, and they’ll perform them as long as the conditions are met. You can set up to five Schedule 1 handler routes per handler. Here's a super basic (but effective) setup to keep things flowing: Handler Routes Example:
| Route Starting Point | Route Destination Point | Description |
|---|---|---|
| Large Shelf A | Packaging Station | Handler grabs packaging (baggies/jars) from Shelf A and keeps the packaging station stocked. |
| Large Shelf B | Packaging Station | Handler takes raw product from Shelf B to the packaging station to be packaged. |
After you set up these routes, don’t forget this final (and critical) step. Whip out your journal and target the packaging station. Open its management menu, and assign it a destination shelf. This tells the handler where to drop off the final, packaged goods. Boom. You’ve just created a tiny, automated production pipeline. You’re basically a criminal logistics manager now.
Why Isn’t My Handler Working?
Your Handler is just standing there menacingly. Here’s a checklist to get them moving again:
- Did you assign them a bed? No bed, no work.
- Did you pay their daily wage? No pay, no play.
- Is it nighttime? Handlers don't work late—let them sleep, or go to bed yourself to skip to the next day.
- Still nothing? Go talk to the Handler directly—they’ll tell you what’s wrong. Maybe there’s no packaging, no product, or your routes are broken. Check your journal, reassign routes if needed, and make sure every station and shelf they need is fully stocked.
Lag-Free Gaming Starts with ScalaCube
If you want smooth gameplay, zero lag, and full control, ScalaCube’s game server hosting is the way to go. Designed for gamers who need reliability and speed, ScalaCube offers 99.9% uptime, zero latency, and custom server configurations to match your unique setup. With full FTP access, mod and plugin support, automated backups, and 24/7 support, you’ll be fully equipped to host intense sessions without interruptions. Plus, DDoS protection and global server locations keep your empire safe and always online. Now take all that performance and drop it into Schedule 1—a gritty crime sim where you rise from a broke dealer to a kingpin in the rough streets of Hyland Point. With drug production, street distribution, automated operations, and deadly cartel warfare, you need a server that can keep up.
Wrapping Up
Using a Handler in Schedule 1 can turn your chaotic empire into a smooth-running operation. From picking up raw product to delivering polished, packaged gold to your shelves, these workers are essential for automation. Just remember: beds, journals, and well-thought-out routes are the holy trinity of Handler management. Once you’ve got it down, you’ll wonder how you ever survived without them. Let them do the heavy lifting while you focus on expansion, upgrades, and outsmarting Hyland City’s law enforcement.
FAQs
Can I assign one Handler to multiple packaging stations?
Yes! Each Handler can manage up to three packaging stations as long as there's product and packaging available.
Why isn’t my Handler doing anything even though I set up routes?
Check if they have a bed, if their wage is paid, and if it’s daytime. Also, make sure your shelves and stations are properly stocked and assigned in the journal.
Can I change a Handler’s routes later?
Absolutely. Just pull out your journal, walk up to them, and tweak their routes anytime you want.