Best Barn Setup In Schedule 1
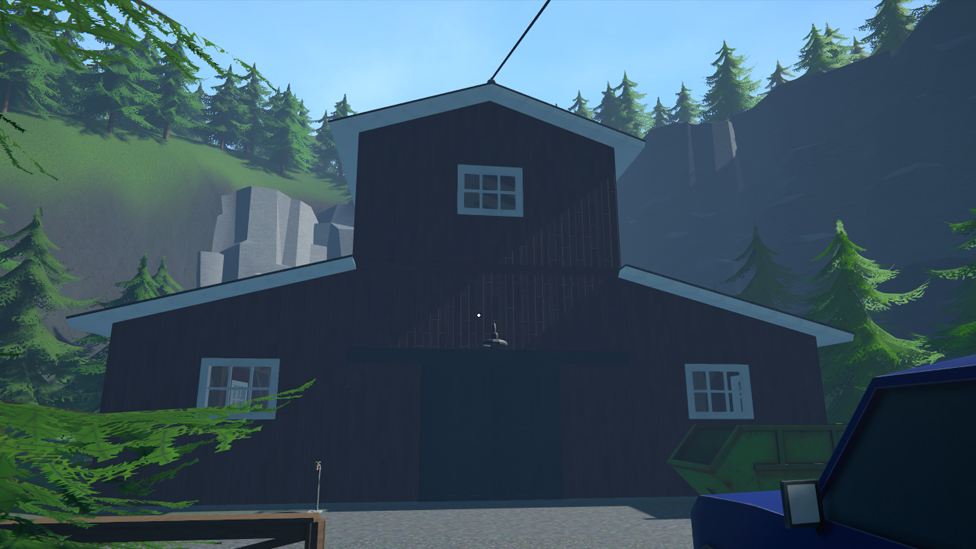
Welcome to your one-stop blueprint for turning that dusty barn into the beating heart of your operation in Schedule 1. You’ve been hustling, delivering, and slowly climbing the ranks, but if you want to go full Breaking Bad meets Stardew Valley best barn setup, then it’s time to make the barn Schedule 1 your main base of operations. It’s got the space, it’s got the vibe, and it’s got the potential to skyrocket your product output—if you know how to use it right. So, let’s break it all down. Here’s the best barn setup Schedule 1 that’s practical, efficient, and borderline genius.
What Is The Schedule 1 Best Barn Setup?
Make Your Own game Server
First things first, you need to know what gear to get. This isn’t a cozy cottagecore build—we’re running a production empire here. The list below covers everything you need to deck out the barn, split between the first floor, second floor, and a smart automation plan with employees to keep the workflow buzzing.
Equipment And Hardware For Setting Up The Barn
| Name | Number Of Units | Where To Buy |
|---|---|---|
| Bed | 11 | Warehouse, Hardware Store |
| Mixing Stations Mk2 | 8 | Warehouse |
| Packaging Station Mk2 | 2 | Warehouse, Hardware Store |
| Chemistry Station | 4 | Warehouse |
| Lab Oven | 8 | Warehouse |
| Cauldron | 4 | Warehouse |
| Large Storage Shelf | 17 | Hardware Store |
| Drying Rack | 6 | Warehouse |
| Air Pot | 18 | Warehouse |
| Suspension Rack | 18 | Warehouse |
| Full Spectrum Grow Light | 18 | Warehouse |
| Brick Press | 1 | Warehouse |
| Pot Sprinkler (if no botanists) | 12 | Warehouse |
Second Floor Setup
Let’s start upstairs. It's smaller, sure—but don't let that fool you. It’s the perfect Coca Leaf zone.
- Air Pots: Fit 6 up here, each flanked by a Suspension Rack and a Grow Light. Looks clean, runs efficient.
- Pot Sprinklers: Only needed if you’re going full manual mode. If you’ve got Botanists, skip them.
- Storage Shelf: One large shelf in the center for seed and supply access.
- Beds: Two beds max—placed in the middle. Gives your Botanists a break spot while keeping movement fluid. Pro tip: Keep paths clear for your workers. Cramming is tempting, but if your Botanists get stuck on their way to a pot, it’s a whole problem.
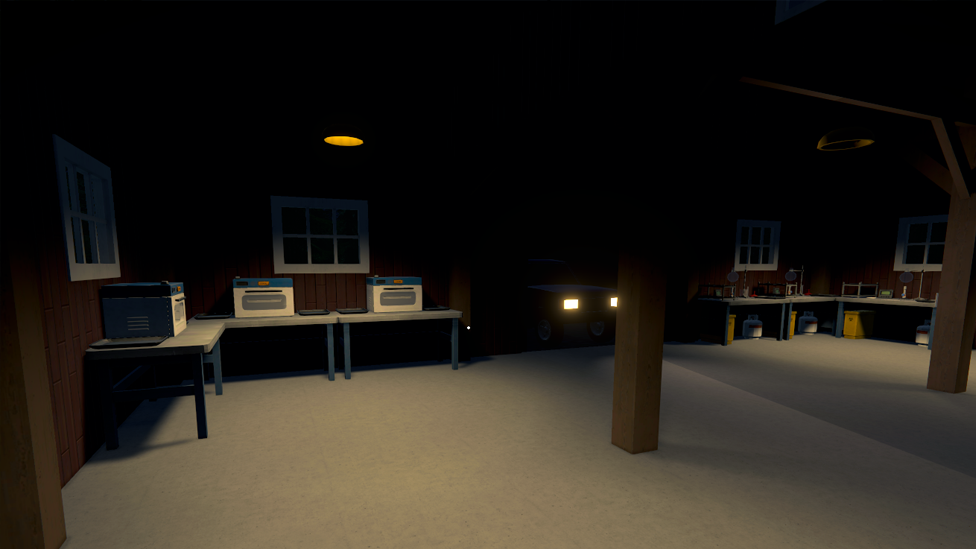
The First Floor Setup
This is where the real magic happens.
Beds & Brick Press
Start from the northern wall, far left corner:
- Place four beds in a square—two against the wall and two in front. Drop the Brick Press in the middle.
- You’ll be the only one using it, and yes, you can hop the beds like a parkour pro.
Mixing Stations
Next to the beds:
- 8 Mixing Station Mk2: four against the wall, four in front. Leave just enough wiggle room to walk between them.
- This is your core production line. Packaging & Storage
Western wall (by the entrance):
- 2 Packaging Stations Mk2 go here.
- Below them, line up 8 large storage shelves across the southern wall. Add 2 more on the western wall for good measure.
Chemistry & Lab Ovens
Facing the entrance:
- On your left, fit 4 Chemistry Stations between the pillars.
- On your right, slot in 4 Lab Ovens. Behind those, place 4 more Lab Ovens—facing the opposite way so they’re accessible from both sides.
- Surround each Chemistry Station with a large storage shelf (4 total).
Cauldrons & Drying Racks
- 2 Cauldrons under the stairs, 2 more near the entrance.
- Place 4 Drying Racks between the Lab Ovens and the storage shelves, and 2 more in front of the cauldrons under the stairs.
Remaining Air Pots & Beds
Still got a few Air Pots to place? Spread them out like this:
- 2 beside the front Mixing Stations.
- 2 near the light switch (left pillar).
- 2 in the middle, just ahead of the beds. You’ll have space for 5 more beds in the middle area, and it won’t mess with anyone’s route.
Automation & Employees
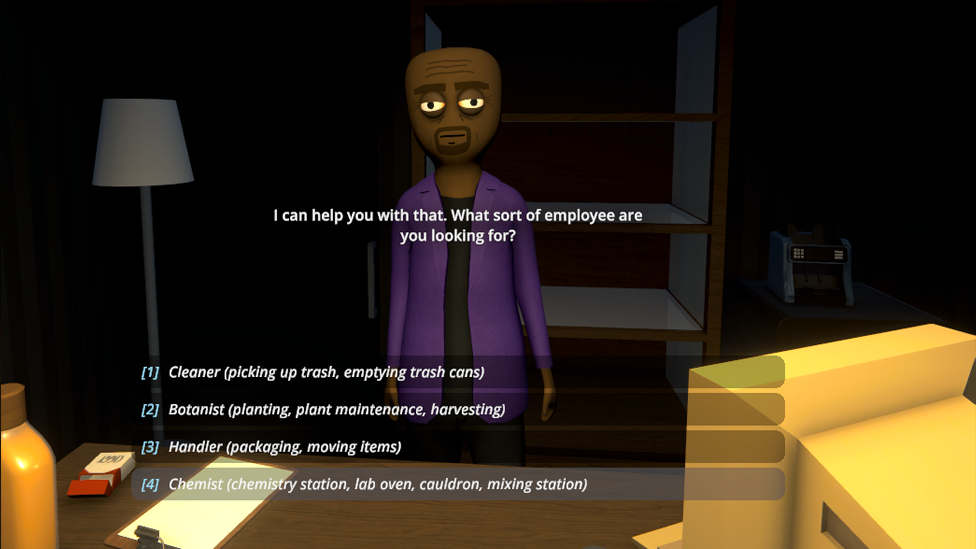
The Schedule 1 best barn setup isn’t a one-man army setup. You’ll need a crew and here’s how to break it down:
- 3 Botanists – Each one can handle up to 8 stations (Air Pots + Drying Racks). That gives you full coverage for all 18 pots and 6 racks.
- 4 Chemists – One for all Chemistry Stations, one for Cauldrons, and two for Lab Ovens.
- 2 Handlers – To manage Packaging Stations.
- 1 Utility Handler – Your floater. They move supplies and help wherever needed. If you’re feeling spicy, swap one Chemist or Handler out depending on what part of your operation is bottlenecked. Flexibility is key.
Scalacube - Where Stability Meets Speed And Reliable Gameplay
If you want smooth gameplay, no lag, and complete control, ScalaCube's best server hosting is the way to go. ScalaCube is designed for gamers who require dependability and speed, with 99.9% uptime, zero latency, and custom server configuration to match your specific setup. With complete FTP access, mod and plugin support, automated backups, and 24-hour support, you'll be well prepared to host long sessions without interruptions. DDoS protection and global server locations ensure that your empire remains safe and online at all times. Now take all that performance and drop it into Schedule 1—a gritty crime sim where you rise from a broke dealer to a kingpin in the rough streets of Hyland Point. With drug production, street distribution, automated operations, and deadly cartel warfare, you need a server that can keep up.
Wrapping Up
If you’ve been running your operation out of cramped little rooms and random properties, now’s the time to level up. The barn Schedule 1 is the ultimate upgrade, and with this setup, you’re not just playing the game—you’re mastering it. Now go out there, stack your shelves, fire up those Lab Ovens, and build your empire the right way.
FAQs
Do I really need all 10 employees for the barn setup?
Yes! To keep everything running smoothly, you’ll need a full team. Any less and you’ll start seeing delays in production or harvesting.
Can I customize this setup for a different product focus?
Absolutely. This guide gives a balanced setup, but you can tweak it based on what you're producing more—just adjust the equipment and worker roles accordingly.
Is it better to use Pot Sprinklers or hire Botanists?
If you can afford Botanists, always go with them. They’re faster, more efficient, and you don’t have to micromanage watering. Sprinklers are just a backup plan.