All Dead Drop Locations in Schedule 1
If you’ve been looking to build up your drug empire in Schedule 1, it’s important that you have a strong network of suppliers capable of getting resources and raw materials to you when you need them. After all, with a largely just-in-time supply chain, you need strong systems in place, and dead drops serve an essential role in this. As such, by understanding the different dead drops and their locations, you can make more informed choices and plan for your materials acquisition a little more easily.
What are Dead Drops in Schedule 1?
Make Your Own game Server
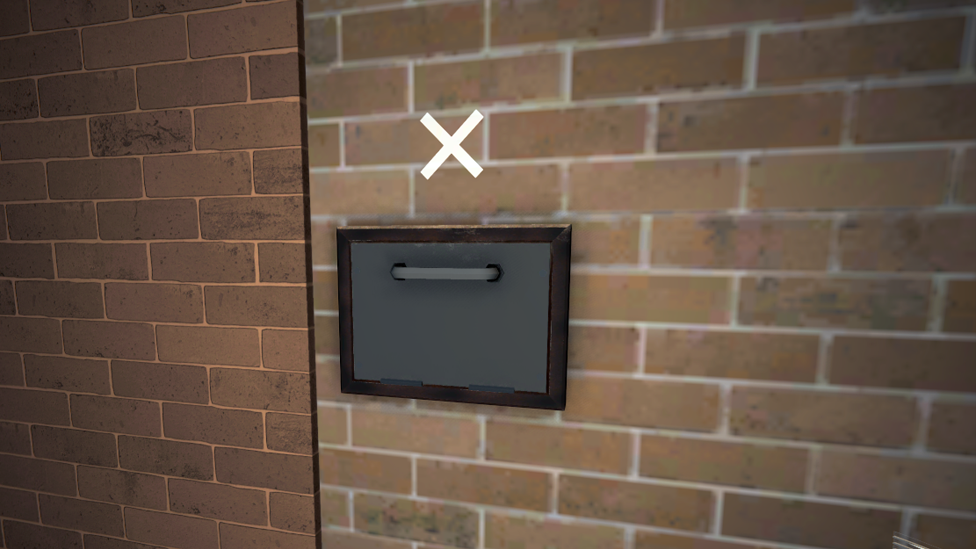
Before we go any further, it’s first important that we consider what dead drops are in Schedule 1. Simply put, dead drops in the game are effectively your own personal covert mailboxes, strategically scattered throughout the city. They’re generally in pretty unassuming and subtle locations, and as you might expect, they allow you to receive delivery for your less-than-legal goods without getting caught out by the police or drawing unnecessary attention to your operation.
With dead drops scattered across the map, getting goods delivered close by to your area at the time is easy, which is far better than constantly trekking back to the same dead drop location. Later on in the game, as you develop a relationship with suppliers, you may be able to get deliveries directly in person instead, but in the meantime, the dead drop system is an excellent in-between option. It’s like setting up your very own private Schedule 1 server, but rather than providing the exceptional DDoS protection ScalaCube can offer, dead drops are keeping your business safe from the police!
The Benefit of Using Dead Drops
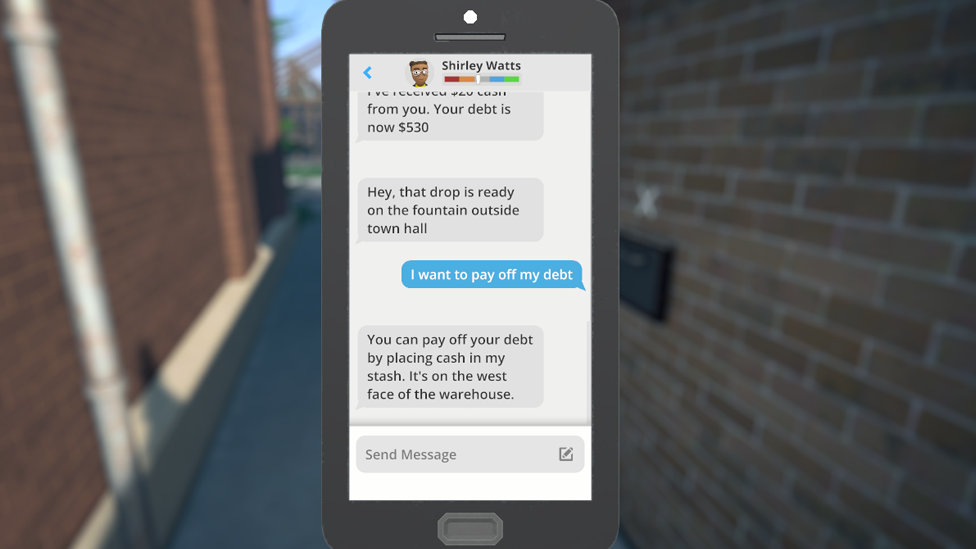
There are several reasons you might want to use dead drops in your playthrough of Schedule 1, and keeping these in mind could help you plan your next materials deal more accurately. Critically, it’s worth noting that dead drops allow you to collect your goods without immediate financial commitment, which is especially useful in the early game when you’re trying to establish a foothold on the drug smuggling ladder and don’t have enough spare cash to pay right away.
However, keep in mind that accumulating a mountain of debt limits your ability to acquire further supplies, which may cripple your operation - so, it’s important to keep tabs on your finances to keep your business running smoothly and ensure you can always good more materials when you need them.
All Dead Drops in Schedule 1
By now, we’ve considered what dead drops are in Schedule 1, but the question still stands: where can these be found throughout the game? Well, dead drops are generally found in a number of locations throughout the game, often spread around well so there’s not too much distance between you and them. They are denoted with a white X generally.
All of the Dead Drops in Schedule 1 can be found as follows:
- North Wall of the Arcade
- Behind Thomson Construction
- At the Skate Park
- On the wall of Taco Ticklers
- On the West Wall of the Pawn Shop
- Behind the Motel Office (a great starting drop)
- Under the West Bridge
- Behind the Gas Mart
- Behind the Top Tattoo Parlor
- Behind Randy’s Bait and Tackle Shop
- On the Gray Docks Building
- On the Gazebo
- Behind the Laundromat
- Behind the Medical Practice
- Behind the Slop Shop
- Behind the Auto Shop
- Behind the Grocery Store
- Behind the Casino
- Behind Crimson Canary
- Behind the Fire Station
- Behind the Bank
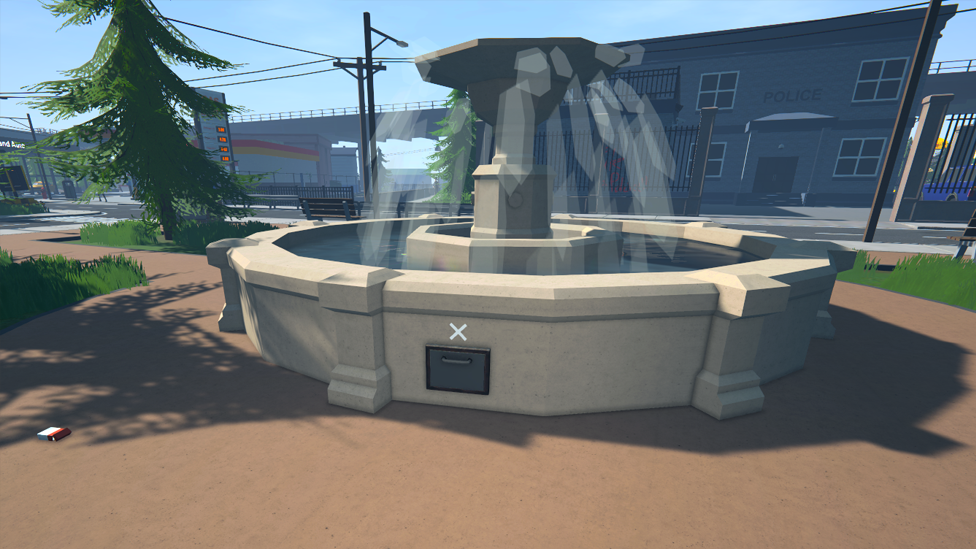
- Behind the Fountain
- On the Central Canal
With all of the aforementioned locations in mind, it’s easy to see how getting your dead drops organized can really help streamline deliveries of materials in Schedule 1. Just be sure to keep on top of your payments to keep your suppliers happy, and you’ll be on your way to a drug overlord in no time.
FAQs
How many dead drops are there in Schedule 1?
In total, there are 23 different dead drops that can be found in Schedule 1. These are scattered across the map and are usually found on the back of buildings. Look out for the X denoting their presence!
Final Thoughts
Tracking down these Dead Drops is essential for establishing and expanding your illegal enterprise in Schedule 1. Remember, balancing your debts and ensuring a steady flow of supplies will be key to your success. With diligence and strategic planning, your ventures will undoubtedly flourish in this vibrant yet perilous underworld. Happy hunting!