How to Build an Iron Farm in Minecraft
Make Your Own Minecraft Server For Free
Your own Minecraft server is only 5 minutes away! We support simple one click install for over 1000 unique modpacks.
Free Minecraft Server Hosting
How to Build an Iron Farm in Minecraft

Minecraft, a game of endless options, asks gamers to not just venture out but also to get the knack of the careful equilibrium of collecting and creating resources. Iron, a multi-use material with several uses, is the key of these tasks. This all-inclusive guide reveals the specifics of constructing an iron farm in Minecraft, a build made to mechanize the generation of this crucial resource.
Prior to diving into the methodical way of creating your iron farm, let's initially grasp the importance of iron in the world of Minecraft.. Unraveling the Significance of Iron in Minecraft
In the blocky universe of Minecraft, iron is a key building block. It helps shape how the game plays out. Its flexible use lets players make different survival items, ranging from tools and weapons to armor. But iron isn't just for personal items. It also plays a bigger strategic part as the main component for making golems.
These strong defenders serve as bold protectors for villages and items beyond your own creations, giving additional defensive support to your digital domains. Knowing where to find iron and how to improve its production is essential in getting the resources that help in making top-notch weapons and armor, thus boosting the power of their online lands.
Iron's Multifaceted Role in Crafting
Iron's utility comes from its transformation into vital, multipurpose tools. Handy implements like pickaxes, axes, and shovels let players move and shape their game world with ease. Iron-made swords and armor boost fight skills and offer key defense against aggressive mobs and competing players. Utilizing iron's full crafting capacity isn't just handy, it's a tool for winning your Minecraft journey.Crafting Weapons and Tools

- Iron Tools: The Go-to for Durability: Iron tools hold up under pressure, perfect for gathering resources. They work equally well for big jobs like mining and more detailed work like building. Thanks to iron tools, tasks become simpler and smoother.
- Battle Kit: Strong iron weapons and shields are a big step up in fights. With this iron kit, gamers can bravely confront enemies and issues, bettering their chances to keep alive.
The Essence of Iron Golems: Guardians of Your Realm
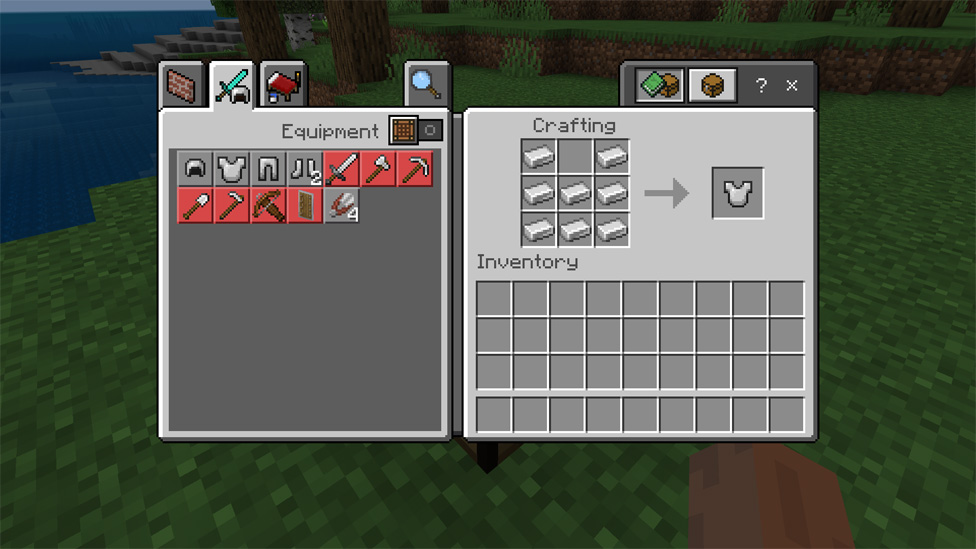
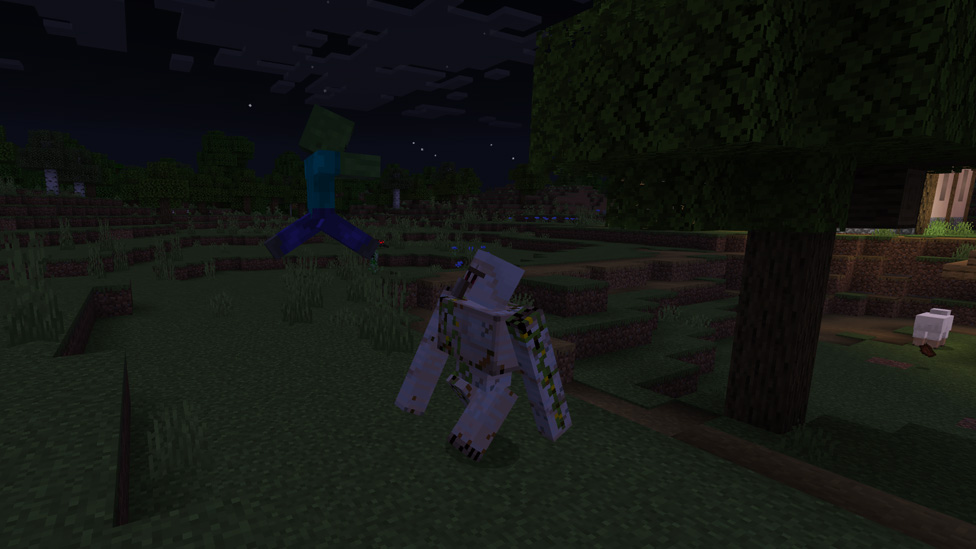
Individual items aside, iron portrays a stronger role as iron golems. These giant protectors vigilantly patrol villages and structures, warding off dangerous invaders. Creating these iron golems by hand is an interesting task, needing just four iron blocks and a pumpkin, carved or not. Though, the real challenge lies in developing an iron farm, which automates this process. It guarantees a never-ending production of these powerful guardians, eliminating the need for constant hand-crafting.Manual Crafting of Iron Golems
- Building Iron Giants: Making iron golems by hand includes setting up four iron blocks. Then, you put a pumpkin or a carved pumpkin on top. This method needs accuracy and supplies, but you're in charge of making the golem.
- Smart Positioning: Put the built iron golem wisely in your town or close to key buildings to amplify its guarding powers. These golems independently deal with enemy groups, ensuring your online space is safe.
Navigating the Depths: Where to Find Iron in Minecraft
Iron ore, the raw form of this valuable resource is spread generosely all through the Overworld waiting for resourceful miners to gather it. Knowing which areas under Minecraft generate iron, and where to source iron from is fundamental to anyone seeking to amass this crucial material efficiently.Building the Foundation: Creating an Iron Farm
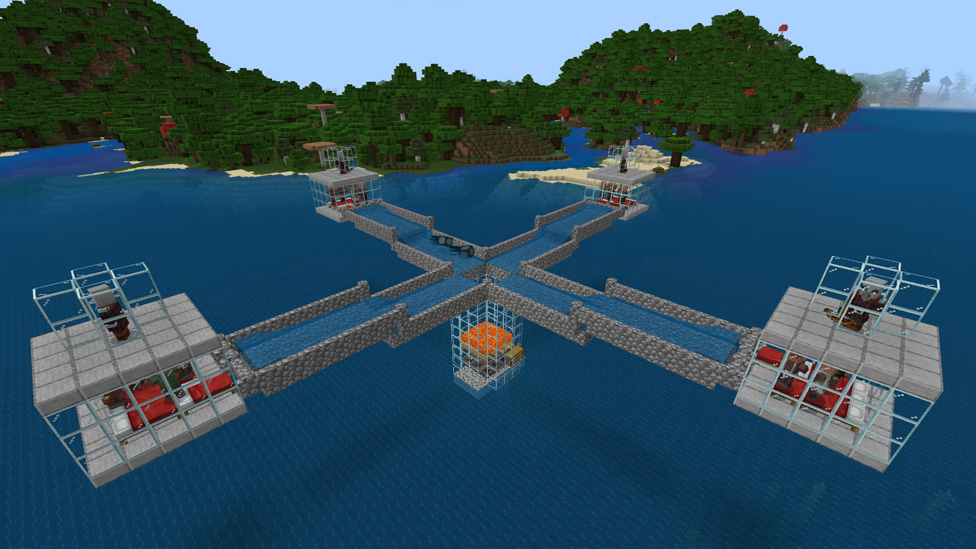
Building iron farm is a high planned project with taking into account every detail in design and game mechanics. In this topic, we will offer step by step guide showing how to plan, build and realize an iron farm that works among the best.Farm Location and Design
- Select Location: Select a strategic location of your iron farm preferably near to any village where natural spawning of irons golems occur.
- Platform Construction: Design platforms where upwards of iron golems will spawn and are very much orderly moved to a room or area of your choosing. Water streams or trapdoors can be used to guide the golems to the designatared killing room or area.
Villager Placement and Beds
- Town Units: Set up units near the spawn zones for the townsfolk. Iron giants tend to move to towns, so having people close by is crucial for a successful farm.
- Bed Arrangement: Position the beds within the pods properly. This will help villagers be cooperative. Cooperative villagers are key for the creation of iron golems.
Killing Chamber
- Setting Up a Disposal System: Design a room for the iron golems to go to after they appear. Water currents can be used to move them effectively to this space.
- Gathering Items: Put hoppers under the spot where iron golems are taken out. This will gather their drops on its own. Hoppers move the items into chests, making it easy to gather everything.
Golem Spawn Rate Optimization

- Boosting Villager Numbers: Having more villagers boosts the chance of iron golem appearances. Make sure your iron farm has enough eager villagers to make the spawn rate best.
- Tweaking the Layout: Test out various farm layouts. Play around with the count of spawn platforms. Figure out the best setup for your unique needs.
Troubleshooting and Fine-Tuning
Even if your iron farm is top-notch, you might still need to play detective and make tweaks to make it work its best. Why? By grasping usual hiccups and learning how to fix them, you keep your iron farm running smoothly and efficiently.Villager Safety Measures
- Protection from Mobs: Making sure that a pod of villagers is safeguarded against hostile mobs. Well lit areas, and proper enclosures avoid unnecessary casualties amongst your crop of villagers.
- Workstations and Beds: Ensure that every villager gets a workstation and bed available for them in assuring they stay willing and contribute towards getting the iron golem to spawn.
Golem Transportation Efficiency
- Water Stream Optimization: Test and optimizing water streams that would carry iron golems. It will decrease the time for which golems would be transported to reach the killing chamber to a minimum.
- Avoid Obstacles: No obstacle is put in the way between the spawning platforms and the killing chamber. The obstruction will be a delay to the process of transportation.
How do I find iron in Minecraft?
It generates between level 1-63 and can be mined with a pickaxe for raw iron through Navigate into caves, ravines, and mineshafts in the Overworld.
Can I manually craft iron golems?
In order to manually create an iron golem, a player needs 4 blocks of iron and a pumpkin or carved pumpkin. In the case of an iron farm, however, by far the best thing to do would be to automatize this process.
What is the best location for an iron farm?
We will select a location that is nearby a village since most spawns of iron golems are beside villages. Design of the farm should have spawning platforms, villager pods, and an efficient killing chamber.
[schemaHowtoHow can I troubleshoot issues with my iron farm?]
Test for villager safety, workstation accessibility and bed availability. Water streams maximized to ensure golem's efficient movement and check that there is no obstruction on the path towards killing chamber.
[/schemaHowto]
Conclusion
After all, creating an iron farm of, in Minecraft, is a rewarding effort to secure a continuous supply of the much-needed resource for the players. From understanding where the iron ores spawn, to knowing how the intricacies of spawning the iron golems, this in-depth guide has got you covered in building a totally efficient iron farm.Finally and without further delay, pick a location that will ensure an effective error-free design of the platform with self-sustainability. With tips at your disposal on iron farming, spread your wings to conquer pixelated worlds in Minecraft.
Make Your Own Minecraft Server For Free
Your own Minecraft server is only 5 minutes away! We support simple one click install for over 1000 unique modpacks.
Start Your Server For Free!
Copyright 2019-2026 © ScalaCube - All Rights Reserved.