How to Build a Minecraft Armor Stand
Make Your Own Minecraft Server
Your own Minecraft server is only 5 minutes away! We support simple one click install for over 3298 unique modpacks.
Minecraft Server Hosting

Are you considering adding aesthetic appeal to your Minecraft world? One way through which you can do that is by creating and displaying an armour stand. With flexible objects, you can construct unique and custom displays. They can hold and display wearable goods, for instance, armour and mob heads, and even carved pumpkins.
So how do you exactly craft an armor stand? Luckily, the process is pretty easy as you will only need a few key items and a crafting table to complete this recipe.
We'll walk you through the process of creating an armor stand in Minecraft in this tutorial. But first, get your Minecraft Server here!
Gather Wood Blocks
In Minecraft, harvesting wood blocks is the first step in building an armor stand. Wood blocks may be collected from trees by knocking on the trunk or with an axe. You may use any type of wood. Once you've collected enough wood blocks, it's time to turn them into wooden planks.
Craft Wooden Plank Blocks
To make wooden planks from any wood variety, including oak, spruce, birch, jungle, acacia, or dark oak, simply select the wood blocks in your inventory and right-click on a crafting grid. No crafting table is required.Open the Crafting Menu

To make an armor stand, you have to open the crafting menu. When you first open your crafting table, the 3x3 crafting grid should be displayed. The crafts table is made by joining four wooden boards in a square pattern.
Add Items to Make an Armor Stand
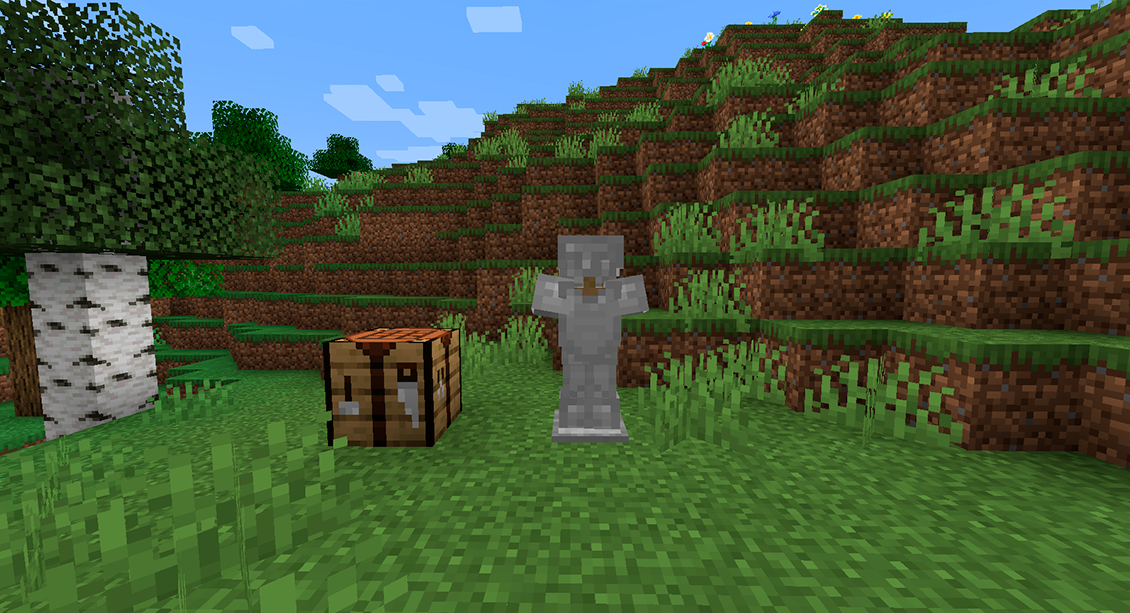
The crafting menu should display a crafting area with a 3x3 crafting grid. Create an armor stand by placing one smooth stone slab and six sticks on the 3x3 crafting grid. Any sort of wood plank, such as oak, spruce, birch, jungle, acacia, or dark oak, can be used to make.After adding the sticks and smooth stone slab to the crafting grid, an armor stand will appear in the result box. To add the armor stand to your inventory, simply click it.
How to Use the Armor Stand
The crafting menu should display a crafting area with a 3x3 crafting grid. Create an armor stand by placing one smooth stone slab and six sticks on the 3x3 crafting grid. Any sort of wood plank, such as oak, spruce, birch, jungle, acacia, or dark oak, can be used to make.After adding the sticks and smooth stone slab to the crafting grid, an armor stand will appear in the result box. To add the armor stand to your inventory, simply click it.
Can I build an armor stand in Minecraft using a furnace?
You craft an armor stand in Minecraft not using a furnace. Craft an armor stand with the help of first gathering some of the resources and then with a crafting method which needs a crafting table. Making an armor stand in Minecraft will call for one smooth stone slab and six sticks.
Can I customize the appearance of an armor stand in Minecraft
You are able to equip your armor stand in a different way while in the game of Minecraft. There are a few different ways in doing this. Your armor stand could
Player heads and skins are also available from third-party websites like Minecraft-Heads and Minecraft Skin Viewer for your Armor Stand.
With armor stand generation programs like the Minecraft Armor Stand Maker, you can also use commands to tilt your armor stand in a particular direction and even change its pose.
Also, you can alter your armor with Armor Trim Smithing Templates and even alter the way your screen transitions by utilizing the /title command and vanilla shaders.
Overall, Minecraft's Armor Stand may be customized in a variety of ways, enabling you to design a distinctive display for your armor and other goods.
Can I decorate my Minecraft armor stand with banners?
No, in Minecraft you cannot customize an armor stand with banners. Banners are ornamental blocks that can be utilized to give a base or residence a unique flare, but they cannot be fastened to or exhibited on an armor stand.
With the item in your hand, right-click the armor stand while holding the item to show it.
Can I make an armor stand in Minecraft without a crafting table?
No, a crafting table is required to make an armor stand in Minecraft. Simply gather the essential supplies—one smooth stone slab and six sticks—and place them in the appropriate design on the crafting table. The end result will be an armor stand.
In Minecraft, is it possible to create an armor stand without utilizing smooth stone?
No, a smooth stone slab is one of the components required to build an armor stand in Minecraft. Smelting ordinary stone in a furnace produces a smooth stone slab. Place a fuel source, such as coal or charcoal, in the furnace's bottom slot, and three cobblestone blocks in the top row.
Once the stone has been melted, you may use it to create a smooth stone slab for an armor stand.
Can I make an armor stand in Minecraft with different types of sticks?
No, you need six normal sticks to construct an armor stand in Minecraft. Any other kind of stick, such birch or spruce sticks, cannot be used to make an armor stand. But, to make the sticks needed for the recipe, you can use any kind of wood plank.
Final Thoughts
In Minecraft, making an armor stand is a straightforward procedure that requires a few basic ingredients and some experience with the crafting menu. Once you've built an armor stand, you may use it to hold wearable items, position armor in various ways, and exhibit armor in general.Make Your Own Minecraft Server
Your own Minecraft server is only 5 minutes away! We support simple one click install for over 3298 unique modpacks.
Start Your Minecraft Server Today!