How to Build a Drowned Farm in Minecraft
Make Your Own Minecraft Server For Free
Your own Minecraft server is only 5 minutes away! We support simple one click install for over 1000 unique modpacks.
Free Minecraft Server Hosting

Getting Started: Essential Materials
Before we embark on our underwater construction adventure, let’s gather our supplies. Building a Drowned farm is a bit like a treasure hunt—you need the right tools for the job. Here’s what you’ll need:
- Building Blocks: Think of these as the bones of your farm. You’ll need plenty, so stock up on at least a few stacks. Whether it's cobblestone, stone, or even dirt, choose your favorite building material.
- Fence Gates: These are crucial for water control. You’ll need a hefty amount—picture filling an entire layer of your farm with these gates.
- Non-Solid Blocks: Ideal for the farm’s floor. Glass is a popular choice, giving your farm a sleek look while serving a practical purpose.
- Slabs: These will form the roof of your farm. Same quantity as your non-solid blocks.
- Hoppers and Chests: For collecting your hard-earned loot.
- Trapdoors: Essential for guiding the Drowned to their destination.
- Turtle Eggs: These are the pièce de resistance, the main attraction for the Drowned.
- Scaffolding: To help you build high without the fear of a Minecraft-style fall.
With these items in your inventory, you’re ready to start building.
Choosing the Right Location
Finding the perfect spot for your Drowned farm is like choosing a spot for a beach house; location is everything. You need to find a river biome, and here’s why: Minecraft’s spawning mechanics favor river biomes for Drowned. These biomes have less water, so the game compensates with a higher spawning rate. It’s like having a concentrated Drowned essence in a smaller area.Start your quest by scouting river biomes. Look for a spot that feels right—not too cramped, with enough space for your ambitious project. Remember, the river biome is key. Using your trusty F3 screen (a gamer’s best friend), pinpoint the exact biome boundaries. You're looking for that sweet spot where transitioning one block over changes the biome. This precision ensures you're maximizing the Drowned spawn rates in your chosen location.
With your perfect river biome located, it's time to roll up your sleeves and start building.
Building the Perimeter of the Farm

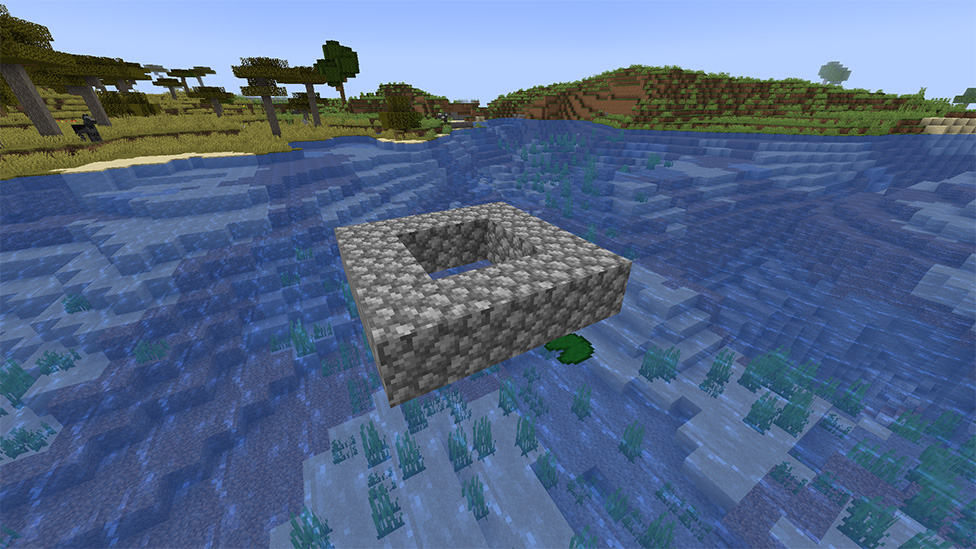
The first step in creating your Drowned farm is like setting up a blueprint for a grand castle—you need to mark your territory. This step is crucial for efficiency and maximizing your farm's potential. You'll start by creating a perimeter around the river biome.
- Find the Edge: Using the F3 screen, locate a block at the very edge of the river biome. This block should be right where the biome changes.
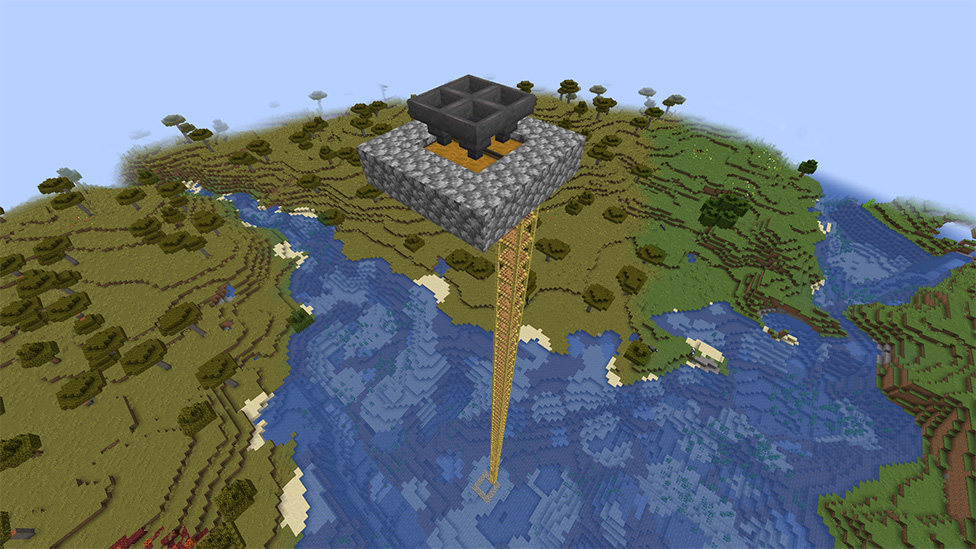
- Building Upward: From your edge block, build upwards using scaffolding. Aim for Y level 200. This height ensures you are well above any potential underground distractions that could affect spawn rates.
- Setting the First Block: At Y level 200, place your first building block. This marks the start of your perimeter.
- Mapping the Perimeter: Continue placing blocks along the edge of the river biome. The aim is to encase the river, ensuring every drop of water is within your future farm. Be precise, as every block counts.
A tip for accuracy: when crouched at the edge of a block, the biome line on your F3 screen will show the biome of the block you're overhanging. Use this to guide your construction.
Once your perimeter is set, you have the foundation of your farm. It’s a bit of effort but think of it as laying the groundwork for a bountiful harvest.
Building the Farm's Walls and Floor

Now that the perimeter of your Drowned farm is set, it's time to build the walls and floor. This step is like constructing the outer shell of your underwater fortress.
Constructing the Walls
- Wall Height: On top of your perimeter blocks, build walls up to Y level 252. This height is crucial for maximizing the Drowned spawn rate.
- Completing the Enclosure: Make sure the walls encircle the entire perimeter. This will be the container for the water where the Drowned will spawn.
Laying the Floor
- Non-Solid Blocks: Use non-solid blocks like glass for the floor. This ensures no unwanted mobs spawn, and it adds an aesthetic touch to your farm.
- Floor Placement: Start laying the floor from the farthest point of your farm. Extend it outwards by about 8 blocks from the perimeter’s edge. This will be the base where your Drowned will eventually gather.
Building the Drowned Collection Areas
The collection area is where the magic happens in your Drowned farm. This is the stage where you set up a system to guide the Drowned to their fate, ensuring you get those coveted tridents and nautilus shells. Utilizing Turtle Eggs
Drowned are irresistibly attracted to Turtle eggs. These eggs will be your bait. Place them strategically within the farm, ensuring every part of the river within your perimeter is in the detection range of an egg. A Turtle egg has a detection radius of 47 blocks, meaning Drowned within this area will gravitate towards it.Designing the Trap
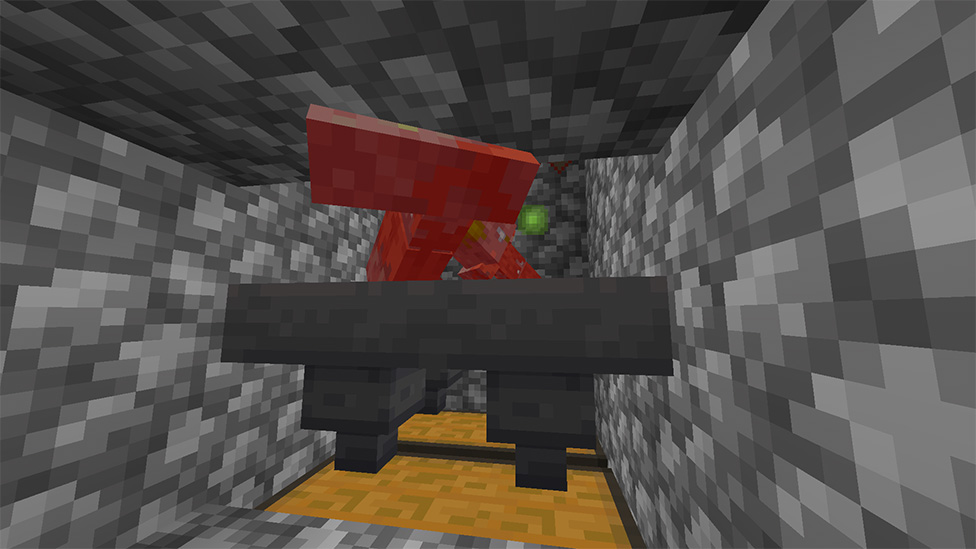
- Trapdoor Mechanism: Surround the Turtle egg with a 5x5 grid of trapdoors. Open these trapdoors, creating a hole. Drowned, in their relentless pursuit of the egg, will fall through these trapdoors into a collection chamber below.
- Water Streams: Below the trapdoor setup, create water streams that converge at a single point. These streams will carry the Drowned from various points in your farm to your designated kill zone.
The Importance of Trapdoors
Minecraft's AI perceives open trapdoors as solid ground. This feature is exploited to trick Drowned into falling into your collection chamber. They attempt to stomp on the eggs but instead find themselves in your trap.This setup not only ensures the efficient collection of Drowned but also adds an element of automation to your farm, making your life a whole lot easier.
Final thoughts
Congratulations! You've now mastered the art of building a Drowned farm in Minecraft. This farm isn't just a structure; it's a testament to your dedication and ingenuity in the game. With it, you'll have a steady supply of tridents and nautilus shells, making your Minecraft adventures even more exciting.But why stop there? To elevate your experience further, consider hosting your game on a dMinecraft server with ScalaCube. Imagine the fun of sharing this incredible farm with friends, showing off your engineering prowess, and enjoying the spoils of your hard work together. ScalaCube offers a seamless hosting experience, ensuring your Drowned farm and other Minecraft endeavors run smoothly, enhancing your gameplay to the next level.
Remember, Minecraft is a game of endless possibilities, and your Drowned farm is just the beginning of what you can create. Happy building, and may your loot be plentiful!
FAQs
Why are Drowned Farms important in Minecraft?
Drowned Farms are essential as they provide a reliable source for acquiring rare items like tridents and nautilus shells, which are otherwise difficult to find.
Can I build a Drowned farm in any biome?
Drowned farms are most effective in river biomes due to higher spawn rates in smaller water bodies.
What's the best weapon to use in a Drowned farm?
A sword with Sweeping Edge III, Smite V, and Looting III is ideal for quick kills and better loot.
Make Your Own Minecraft Server For Free
Your own Minecraft server is only 5 minutes away! We support simple one click install for over 1000 unique modpacks.
Start Your Server For Free!
Copyright 2019-2026 © ScalaCube - All Rights Reserved.