How to Beat Fourth Chorus Silksong
As you continue in Hollow Knight: Silksong, you develop a repertoire of movement abilities and combat abilities that make Hornet into a giant ball of mobility. Before long, the dash ability opens up to you a new level of freedom of movement, and then you master the Drifter's Cloak, which allows you to glide peacefully in updrafts. This new mobility is what will become the key to your next great challenge in the form of a huge, threatening boss named Fourth Chorus. Fourth Chorus is unlike other bosses you’ve faced so far. It is a giant brute that looks formidable, and the arena around it emphasizes verticality and movement. While it may seem overwhelming at first, the fight is designed as a high-intensity tutorial for using the Drifter’s Cloak effectively. Mastering your glide and timing is the key to surviving and defeating this colossus.
Where to Go to the Fourth Chorus and How to Involve the Combat
Make Your Own game Server
To go to the Fourth Chorus, you must gain the Drifter's Cloak beforehand in the outreaches of the Far Fields. Without it, you cannot engage in combat. You also have to complete the Flexible Spines quest, which prepares you for battle and shows you a little bit about some of the threats that you will be facing in the arena. To complete this quest, proceed to the area just right of Seamstress's den and speak with the mobs that have spiky heads. Once the quest is completed, you can return to a large, open platform where Fourth Chorus will exit the lava to initiate the battle right away.
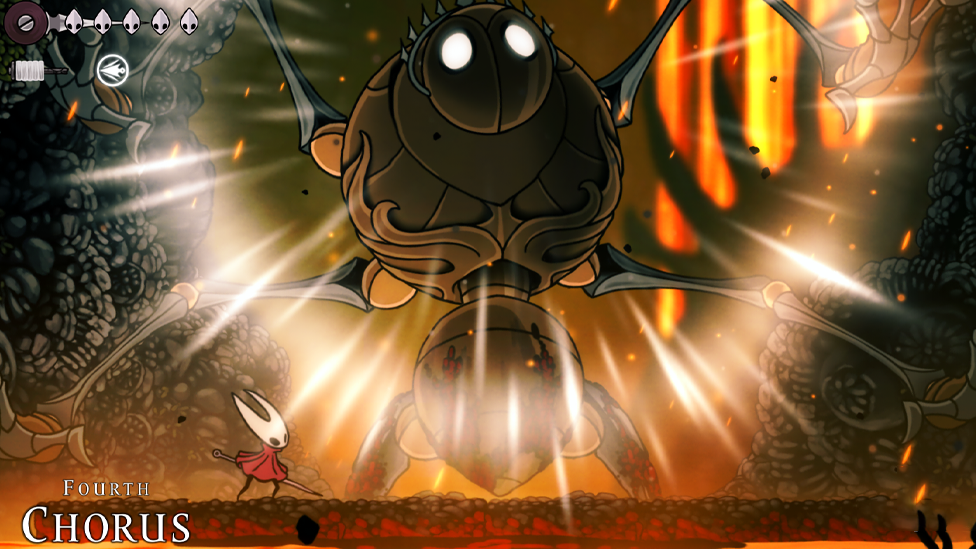
Learning the First Phase
The initial phase of the Fourth Chorus silksong is actually a tutorial on gliding and vertical travel. The boss possesses only two significant attacks that you will learn so that you can prepare for them. The first one is a slam attack that not only deals immediate damage but breaks up chunks of the platform, exposing lethal magma underneath. It is highly recommended that you bear the Forgemaster's Daughter's Magma Bell, as it reduces flame and magma damage, making it safer for you to move forward on the shrinking platform. Jumps at random so as not to be pushed into lava, but close enough to attack.
The second attack is a sweep arm, dealing two masks of damage and sending you airborne as the boss slashes across the arena. You can see this attack by Fourth Chorus with an open-handed motion on both sides of the platform. You manage to dodge this attack and maintain your altitude with your Drifter's Cloak to avoid taking damage and position yourself to strike the boss's head, the only place where damage can be done. Gliding and jumping simultaneously allows you to counter and evade successfully. At this stage, being careful to aim for the boss's head and not the platform-destroying slams will gradually drain the life of Fourth Chorus. When the first stage is over, the boss drops to the ground, entering the next stage.
Second and Third Phases
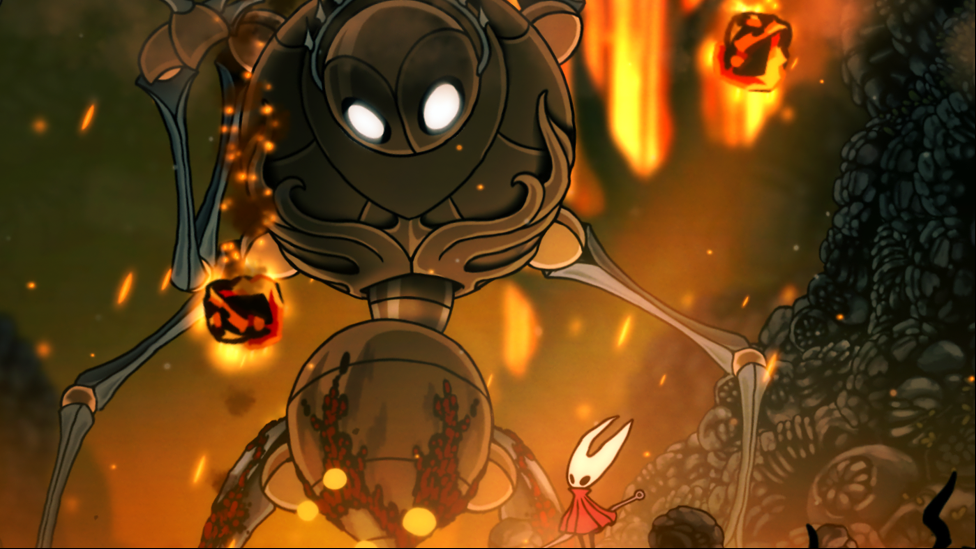
The second phase is an extension of the first, with the same overall attacks, but fireball drops are crashing through the roof as well. The fireballs drop scalding down thickly across the arena, adding another danger. The tactic remains the same: glide around attacks and wait for your attacks on the head of the boss. Do feel free to back off for a second if the arena becomes too crowded with dangers. Positioning and patience are the keys. The third stage occurs only in repetition of the same rhythm and is responsible for reinforcing mechanics learned in earlier stages. Your gliding control and timing should now be extremely accurate so that you can glide over obstacles, avoid attacks, and land time after time on Fourth Chorus's head. Although the fight may seem repetitive in style, it is really a long practice in vertical movement and danger management that will prepare you better for the more advanced fights later on in the game.
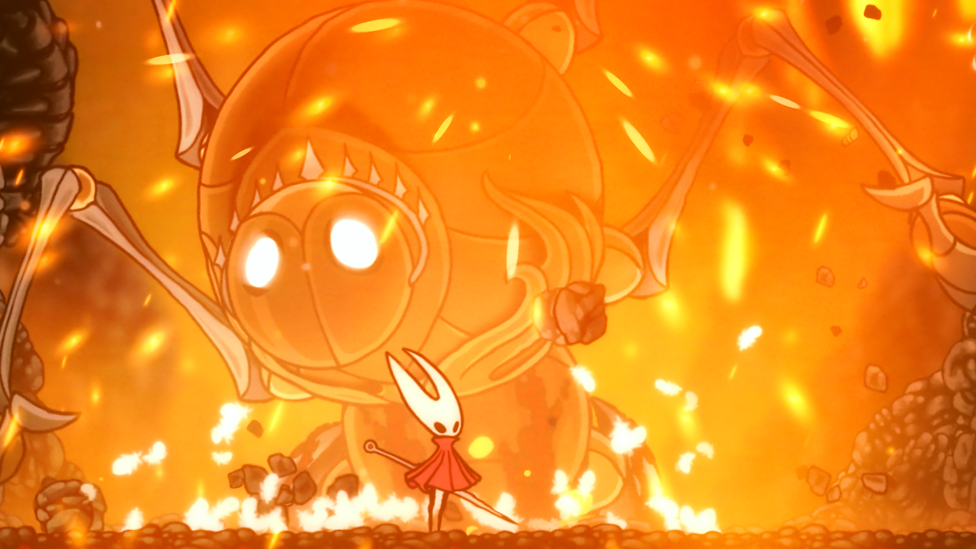
Final Phase: The Grand Finale
The fourth and final phase introduces a climactic turn. The arena is severely pinched, with two back-to-back updrafts biased in favor of heavy vertical action. The goal here is to push with the updraft one into the air and then fire off two explosive ceiling items. Firing them in quick succession drops a gargantuan boulder onto Fourth Chorus, killing the fight. Dodging the boss's normal attacks, one must position oneself delicately within the updrafts, paying attention to timing so that one does not get hurt while performing the explosive set. This level tests all the gliding ability you've learned so far and adds evasion, vertical flight, and point shooting.
Rewards for Defeating Fourth Chorus
While the Fourth Chorus Silksong reward is not a standard combat reward, the victory is by no means shallow. Successful completion of the Drifter's Cloak encounter mastery converts gliding into your second nature. While there is no real item or item provided from this fight, the real payoff is the skill that you gain: gliding through vertical sections seamlessly, sidestepping attacks with elegance, and mastery of the battlefield from the air. This practice is also very handy when dealing with future bosses and platforming sections in Silksong. Now you know how to beat the Fourth Chorus Silksong, you can leave to go about as you like, completely able with the knowledge and confidence to find your way through even the most treacherous areas. Fourth Chorus' fight is the ultimate demonstration of how Silksong teaches players with difficult but rational boss design: the fight itself is half learning movement ability as much as learning damage dealing. By the end of it, you not only vanquish the tough bruiser but also become a more refined and agile Hornet ready to tackle the more complex problems that await you.