Hollow Knight Silksong How to Beat Savage Beastfly
As you progress further into Hollow Knight Silksong, the game gradually raises the bar on difficulty. The early stages provide players with fairly gentle platforming sections, and players are able to get used to Hornet's movements and combat capabilities without much exertion. Once you reach Hunter's March, however, the landscape is far less hospitable. There are spiky hazard areas all over this level, and you need to learn downward diagonal pogos to navigate safely. Master these skills, and you have the key to the Chapel of the Beast, where you will face one of the game's opening Crest Bosses: the Savage Beastfly.
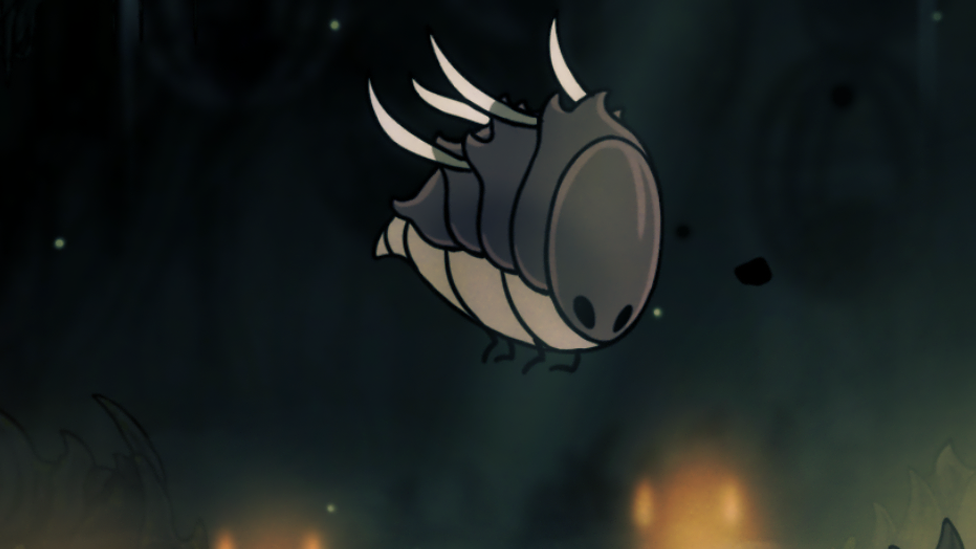
The Savage Beastfly is a huge jump in difficulty. Unlike previous encounters, this boss not only possesses aggressive air-based attacks but also the ability to summon minions, creating a battlefield more akin to a minefield. You can be overwhelmed in a hurry if you approach this fight with nothing. But with the right strategy and preparation, you can vanquish this air-based menace with ease and precision.
Where to Find the Savage Beastfly
Make Your Own game Server
The Hollow Knight Silksong Savage Beastfly is in Hunter's March, a slanted part with unstable red bulbs, spiky falls, and other ant-like mobs roaming the platforms. Technically, you can battle your way through this part without the improved mobility, but it is strongly recommended that you already have the Drifter's Cloak. This ability lets you glide on thin roads, not fall into the troubles of sly jumps, and maintain control over Hornet throughout the fight. Take time before the boss battle to kill the enemies surrounding you to replenish your silk, which will be used for healing and for some of your skills for the fight. Jumping around the red bulbs and sliding along the small gaps will keep you safe upon entering the Chapel of the Beast and prepare you for the upcoming battle. It's also a good idea to stay alert to your environment; the arena has slightly unevenly sized stages, and being in the center can give you a more stable area to strategize your dodges and attacks.
Preparation for the Fight
Since this is one of the first Crest Bosses you battle, your available loadout will probably be slim. The Straight Pin, while useful in certain situations, is not usable here due to the Beastfly's aerial dominance. However, select a red-coded attack tool that will allow you to attack from range or during accuracy pogos. As your blue-coded tool, the Warding Bell is best, as it acts as a safety net when trying to heal in the middle of the battlefield, especially since minions spawn. Also, having something that interrupts the positioning of the enemy, like the Cogfly for passive damage, can be incredibly useful in this battle, because it keeps a bit of pressure away from your positioning and allows you to focus on evading the Beastfly's rapid attacks.
How to Beat Savage Beastfly
The fight against the Savage Beastfly is fast and cruel, and it demands good timing and positioning. The boss has several phases, but its attack set is uniform throughout, so you can study and capitalize on its patterns during the fight.
First Phase
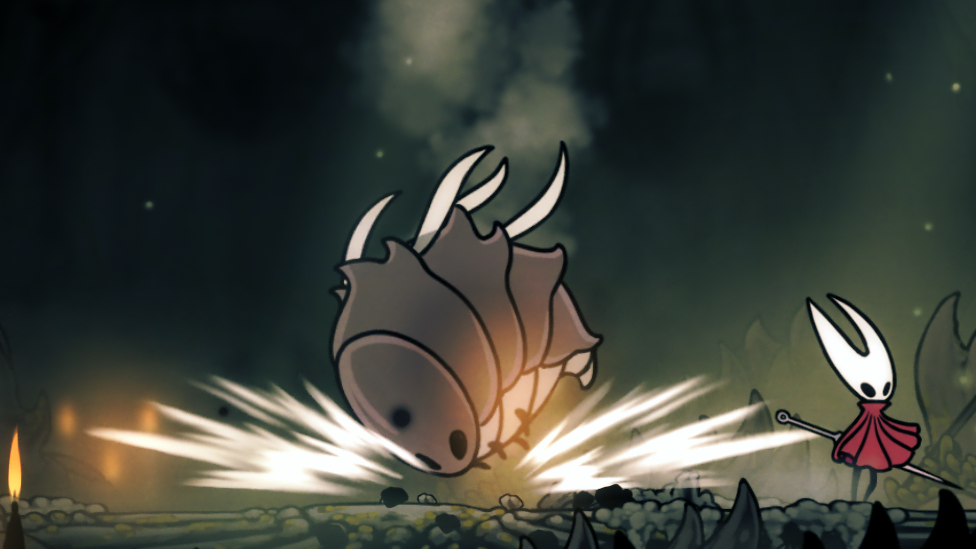
The first phase introduces the Beastfly's primitive behavior. It flies around the arena at head height or glides along the ground, so positioning is a serious issue. Its headbutt also happens to be particularly lethal, attacking three times and dealing significant damage. The trick is to jump just out of range and then time a diagonal pogo or a rising attack to safely strike. The Beastfly attacks are strong, but not unpredictable, so cautious players can slowly chip away at its health without risking much. Keep a constant speed, keeping your attacks spread out at a regular distance, and do not group up too closely, as its hitbox is very wide.
Phases Two to Four
When the first phase is over, the challenge becomes greater. The Savage Beastfly continues its aggressive roaming, now summoning minions to enter the arena. These could be aerial pests, ground-dwelling dagger-shell fiends, or bigger hybrids capable of strong blade strikes. The key to survival is prioritizing killing minions over attacking the Beastfly head-on. Take advantage of the boss's headbutt downwards to clear out any minions that are in direct line underneath it, using its attack as an asset. Each phase decreases the cleared areas between spawns, increasing the amount and frequency of minions spawned until eventually two spawn at once. Keeping an eye out for the boss and its minions is critical, as neglecting to do so can lead to avalanching damage and loss. Patience and vigilant watching of safe attack windows to finish these phases are required. If it becomes necessary, back off a bit in desperation chains to reclaim control and get back into position before resuming another assault. Continue with your diagonal pogos and gliding for topside control during the fight. Do not give up on your attacks; rather, play defensive and opportunistic attacks. With strategic minion management and attack opening taking, the Beastfly can be killed safely.
The Savage Beastfly Reward
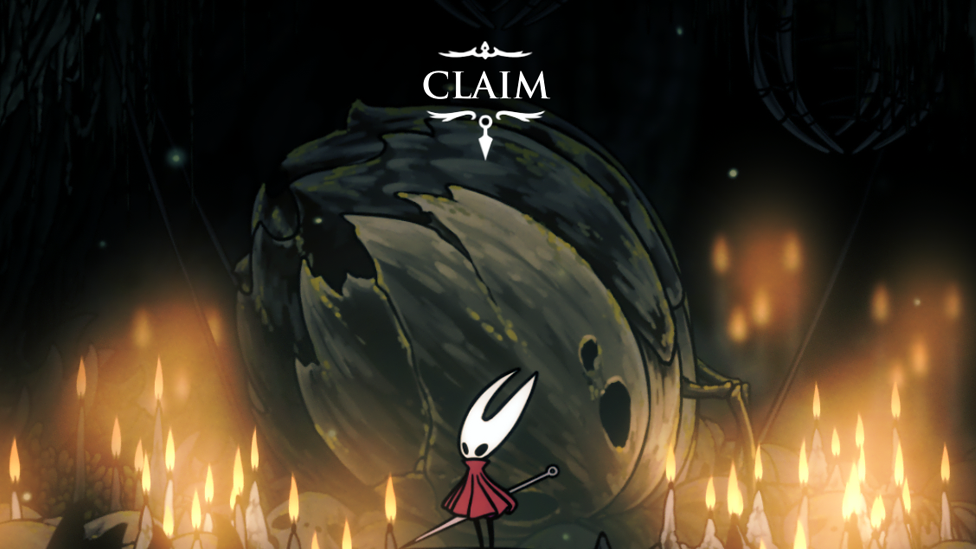
For the defeat of the Savage Beastfly, you are rewarded with the Beast Crest, one of the strongest and most versatile rewards that alters your combat skill. The Crest permits a more aggressive combat style in that it briefly increases your tools and induces a short berserker-like effect. The Beast Crest also bestows on you two red-coded tool slots and two additional Memory Locket slots for additional customization, allowing you more combat flexibility. The Crest also makes your downward diagonal pogos more precise, pushing out their range and making platforming actions easier. Yeah, it's a bit of an adjustment to use, but it definitely comes in handy when getting through particularly difficult parts and fighting future bosses. Defeating the Savage Beastfly is not just a milestone in mastering the platforming of Hollow Knight: Silksong, but it also unlocks a Crest that completely changes how you will explore and fight throughout the game. With patience and repetition, what was a feared foe now becomes a chance to test your skills and prepare yourself for even more challenging encounters to come later in the game.