Hollow Knight Silksong Deep Docks Full Guide
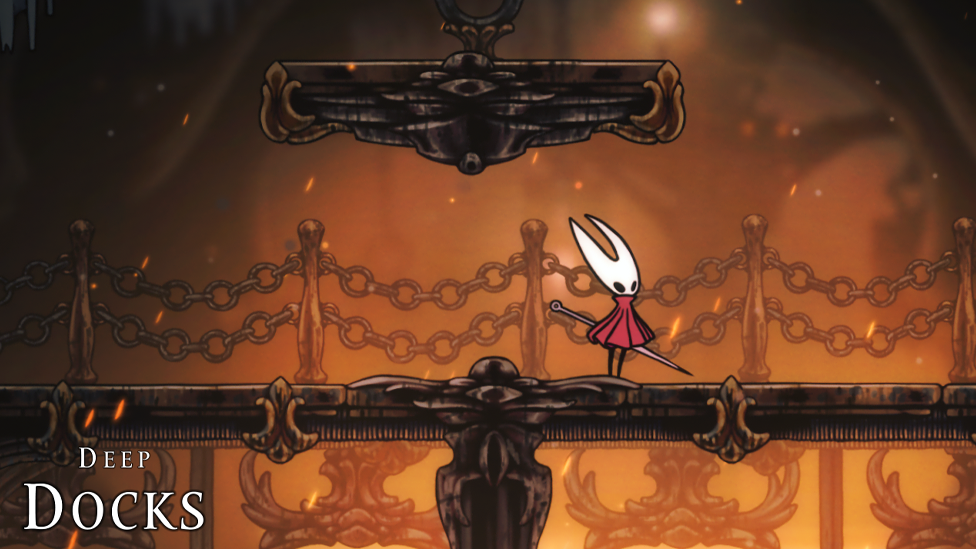
If you have found the last two areas easy, this is the beginning of the difficulty you will find throughout the game. The first two areas are made to train you up for the sections to come. Fittingly, Deep Docks surrounds the player with fire pits, introducing enemies that you have not faced yet and a much harder boss. At this point, you are expected to be strong at the basics of the game.
So, to get comfortable in the Deep Docks of Silksong, take a look at our guide to this area and discover the journey ahead of you, from the enemies to the mini-boss and final boss of Hollow Knight Silksong Deep Docks.
The Entrance of Deep Docks
Make Your Own game Server
Once you enter the Hollow Knight Silksong Deep Docks, you should use the elevators that are there to go up to the third floor. Once you are there, you can spend 30 rosaries and craft a bench that you can utilize. After this, return down to the starting floor, head east into an area that is much larger than where you are, with different paths to follow. Head down to find the Shakra, who will make you a map of Deep Docks. This will really help you find your way around when you need it the most. When you begin to head back up the path, you will find a new enemy that should be defeated, one that is much more annoying than the others, as it flies around and throws explosives at you, yes, a much more devastating enemy to face. Defeating this enemy is not the only thing you need to do here; after winning the fight, two handles need to be hit to continue. Two platforms will show you the way through; one way will lead to enemies to fight and rosaries to collect, and the other will bring you to the top of the area.
Fighting through Lava
The one thing you will notice is the abundance of lava all around, but unlike the spikes you have come across, the lava does not kill you instantly. In this area, you will encounter two more enemies that have not shown themselves in the other areas. A dog-like creature that will try to frighten you at any chance it gets, and an enemy that will grunt and swipe at you whenever you are near, be quick with your reactions, and make sure you dodge when you can. After facing these, continue towards the end of the path, which will show a long stretch of lava separating an unreachable section.
Now, it is time to test your strength by hopping across this as quickly as possible. Don’t be slow here, or it will get the better of you, just like the other sections. Avoid the falling rocks that will definitely kill you instantly. So, you have made it past the obstacles, where now? You will find an explosive boulder at the end of the room, which can be swiped open to show the next area.
Introducing your first Mini-Boss Fight
So, you are getting to the point of finding your first mini-boss to fight, but before you get to this, head over to the right of the next section to unlock a new rest station. You may need it! There will be a few flying ants to deal with once you have set your rest station up, but don't fear, these are not difficult at all. Slice through them and continue heading up to the next area. You will notice that the bone door on the right is locked, so head the other way and start your preparation journey for the Mini-Boss. Remember the easy ants? There will now be warrior ants that bring a barrage of projectiles and summon enemies. You would have already encountered this in this area. Showcase your skills and knowledge to defeat them and take out the two warrior ants. After defeating them, head to the left and drop into the next section.
The Shortcut
Carry on your dive into Deep Docks on Silksong, and definitely listen to the game when it notifies you to look down; there could be spikes, ants, and disappearing platforms all there to make your game harder. Avoid the spike pit and head right to another explosive boulder, set off this one like the last, and you will see the shortcut area right there! Here you can rest if you need to, and then return to the previous room to advance to the next section, the opposite way of the shortcut. Jump across the gap and grab Swift Step from the altar there. You will want this move for the final section of the Deep Docks area. Using your newly acquired perk, jump across the platforms to the left until you reach the switch, which will raise your platform to the top. Once you are at the top, free the little critter you find there from its binds.
Go back on yourself, but further this time until you reach the bottom floor, and hit the switch that will open the door, bringing you to the rest area that you first found at Deep Docks. Take the elevator back down and go into the area with two platforms.
If travelling to another area before continuing is what you would like to do, you can take the door at the bottom left to find a transport station. When you're ready, return to the lava room and take the route at the bottom right.
Finding The Path To The Boss
So, you have defeated the rest of the area. Now, it is time to flip the switch you can see to begin heading to the depths of the sector. If you want to get the most Shell Shards possible, then stop the elevator halfway, before going right to the bottom. The Hollow Knight Silksong Deep Docks Map doesn't stop there; you will find a series of descending platforms that have enemies that will blow up on contact, so definitely proceed with caution. To gain more rosaries and Shell Shards, you will need to fight your way into the room on the left, which is guarded. Returning to the elevator leads to the hard part, another mini-boss encounter, fighting them and a few of the area’s enemies, getting you ready for the main boss, Lace.
Defeat Lace & Leaving the Area
Once you have won the brawl, a new path will open up. Follow this to the top, and the ascending platforms on the left will bring you to the Hollow Knight Silksong Deep Docks boss, Lace. Using the Swift Step perk, reach the area above to flip the switch and trigger the boss fight down below. Lace really is a difficult force, so don't take this fight lightly. After the boss has been defeated, head to the right and ring the bell to move on to Far Fields and leave this area behind.