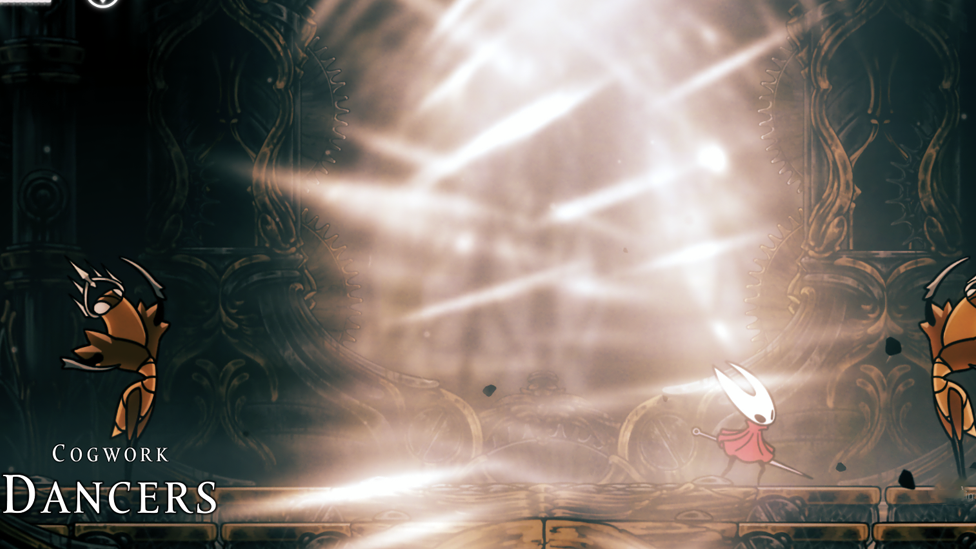
Hollow Knight Silksong Cogwork Dancers Boss Guide
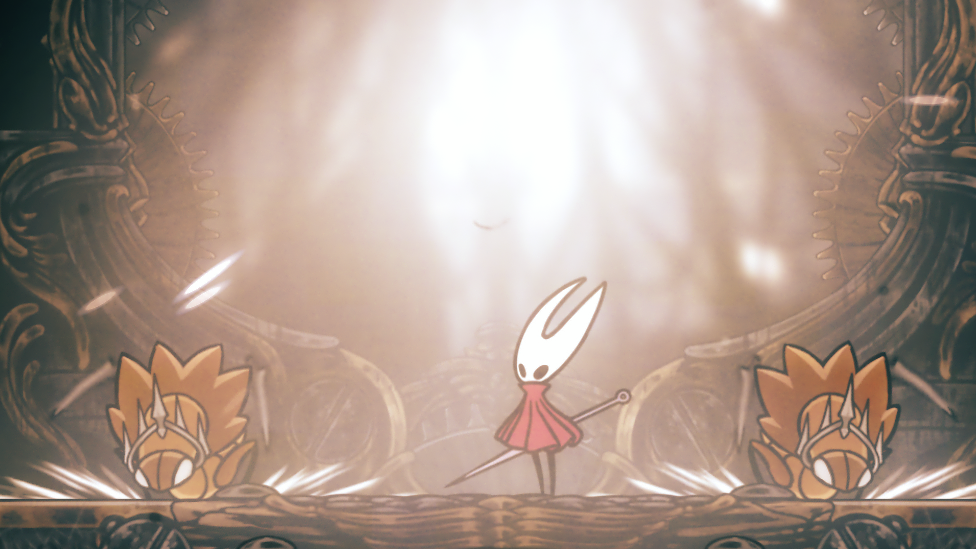
As you continue upwards in Hollow Knight Silksong's Citadel, your focus naturally shifts towards getting into the Choral Chambers, a hub that stands right in front of you once you have managed to defeat the Last Judge successfully. The path to this area is fraught with peril: the upper right settlement of the Citadel leads into a long, heavily guarded hallway filled with tanky soldiers who are capable of shredding your health if you’re not careful. Their presence creates a sense of mounting tension, a clear signal that something significant lies ahead. At the other end of this hallway, you are facing the Cogwork Dancers, a duo of mechanical dancers with speed, synchronization, and brutal fighting style that makes them one of the most energetic and memorable fights in the whole game.
If you've battled the Mantis Lords in Hollow Knight, a lot of that muscle memory will serve you extremely well here. That said, whereas the Mantis Lords are solo acts with phased attacks that change over the course of the battle, the Cogwork Dancers are a pair with phased attacks that change over the course of the battle. Memorizing their timing, having the appropriate tools available, and keeping your head on your shoulders are all absolutely vital to success.
Loadout and Suggestions
Make Your Own game Server
Preparation for the Hollow Knight Silksong Cogwork Dancers fight will make it so much easier. At a minimum, you should have your nail sharpened and equipment upgraded. My loadout recommendation for this fight is the default Hunter Crest, Straight Knives, and Sting Shards. This is equipment that allows you to deal ranged and close damage while being out of the dancers' attack range. A Warding Bell will provide some damage reduction, but other things like the Druid's Eye will not be of much use here and should be kept only if you have a use for it. If you can, try to head back and scour the numerous Weaver doors across the map for Weavelight and the Hunter's Crest upgrade. These will definitely assist in adding your defensive gameplay and offensive capabilities. Also, ensure you have rehearsed Act 1 adequately so as to milk your masks for all they are worth and make the most out of your gear, because there is no substitute for preparation when it comes to handling the rhythm and speed of the Cogwork Dancers. Some players may find this boss even slightly easier than the Last Judge, but careful planning ensures you can handle the fight with assurance without undue frustration.
How to Beat the Cogwork Dancers Boss Silksong
Phase One
This phase sets up the dancers' normal attack patterns and is an opportunity to watch their movements. They create lines of movement in any one of six directions and travel along them, often stopping at the corners of the arena or the center. If both dancers converge on the center, they perform a simultaneous AoE dance. This is the ideal moment to heal, as it is risky to move or attack during this synchronized step. Yet, once the dance has been finished, you can safely attack using Sting Shards or normal slashes. Every time the dancers fall to the ground, they call forth slashes in both directions. These can be difficult to avoid if you are close by, so wait until the animation is completed before closing in for an attack. One method for this phase is to position yourself in the middle of the arena when the dancers are in opposite corners. This minimizes the opportunity to be struck with incidental damage and provides sufficient time to react to their next behaviors. Dash attacks are less useful during this phase than in more aggressive battles.
Standard slashes, particularly when paired with attack speed buffs, provide a better quality of damage output. Also, the dancers will now and then launch screen-covering slashes. Watch the visual tells: lines seem to indicate the direction of the slashes, and safe areas will most likely be formed in the second quarter of the arena. Late jumping and employing your dash or glide when you're out of danger will allow you to avoid this high-arched attack with ease.
Phase Two
On the second level, the dancers are quicker, and more reaction time is needed. They still perform the center dance for healing windows, but these are riskier to perform since their movements are quicker. There is a need to maintain distance and attack patterns under control. The screen-covering slash that is fatal if poorly timed is a little less cringe-worthy. The dancers' hitboxes are deactivated for a shorter period of time for the faster attacks, so you can jump, dash, or glide more quickly. Pressure is kept up by pressuring with Sting Shards or close slashes on openings without overexerting yourself.
While phase one is more observation and cautious engagement, phase two initiates a cycle of movement and counter-attack. One will have to figure out when to strike in, when to heal, and when to fall back in dominating the field, as well as not losing too much mask.
Phase Three
Phase three demonstrates us having desynchronized movement, i.e., the two dancers no longer move in perfect sync. This increases the attack frequency, since one dancer can attack while the other gets a second into position, so you want to attack both of them simultaneously. In this phase, it is generally safer to attack whichever dancer is moving away from you, so that it is less likely that you get flanked by them. Ranged equipment like Sting Shards and Knives also come into their own here. Trapping the arena with these lets you apply ongoing damage while your attention is focused on dodging. Keeping the dancers threatened but not too invested lets you slowly chip at their health and set up for the last phase. The last phase is where players who can handle multiple directions of attack at once and think a little ahead in terms of positioning and timing are rewarded.
Final Phase
The final phase is achieved when one of the dancers has been slain. With the duo split up, the surviving member is no longer as intimidating, slow, and deliberate in movement. Though still lethal, the single dancer cannot compete with the synchronized charge of the earlier phases and can be easily ground down without risk of crushing blows. This is where offense meets caution. You can wild out and attack, but you can't forget to defend against surprise slashes or jumps that will leave you with a lost mask. By slowly breaking down the other remaining dancer, you will have the advantage.
Rewards and Progression
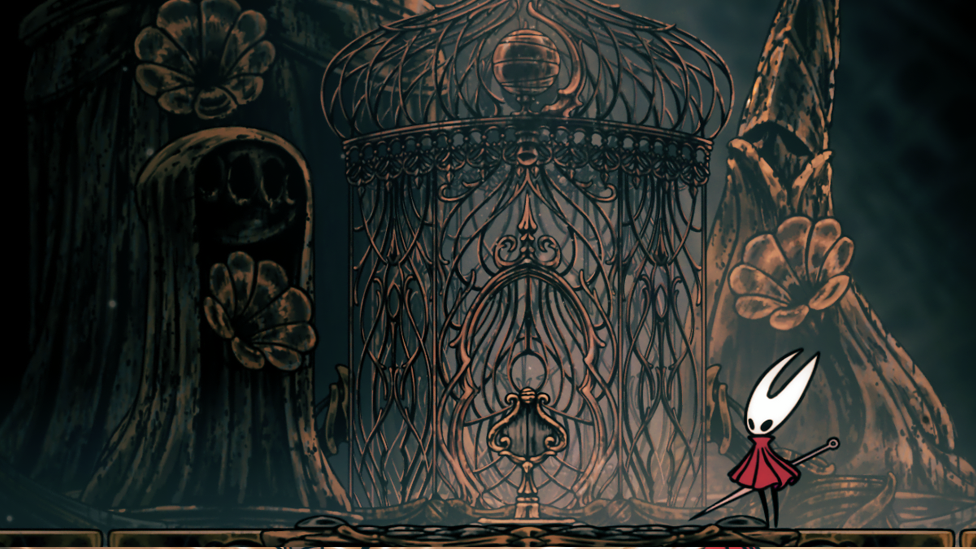
Beating the Cogwork Dancers boss Silksong, unlocks previously closed-off areas of the Citadel. You can now go onto the left, move upward into new areas, or drop down into areas featuring some of the Silksong or even the original Hollow Knight's most atmospheric music. Further, those doors that once appeared last or impossible can now be opened, and you can move forward with more exploration and progression toward endgame objectives. While not providing new equipment or Crests right off the bat, the real payoff is mastery. The fight makes your understanding of timing, spatial awareness, and dual-target control solid, all of which will be important for dealing with future Citadel bosses. Weaker players can even use the experience as an opportunity to hone combat efficiency and push reaction time, abilities that will pay off in future, nastier fights.
Summary of Strategy
Defeating the Cogwork Dancers is based on some basic principles: Observation and positioning: Learn the movement patterns of the dancers and be in safe zones when they cast AoE skills. Tool use: Knives and Sting Shards are ideal for ranged damage because they enable you to do damage without overcommitting. Phase awareness: Each phase accelerates or desynchronizes movement, and monitoring it and responding with positioning is the top priority. Patience: Don't dash or overextend. Wait for the proper times in recovery to strike and attack, particularly in synchronized middle dances. Offense in moderation: Periodic slashes and attack projectiles are preferable to wild dash attacks, particularly when controlling both dancers at once.
By coupling keen observation, precise movement, and forceful tool utilization, the Cogwork Dancers' fight is transformed from a foreboding mechanical battle into one that can be strategized and controlled by players. Not only will conquering this fight reveal more of the Citadel to players, but it will also prepare them for even more challenging boss fights in Silksong's future as well.