How to Upgrade Forge Valheim
A key element of progress in Valheim, the Forge allows players to craft advanced tools, weapons, and armor that are necessary to survive and conquer the game's difficult biomes and bosses. Learning how to upgrade Forge Valheim becomes crucial if you want to utilize its potential fully. This guide will take you through the building process of the Forge, what upgrades you need to make to reach its highest possible level, and how to efficiently gather the resources needed.
Why Upgrading the Forge in Valheim Matters

The Forge is your means to better gear and refined resources. Items made of bronze tools or iron weapons would only be possible with an upgraded forge. Upgrading the Forge will give you access to superior crafting recipes and will keep you well-equipped for tougher biomes like the Swamp or Plains. Forge also has some upgrades, which makes it more utility-based, and it’s an essential focus for any serious player in Valheim. If you’re a beginner or looking to do end-game content, you need to understand Forge’s mechanics to be successful.
Building the Forge: Laying the Groundwork
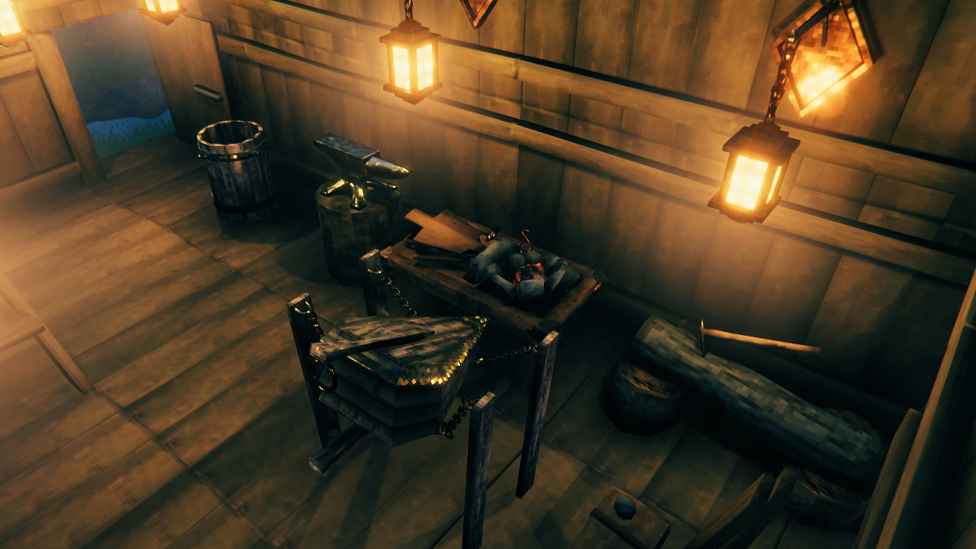
In order to upgrade the Forge in Valheim, you must first build one. It needs a covered space and close to a Workbench to function. To construct a Forge, you need four basic materials: Stone, Coal, Wood, and Copper. Coal can be made by cooking food over a Charcoal Kiln, while stone can easily be gathered from the ground or mined. Trees are everywhere, and we have Copper deposits in the Black Forest biome. Pick up your Hammer and then go to the crafting menu to place the Forge in a good place. Once built, it is the foundation for all upgrades.
Upgrading the Forge: Unlocking New Levels of Crafting
Building supplementary structures near the Forge is how upgrading the Forge in Valheim works. The Forge’s level increases by one with each upgrade, revealing new recipes and expanding crafting possibilities. Upgrades need to use specific resources and can only be used in a certain radius of the Forge.
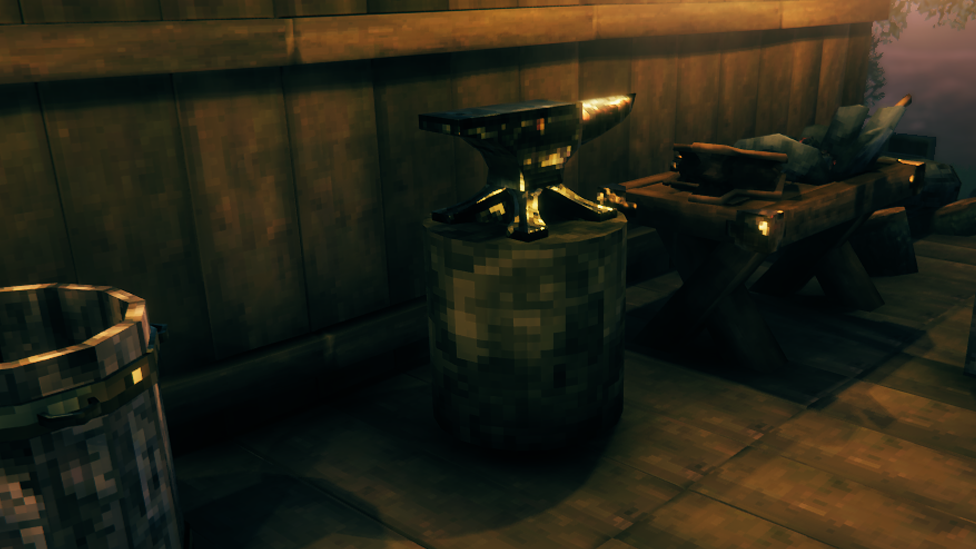
The first upgrade is done by crafting and placing Anvils. This requires a relatively small amount of Wood and Bronze. As you will see in the crafting recipe, Bronze is created by processing Copper and Tin at the Forge. Once you place the Anvils near the Forge, its level rises to two. Later on in the game, you unlock the Forge Cooler. This upgrade necessitates Fine Wood, which is obtained from Birch trees, along with more Copper. The Forge Cooler in Valheim improves functionality and aesthetic appeal in your crafting area.
The next upgrade, The Smith’s Anvil, requires a lot of Iron and Wood. The Swamp biome offers Iron and is obtained from Sunken Crypts, which you will have to unlock and then enter into. This is a big step up in progression, as in the game, you move from the Bronze Age to the Iron Age. Once the Smith’s Anvil is placed, the Forge reaches Level 4, and you can now make more powerful gear from even more recipes.
The Forge Toolrack in Valheim is another important upgrade. This structure is wall-mounted and increases the Forge level to five, requiring Iron and Wood. With its compact design, it is easy to fit into your crafting area and can be placed wherever you want. Meanwhile, the Forge Bellows push the Forge to Level 6. Deer Hide, Wood, and the rare Chain are required for this large structure. Wraiths in the Swamp biome are the primary source of chains, and they are one of the most difficult materials to find.
The Grinding Wheel in Valheim is the final known upgrade and brings the Forge to Level 7. This upgrade is crafted with a Sharpening Stone made at a Stonecutter. The Forge’s functionality is enhanced by the Grinding Wheel, which unlocks recipes for refining tools and sharpening weapons. Once installed, your Forge is maxed out at its known capacity and ready for late-game challenges.
Efficient Resource Gathering: Preparing for Upgrades
In order to upgrade the Forge efficiently, you need to gather resources systematically. Early materials such as Copper and tin were combined to make Bronze, a key early material in the Black Forest. After you’ve equipped yourself with bronze tools, start focusing on the swamp biome, mine iron, and hunt for chains. Preparation with proper armor and weapons is crucial in the Swamp, as it’s a dangerous place.
It also helps you plan your base layout. Large structures like the Forge Bellows require a lot of space to put the Forge and its upgrades. Make sure your workspace is big enough to put upgrades inside the required radius of the Forge and that it’s organized and easily accessible.
FAQ
Conclusion
Upgrading the Forge in Valheim is a vital part of your journey, allowing you to build stronger tools, weapons, and armor. Building the Forge Cooler and Smith’s Anvil, as well as other add-ons, can help you make the most out of the Forge. Besides improving your gameplay, these upgrades also prepare you for the increasing danger of challenges that are ahead.
Scalacube’s server hosting Valheim services provide seamless multiplayer gaming. They offer trustworthy, high-performance hosting to make playing Valheim with friends a better experience.
Why Upgrading the Forge in Valheim Matters
Make Your Own Valheim Server
The Forge is your means to better gear and refined resources. Items made of bronze tools or iron weapons would only be possible with an upgraded forge. Upgrading the Forge will give you access to superior crafting recipes and will keep you well-equipped for tougher biomes like the Swamp or Plains. Forge also has some upgrades, which makes it more utility-based, and it’s an essential focus for any serious player in Valheim. If you’re a beginner or looking to do end-game content, you need to understand Forge’s mechanics to be successful.
Building the Forge: Laying the Groundwork
In order to upgrade the Forge in Valheim, you must first build one. It needs a covered space and close to a Workbench to function. To construct a Forge, you need four basic materials: Stone, Coal, Wood, and Copper. Coal can be made by cooking food over a Charcoal Kiln, while stone can easily be gathered from the ground or mined. Trees are everywhere, and we have Copper deposits in the Black Forest biome. Pick up your Hammer and then go to the crafting menu to place the Forge in a good place. Once built, it is the foundation for all upgrades.Upgrading the Forge: Unlocking New Levels of Crafting
Building supplementary structures near the Forge is how upgrading the Forge in Valheim works. The Forge’s level increases by one with each upgrade, revealing new recipes and expanding crafting possibilities. Upgrades need to use specific resources and can only be used in a certain radius of the Forge.The first upgrade is done by crafting and placing Anvils. This requires a relatively small amount of Wood and Bronze. As you will see in the crafting recipe, Bronze is created by processing Copper and Tin at the Forge. Once you place the Anvils near the Forge, its level rises to two. Later on in the game, you unlock the Forge Cooler. This upgrade necessitates Fine Wood, which is obtained from Birch trees, along with more Copper. The Forge Cooler in Valheim improves functionality and aesthetic appeal in your crafting area.
The next upgrade, The Smith’s Anvil, requires a lot of Iron and Wood. The Swamp biome offers Iron and is obtained from Sunken Crypts, which you will have to unlock and then enter into. This is a big step up in progression, as in the game, you move from the Bronze Age to the Iron Age. Once the Smith’s Anvil is placed, the Forge reaches Level 4, and you can now make more powerful gear from even more recipes.
The Forge Toolrack in Valheim is another important upgrade. This structure is wall-mounted and increases the Forge level to five, requiring Iron and Wood. With its compact design, it is easy to fit into your crafting area and can be placed wherever you want. Meanwhile, the Forge Bellows push the Forge to Level 6. Deer Hide, Wood, and the rare Chain are required for this large structure. Wraiths in the Swamp biome are the primary source of chains, and they are one of the most difficult materials to find.
The Grinding Wheel in Valheim is the final known upgrade and brings the Forge to Level 7. This upgrade is crafted with a Sharpening Stone made at a Stonecutter. The Forge’s functionality is enhanced by the Grinding Wheel, which unlocks recipes for refining tools and sharpening weapons. Once installed, your Forge is maxed out at its known capacity and ready for late-game challenges.
Efficient Resource Gathering: Preparing for Upgrades
In order to upgrade the Forge efficiently, you need to gather resources systematically. Early materials such as Copper and tin were combined to make Bronze, a key early material in the Black Forest. After you’ve equipped yourself with bronze tools, start focusing on the swamp biome, mine iron, and hunt for chains. Preparation with proper armor and weapons is crucial in the Swamp, as it’s a dangerous place.It also helps you plan your base layout. Large structures like the Forge Bellows require a lot of space to put the Forge and its upgrades. Make sure your workspace is big enough to put upgrades inside the required radius of the Forge and that it’s organized and easily accessible.

FAQ
How do I upgrade Forge Valheim?
Construct particular crafting items such as Anvils or Forge Coolers adjacent to your Forge to increase its level progressively.
What's the highest Forge level?
At this point, the Forge may be upgraded up to Level 7 using six distinct add-ons.
Can upgrades be relocated?
Upgrades can be deconstructed and repositioned without losing materials, giving flexibility with regard to the base layout.
Where do I find Chains for Forge Bellows?
Chains can be looted from Sunken Crypts or dropped by Wraiths during nighttime in the Swamp biome.
Conclusion
Upgrading the Forge in Valheim is a vital part of your journey, allowing you to build stronger tools, weapons, and armor. Building the Forge Cooler and Smith’s Anvil, as well as other add-ons, can help you make the most out of the Forge. Besides improving your gameplay, these upgrades also prepare you for the increasing danger of challenges that are ahead.Scalacube’s server hosting Valheim services provide seamless multiplayer gaming. They offer trustworthy, high-performance hosting to make playing Valheim with friends a better experience.